Greg and I just came back from a beautiful and very much needed trip to Puerto Rico. I wish I could say that we toured Old San Juan, experienced the rainforest, or did anything outside of the hotel. We did not - not even close actually. Instead we set up camp at the beach with occasional breaks to swim up to the pool bar. Also, mojitos. LOTS and LOTS of Mojitos.
For my 31st birthday, I am doing a spin on my favorite French Yogurt cake (Original recipe from Food Republic) but with a rummy twist. The yogurt cake will have hints of lime and coconut added to the base. Next we add a layer of dark chocolate ganache (heavy on the mint) and toasted coconut flakes. Finally, it will all be covered in a rum & lime icing because nyum. I hope you enjoy it!

rummy rum rum
Ingredients
(for the cake)
- 1 1/2 cups Greek yogurt
- 1/2 coconut oil
- 2 eggs
- 1 cup sugar
- 1/2 pod fresh vanilla bean, scraped
- 1 tablespoon coconut extract
- 2 1/4 cup flour
- 2 tablespoons baking powder
- 1 teaspoon baking soda
- pinch of salt
- zest of 1 lime
(for the ganache and toasted coconut)
- 1 bar of your favorite dark chocolate
- 1/4 cup coconut oil + 2 tablespoons coconut oil for toasting shredded coconut
- bunch of mint leaves, chiffonade just before seeping in coconut oil
- 1/2 cup unsweetened shredded coconut
- 2 tablespoons sweetener (maples syrup, honey, etc)
- pinch of salt
(for the rum icing)
- 1.5 cups poweder suger
- 3 tablesppons rum
- zest and juice of 1 lime
(for the drunk chef)
- rum
- limes
- snacks

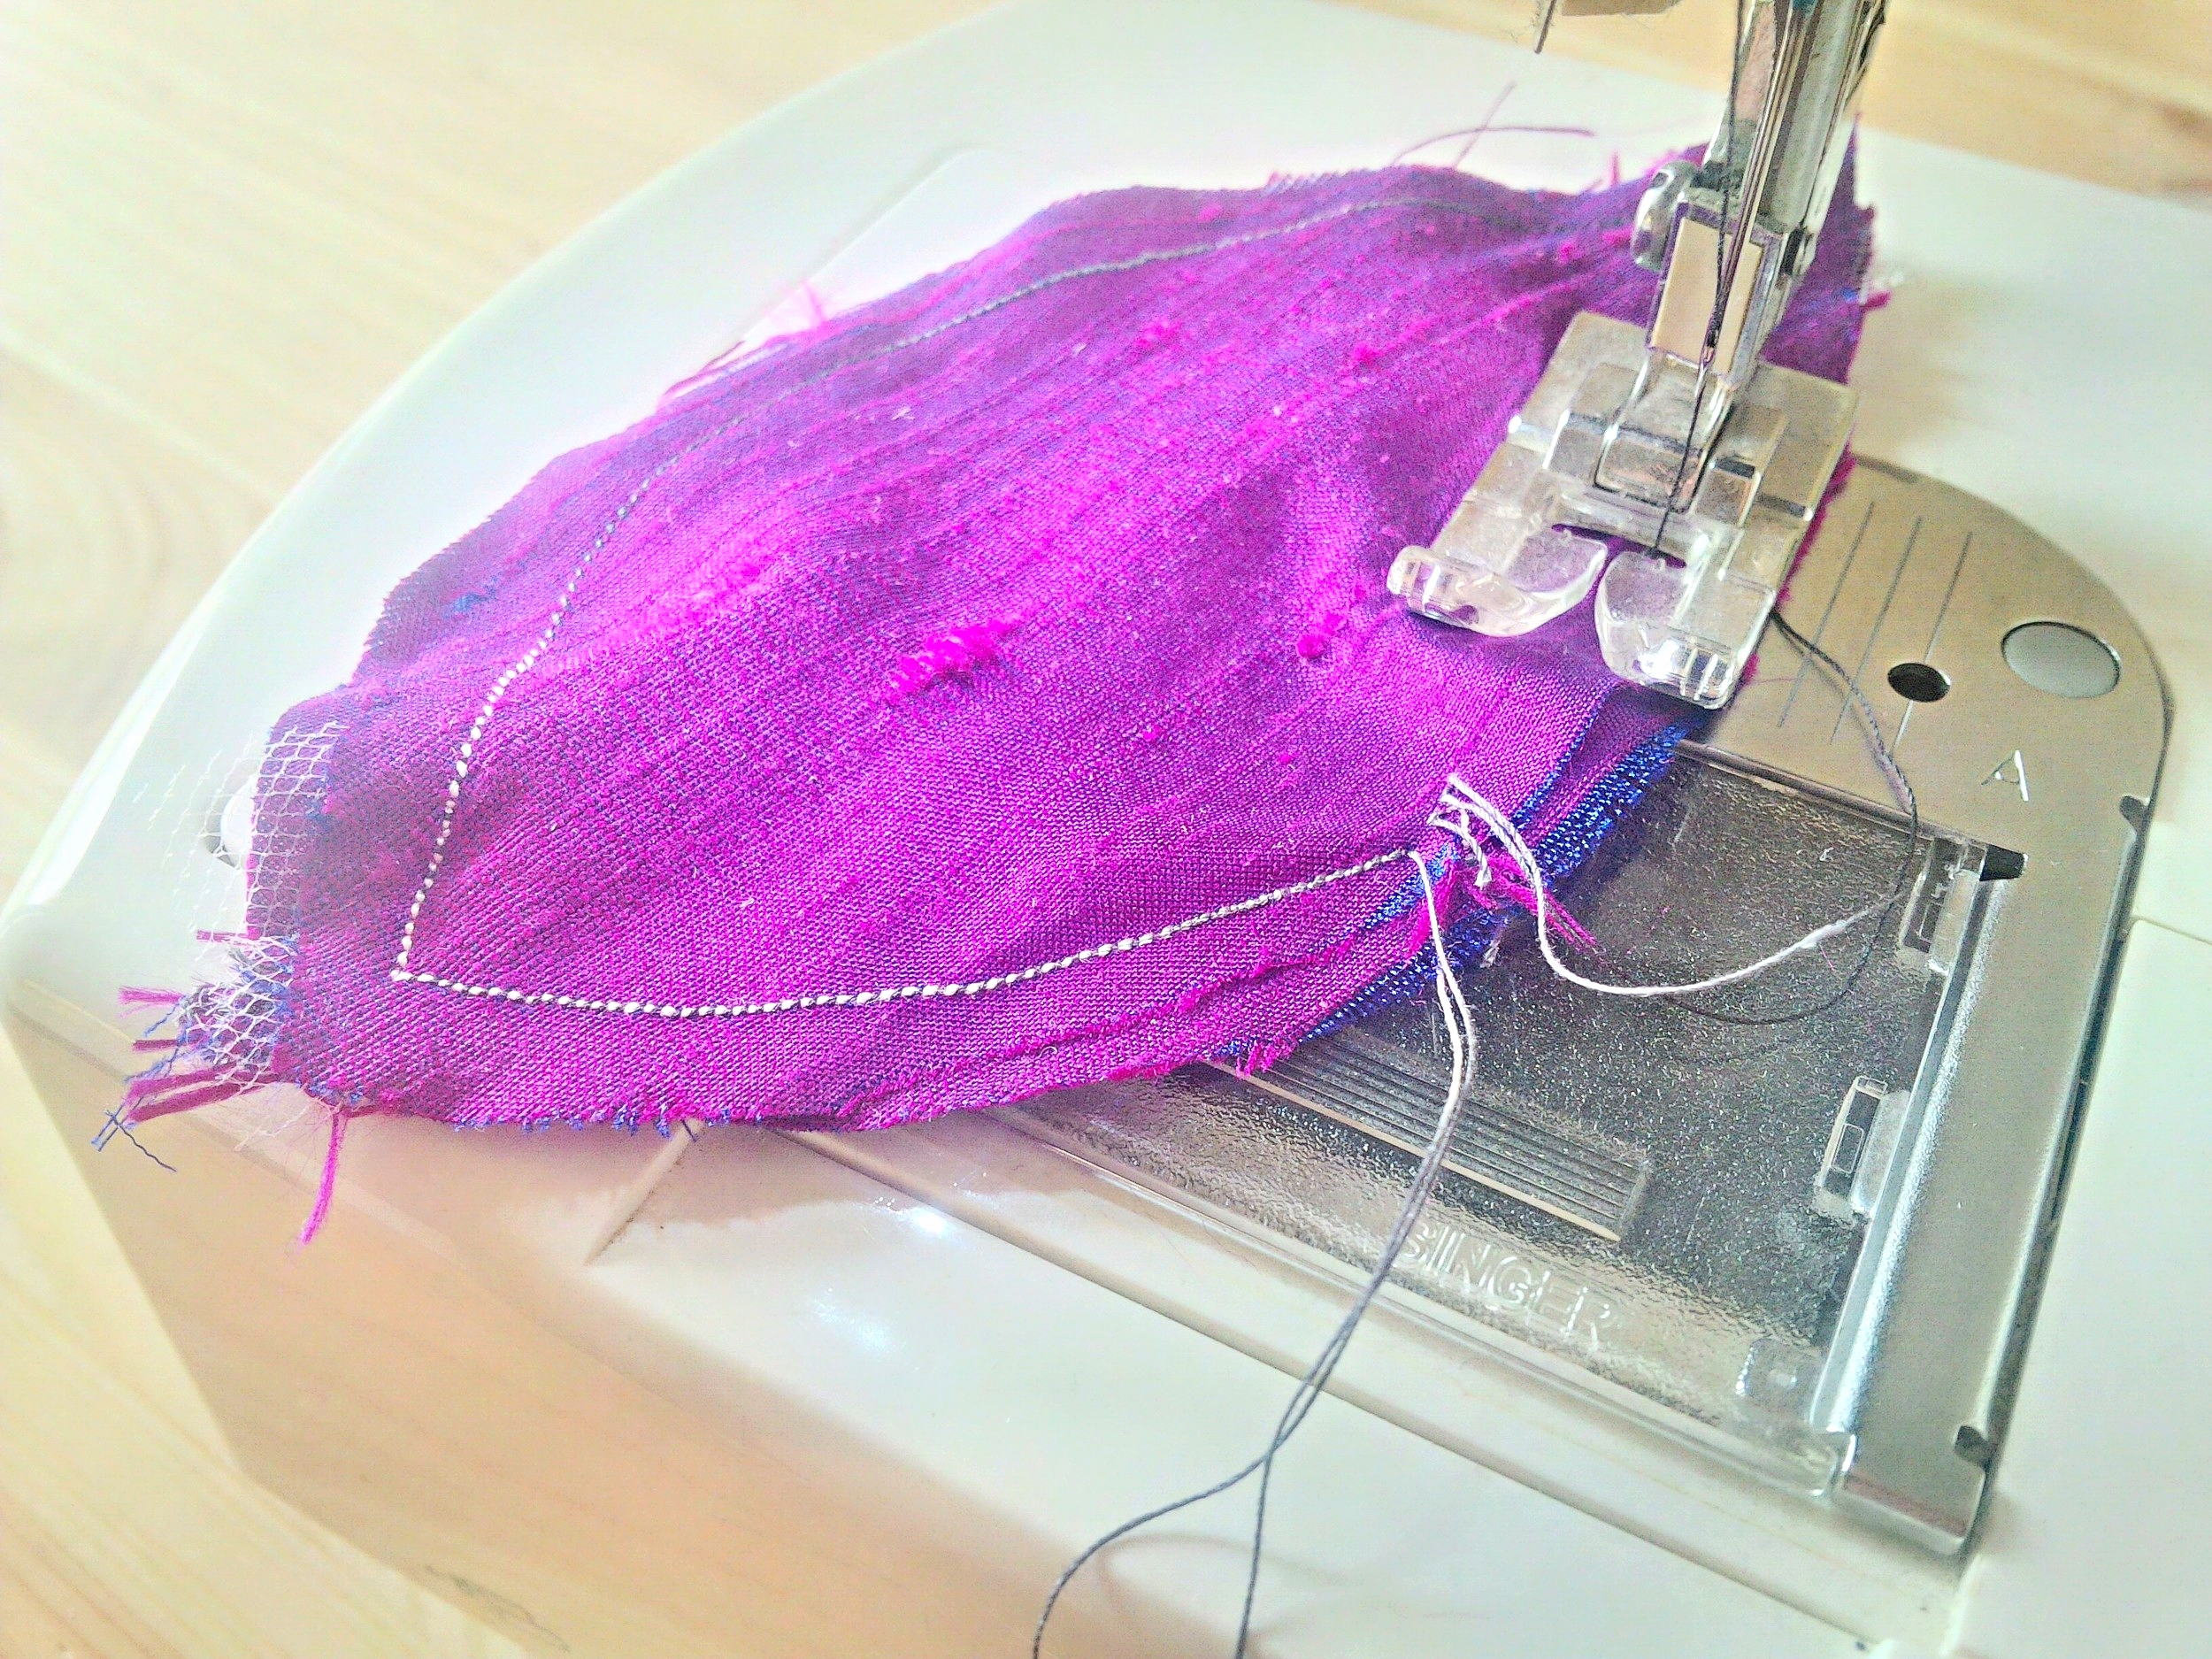
oiled pan - and yes, that is a vagina balsam fir sachet in the corner
Instructions
- preheat oven to 340 F. Grease springform pan (I used coconut oil) and place over baking sheet (helps prevent any spills)
- In a large bowl, whisk together the "wet" ingredients (yogurt, sugar, coconut oil, eggs, vanilla, coconut extract, and lime zest.
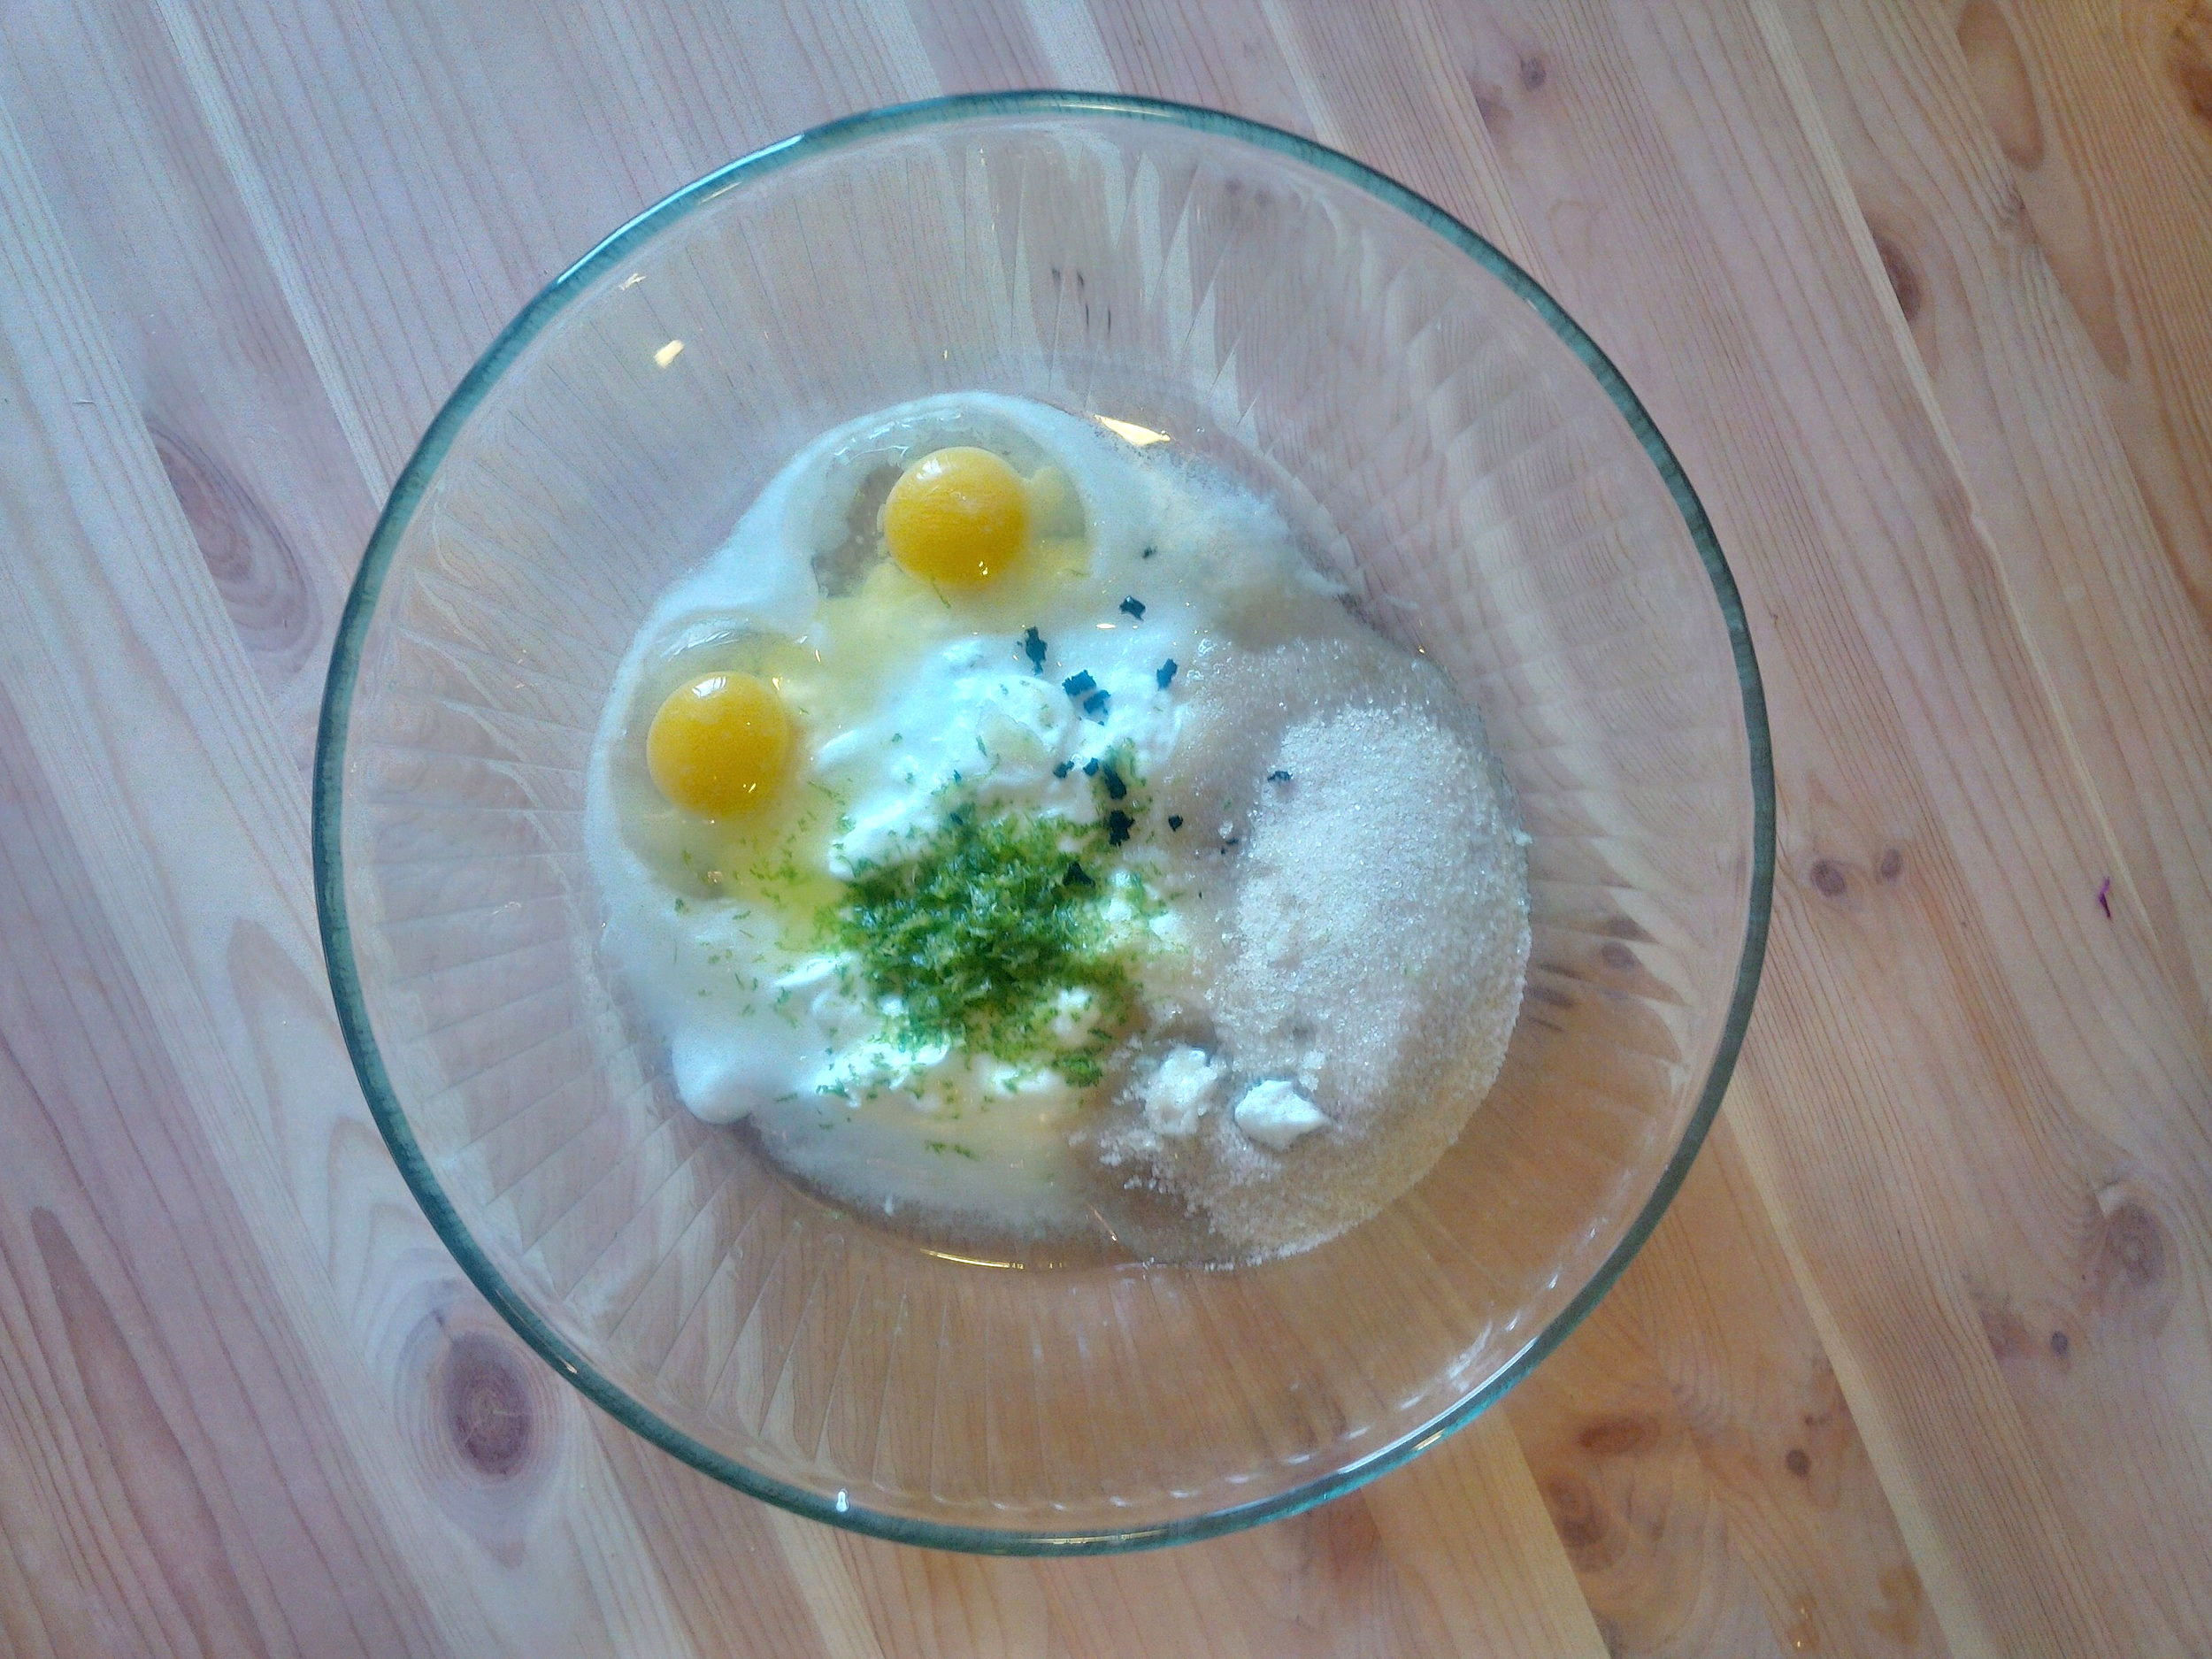
so much lime zest!
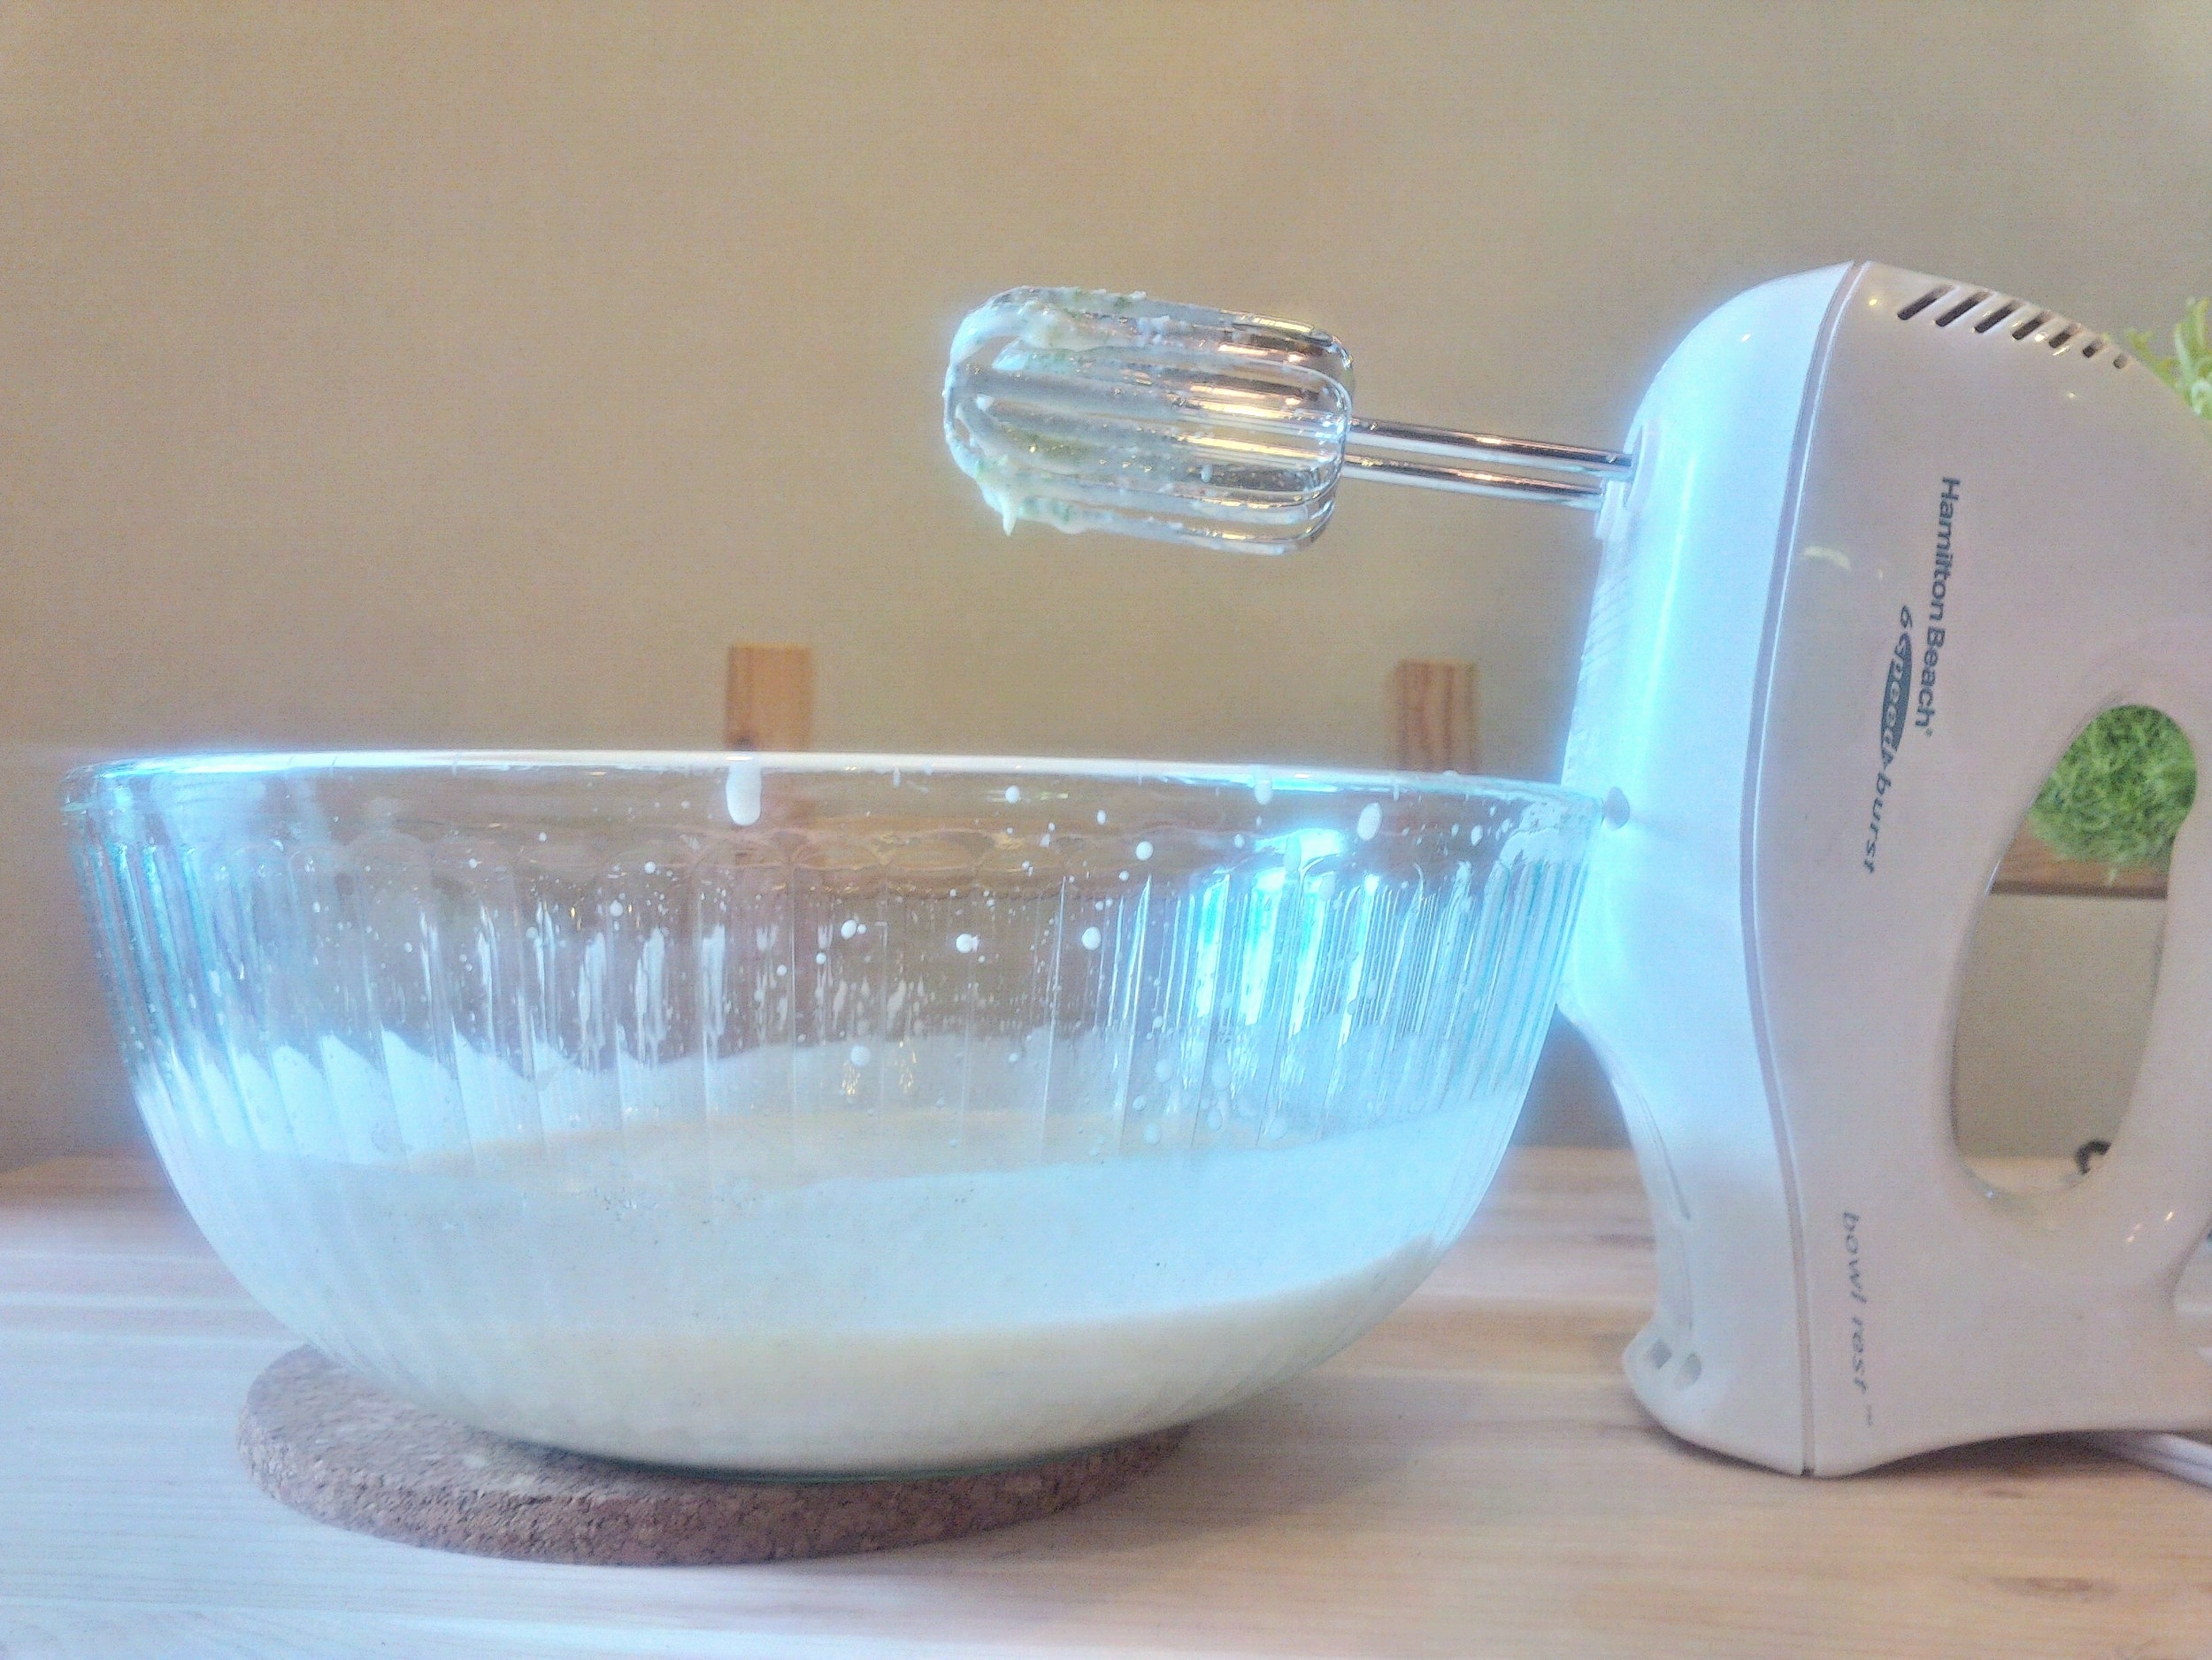
- To the mixing bowl, add the "dry" ingredients (flour, baking powder, soda, and salt). Mix together until no longer lumpy, being careful to not over mix.
*I totally over mixed and totally added too much flour :(
This is the point I realized I should be doing this by the sink and NOT the kitchen table. . .

... but first a few glamour shots of the flour!
- Pour mixture into springform and place that sucker into the oven for 1 hour. Take a sip of rum
- While the cake is baking, mix the shredded coconut, 2 tablespoons of coconut oil, and liquid sweetener (I used maple syrup) together. Place in oven for 10 minutes, stirring halfway through. Things could get a little sticky (HA!) so make sure to transfer to a bowl after removing from oven
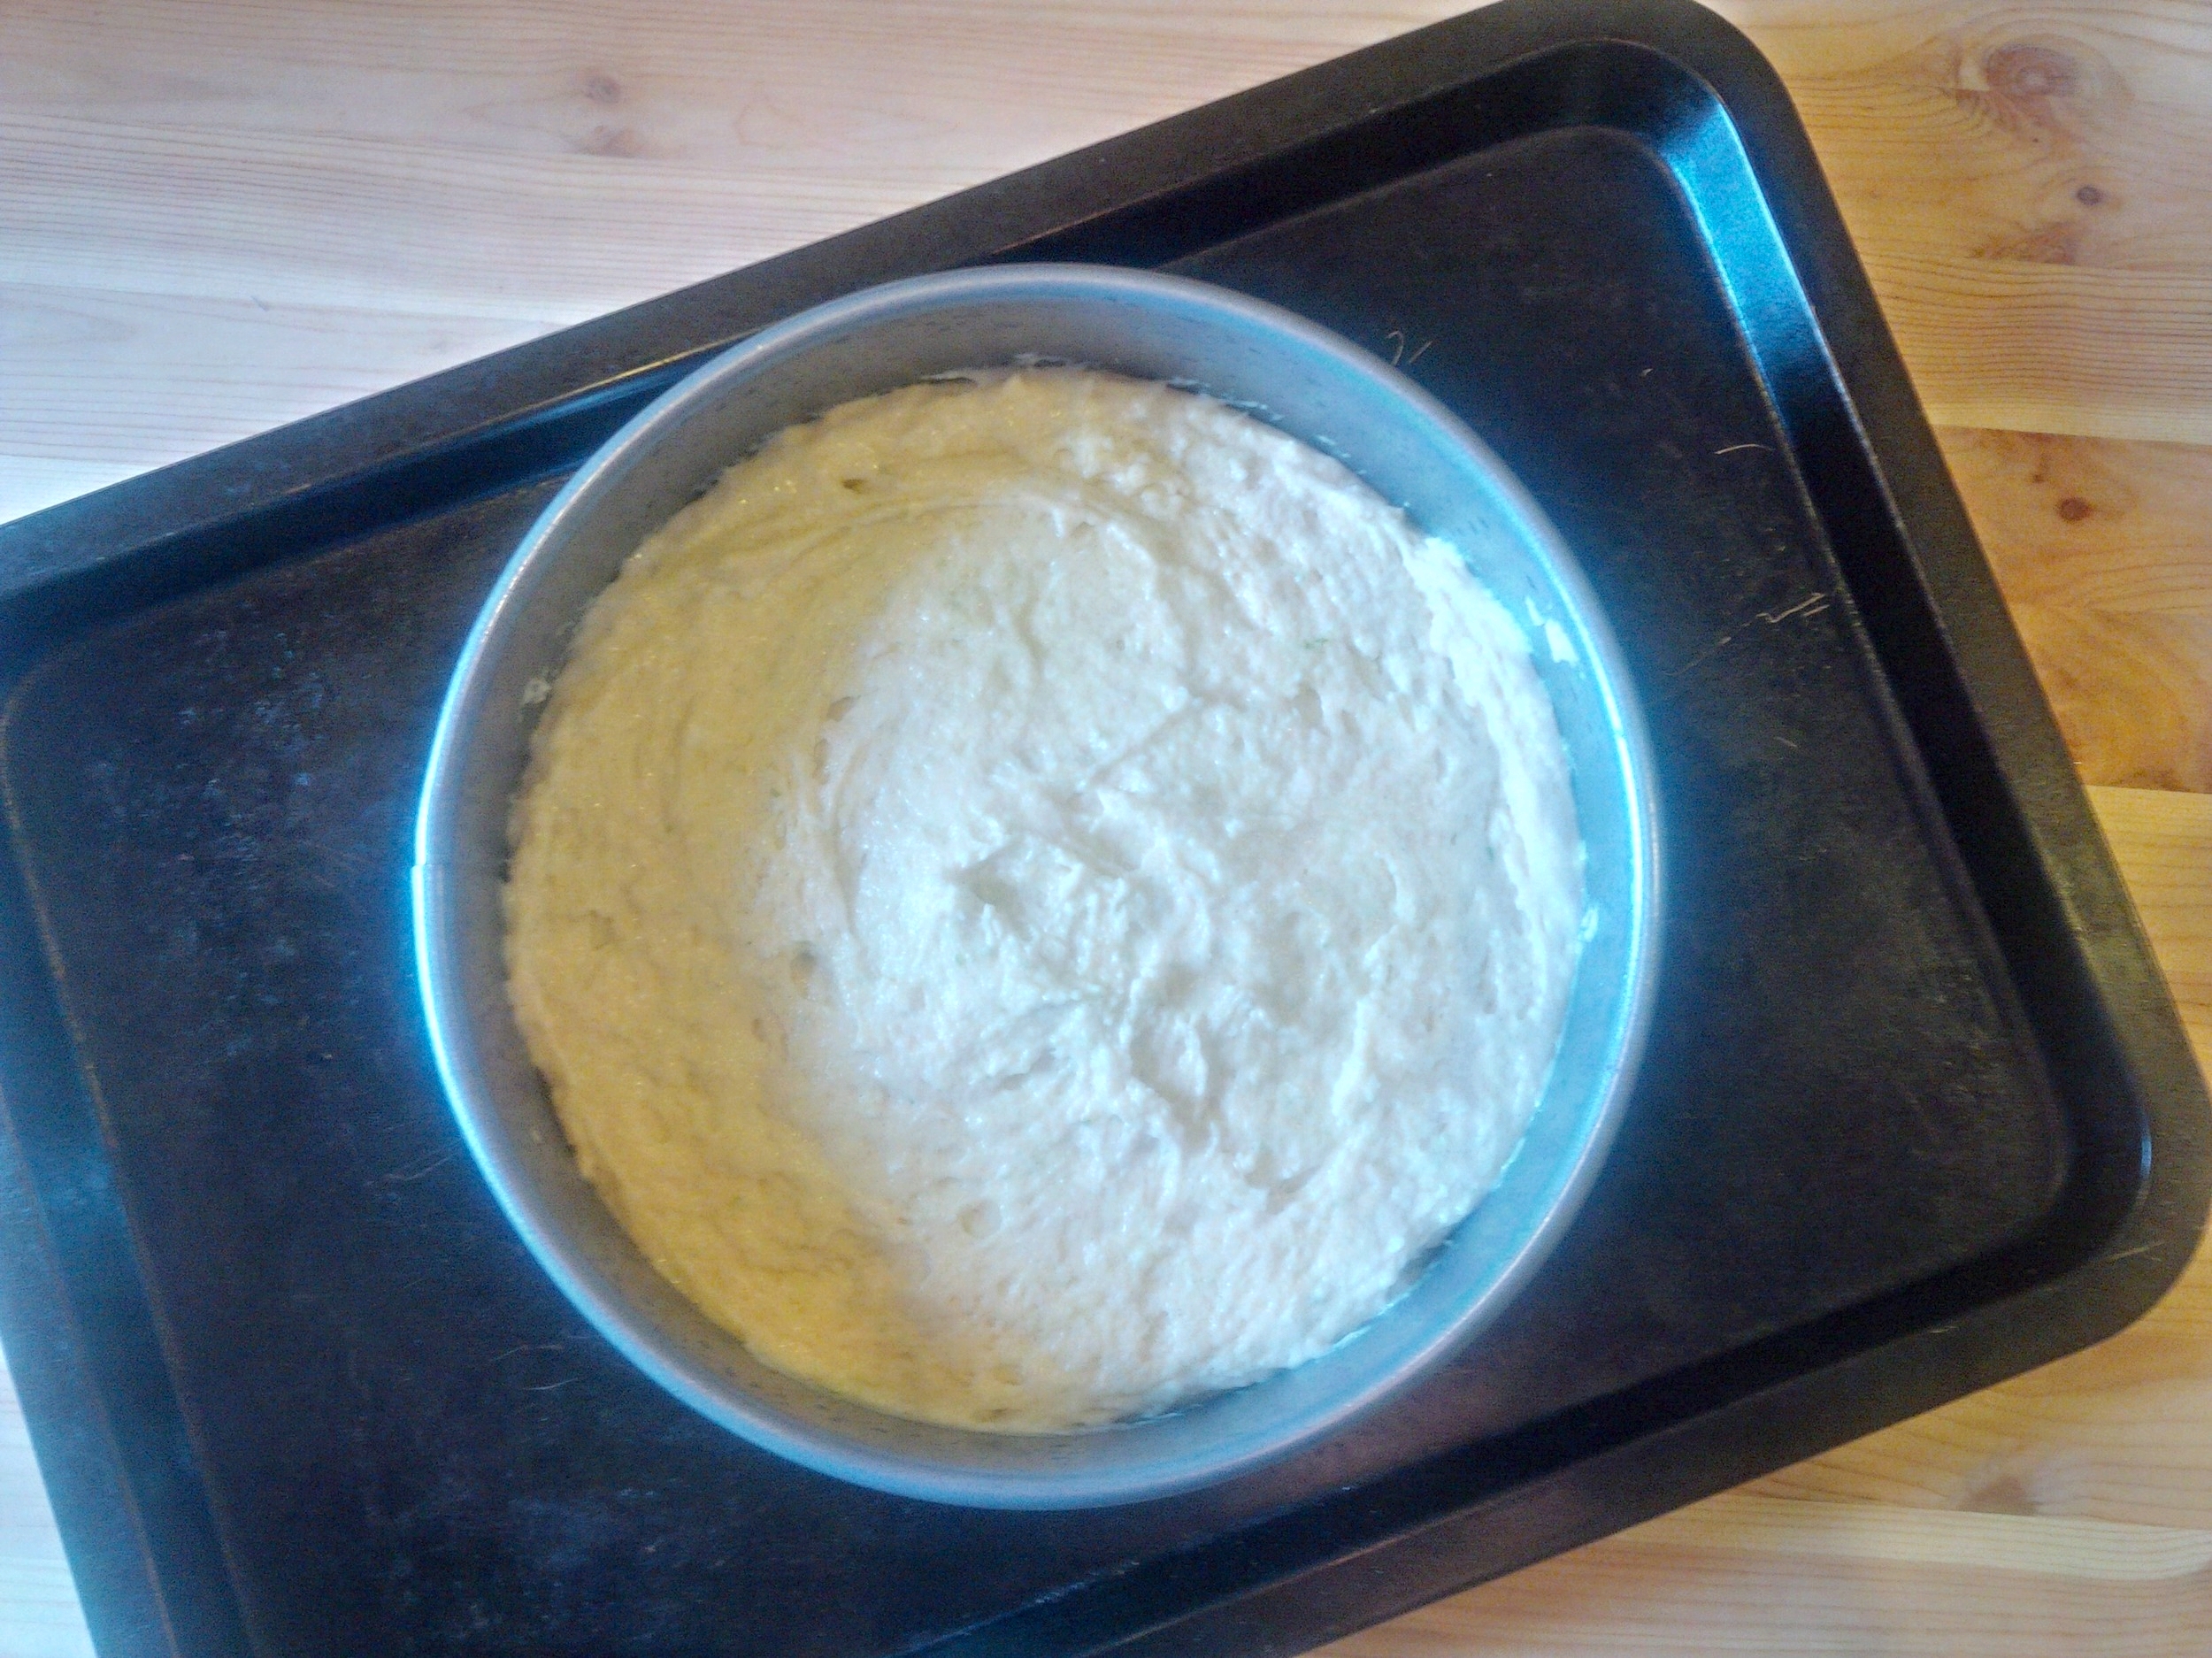
Check out that thick dough!
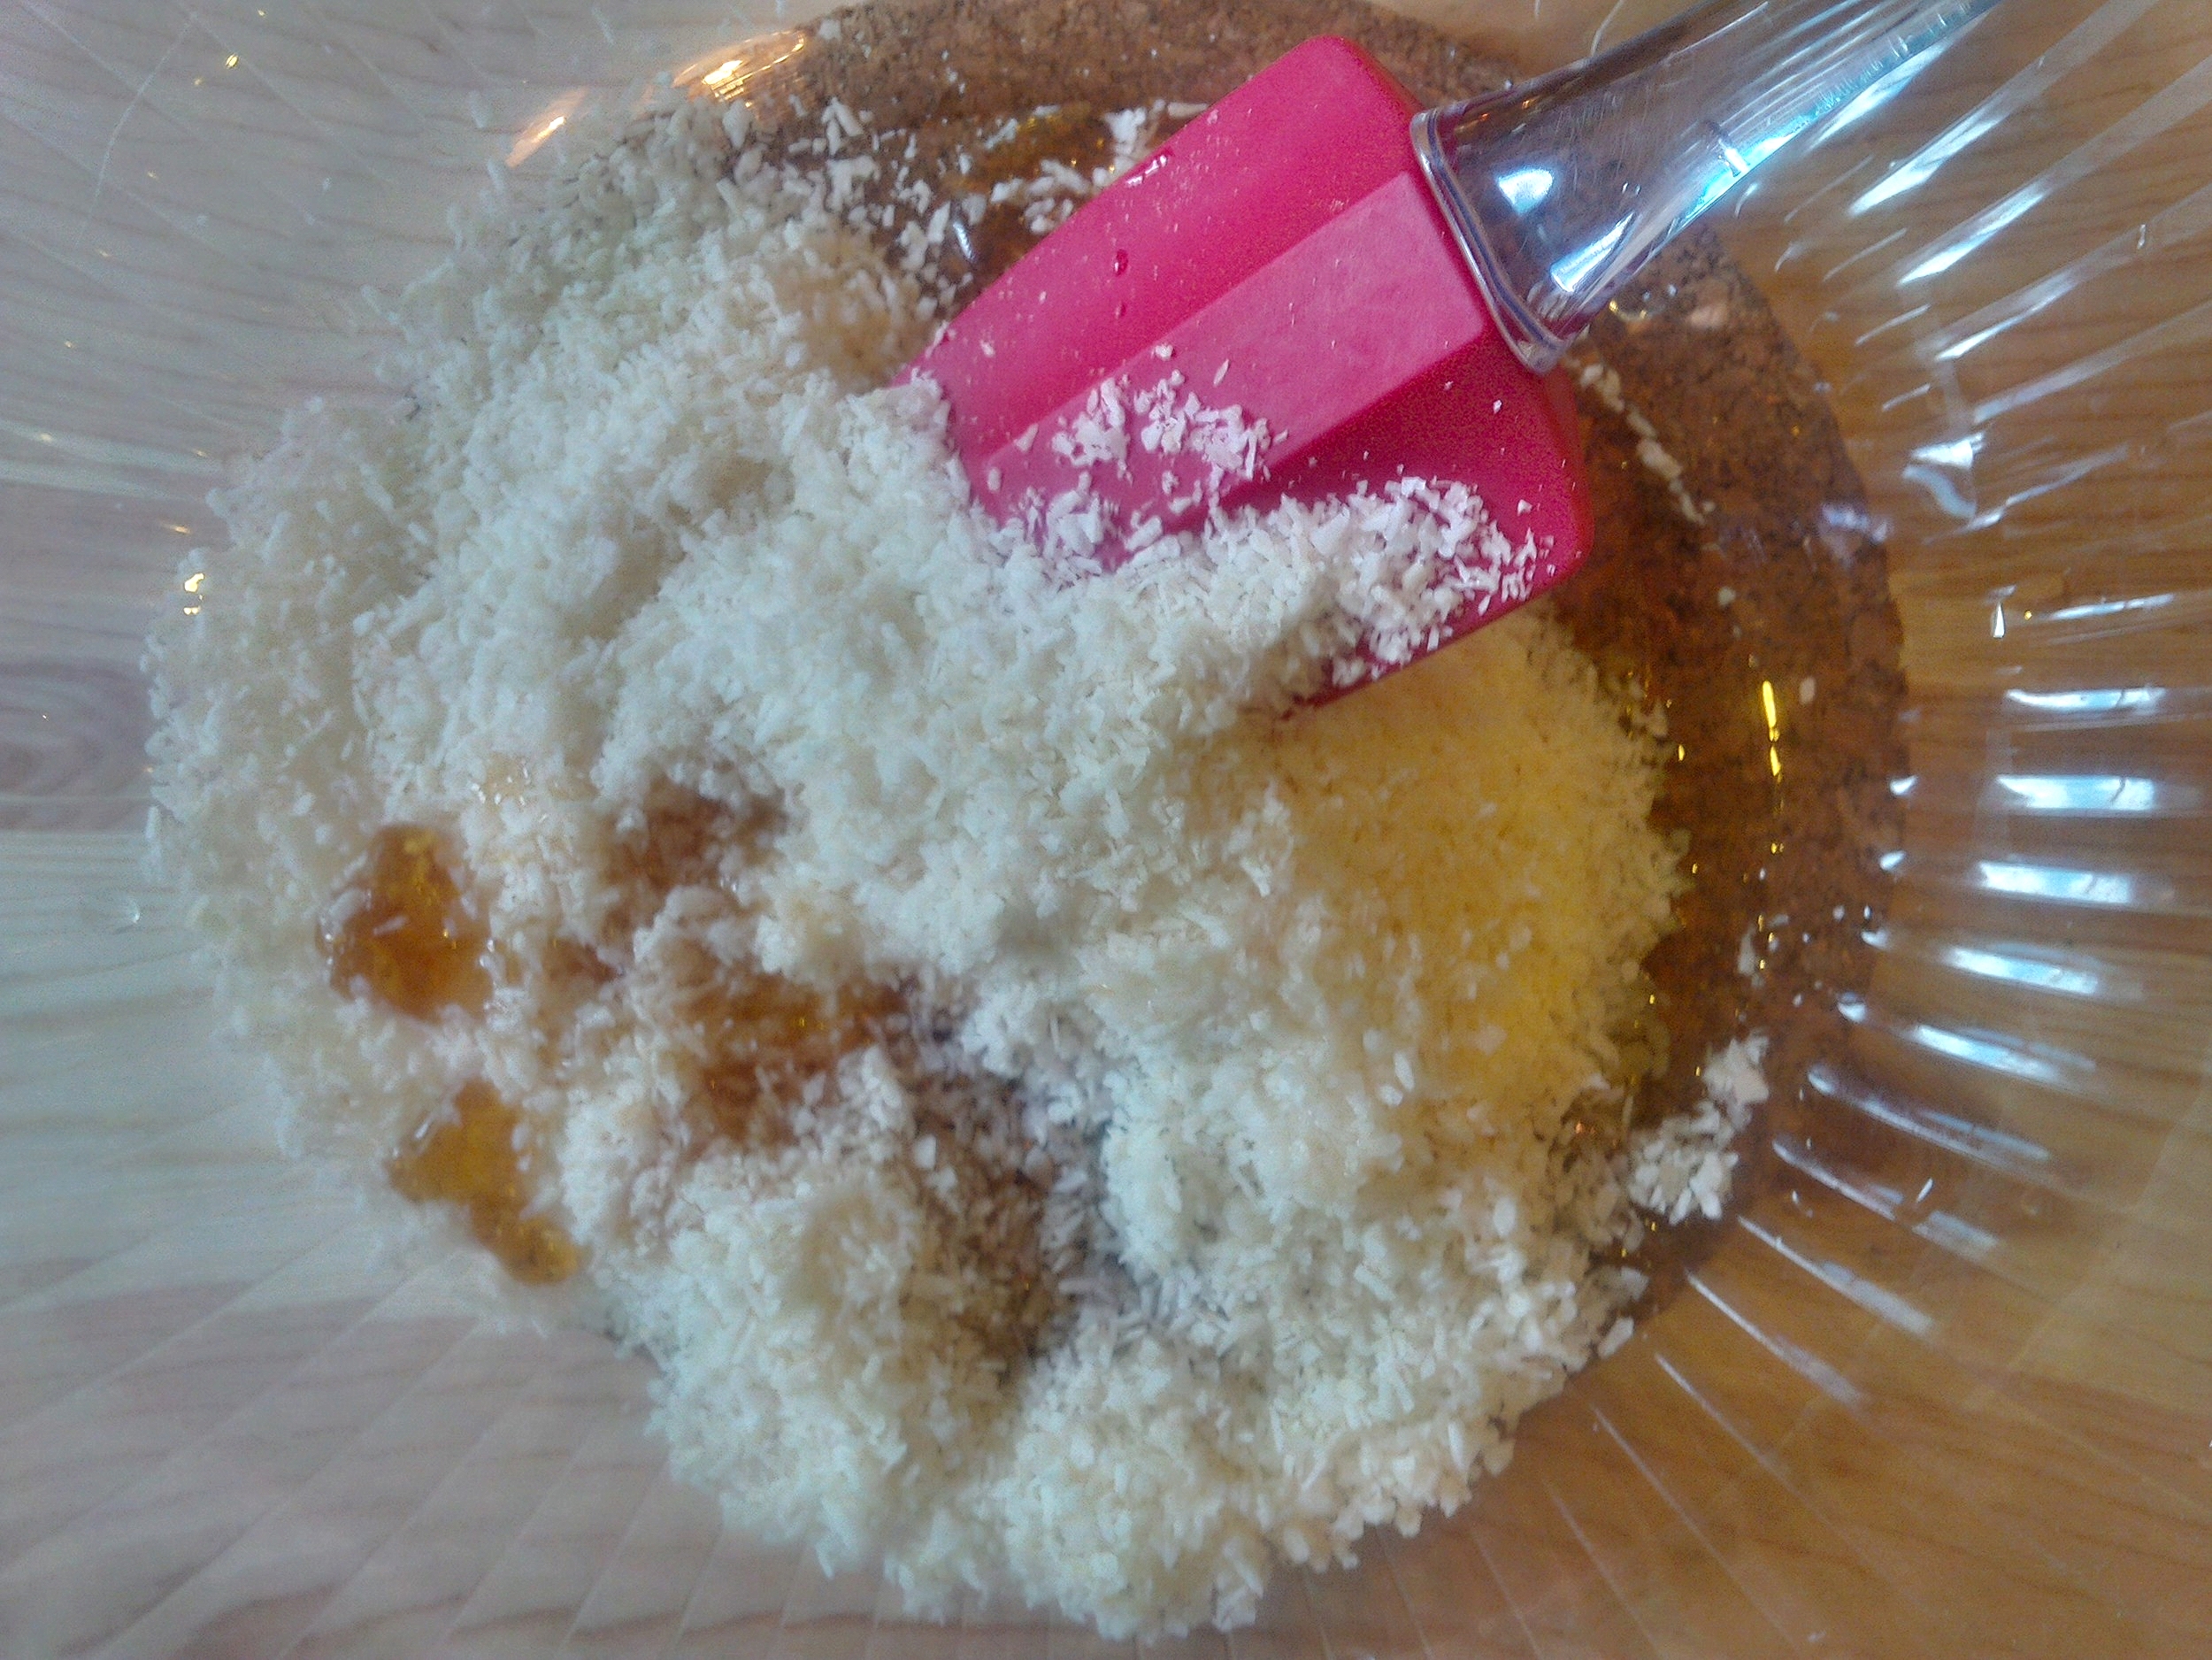
I'm coco for coconut
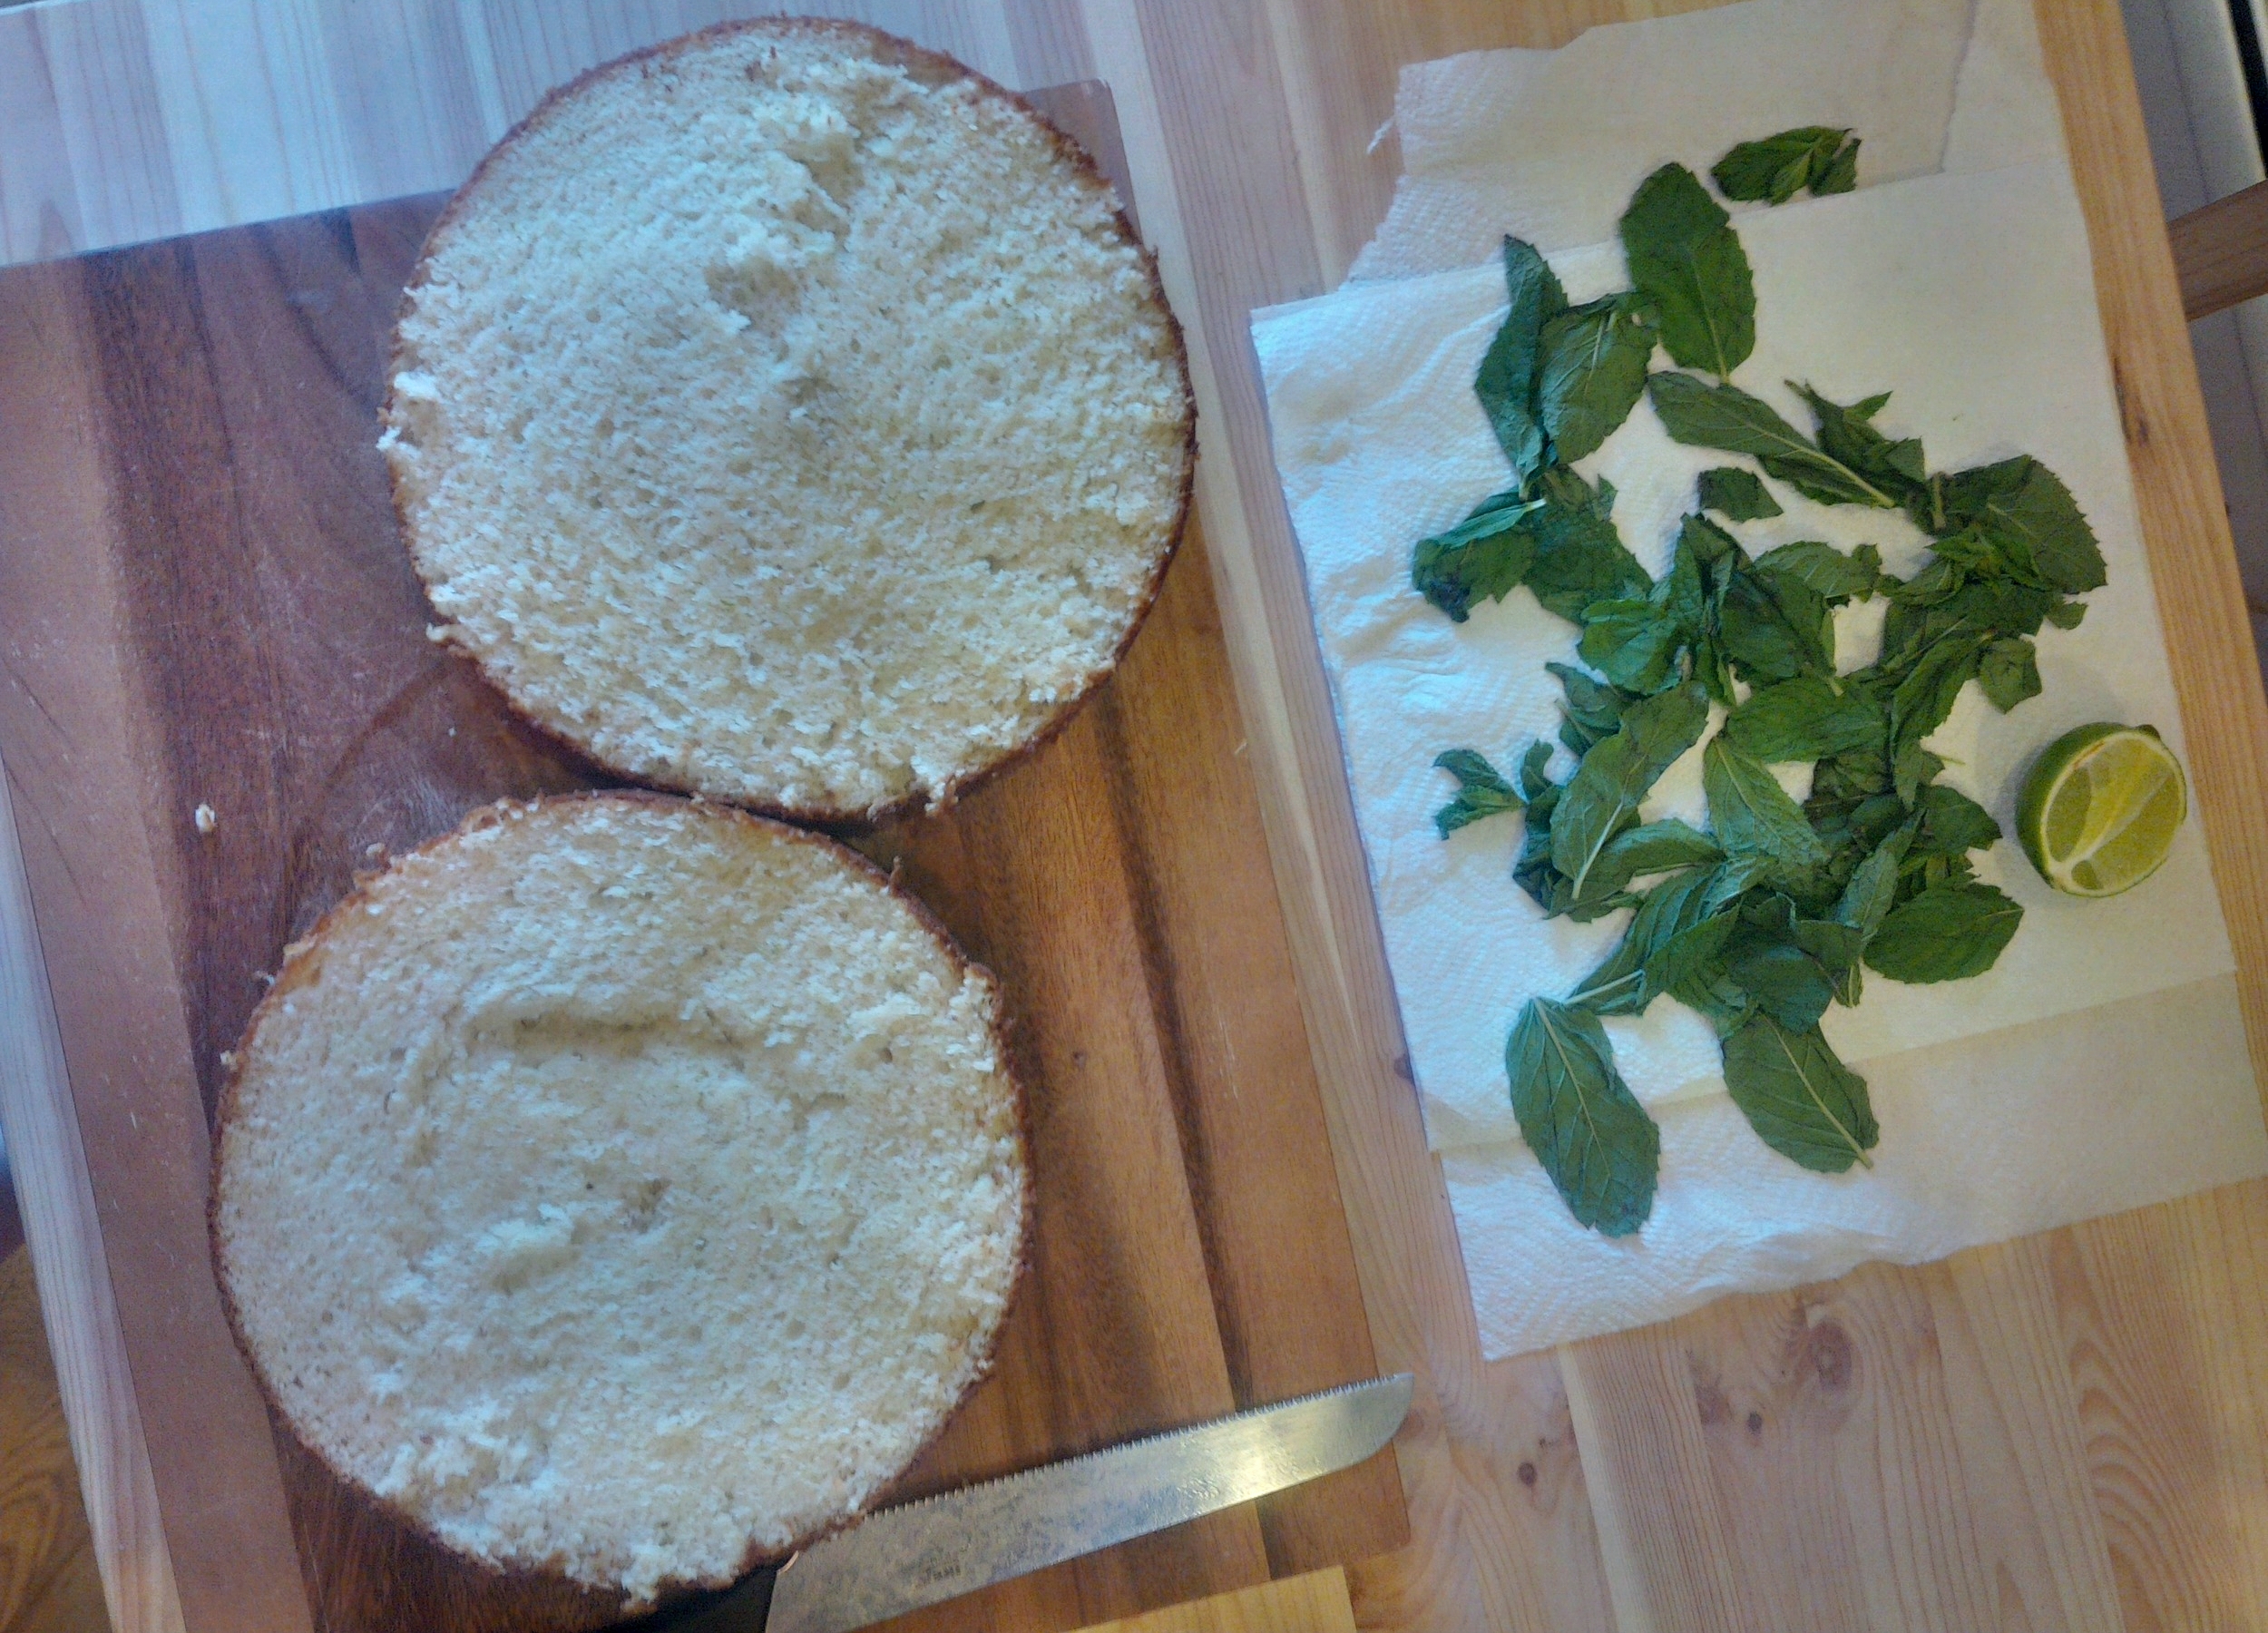
- Let the cake cool prior to releasing from spring pan and DEFINITELY prior to carefully dividing into 2 sheets.
- When ready, melt the coconut oil in a double boiler while you slowly start to add pieces of your desired chocolate and mint leaves (chiffonade right before to get that extra minty clean flavor) . Keep whisking until smooth.
*Try to rinse and dry your mint leaves prior to this step so that moisture isn't added to the ganache

Why yes, I did take a little nibble off of the top. What of it?
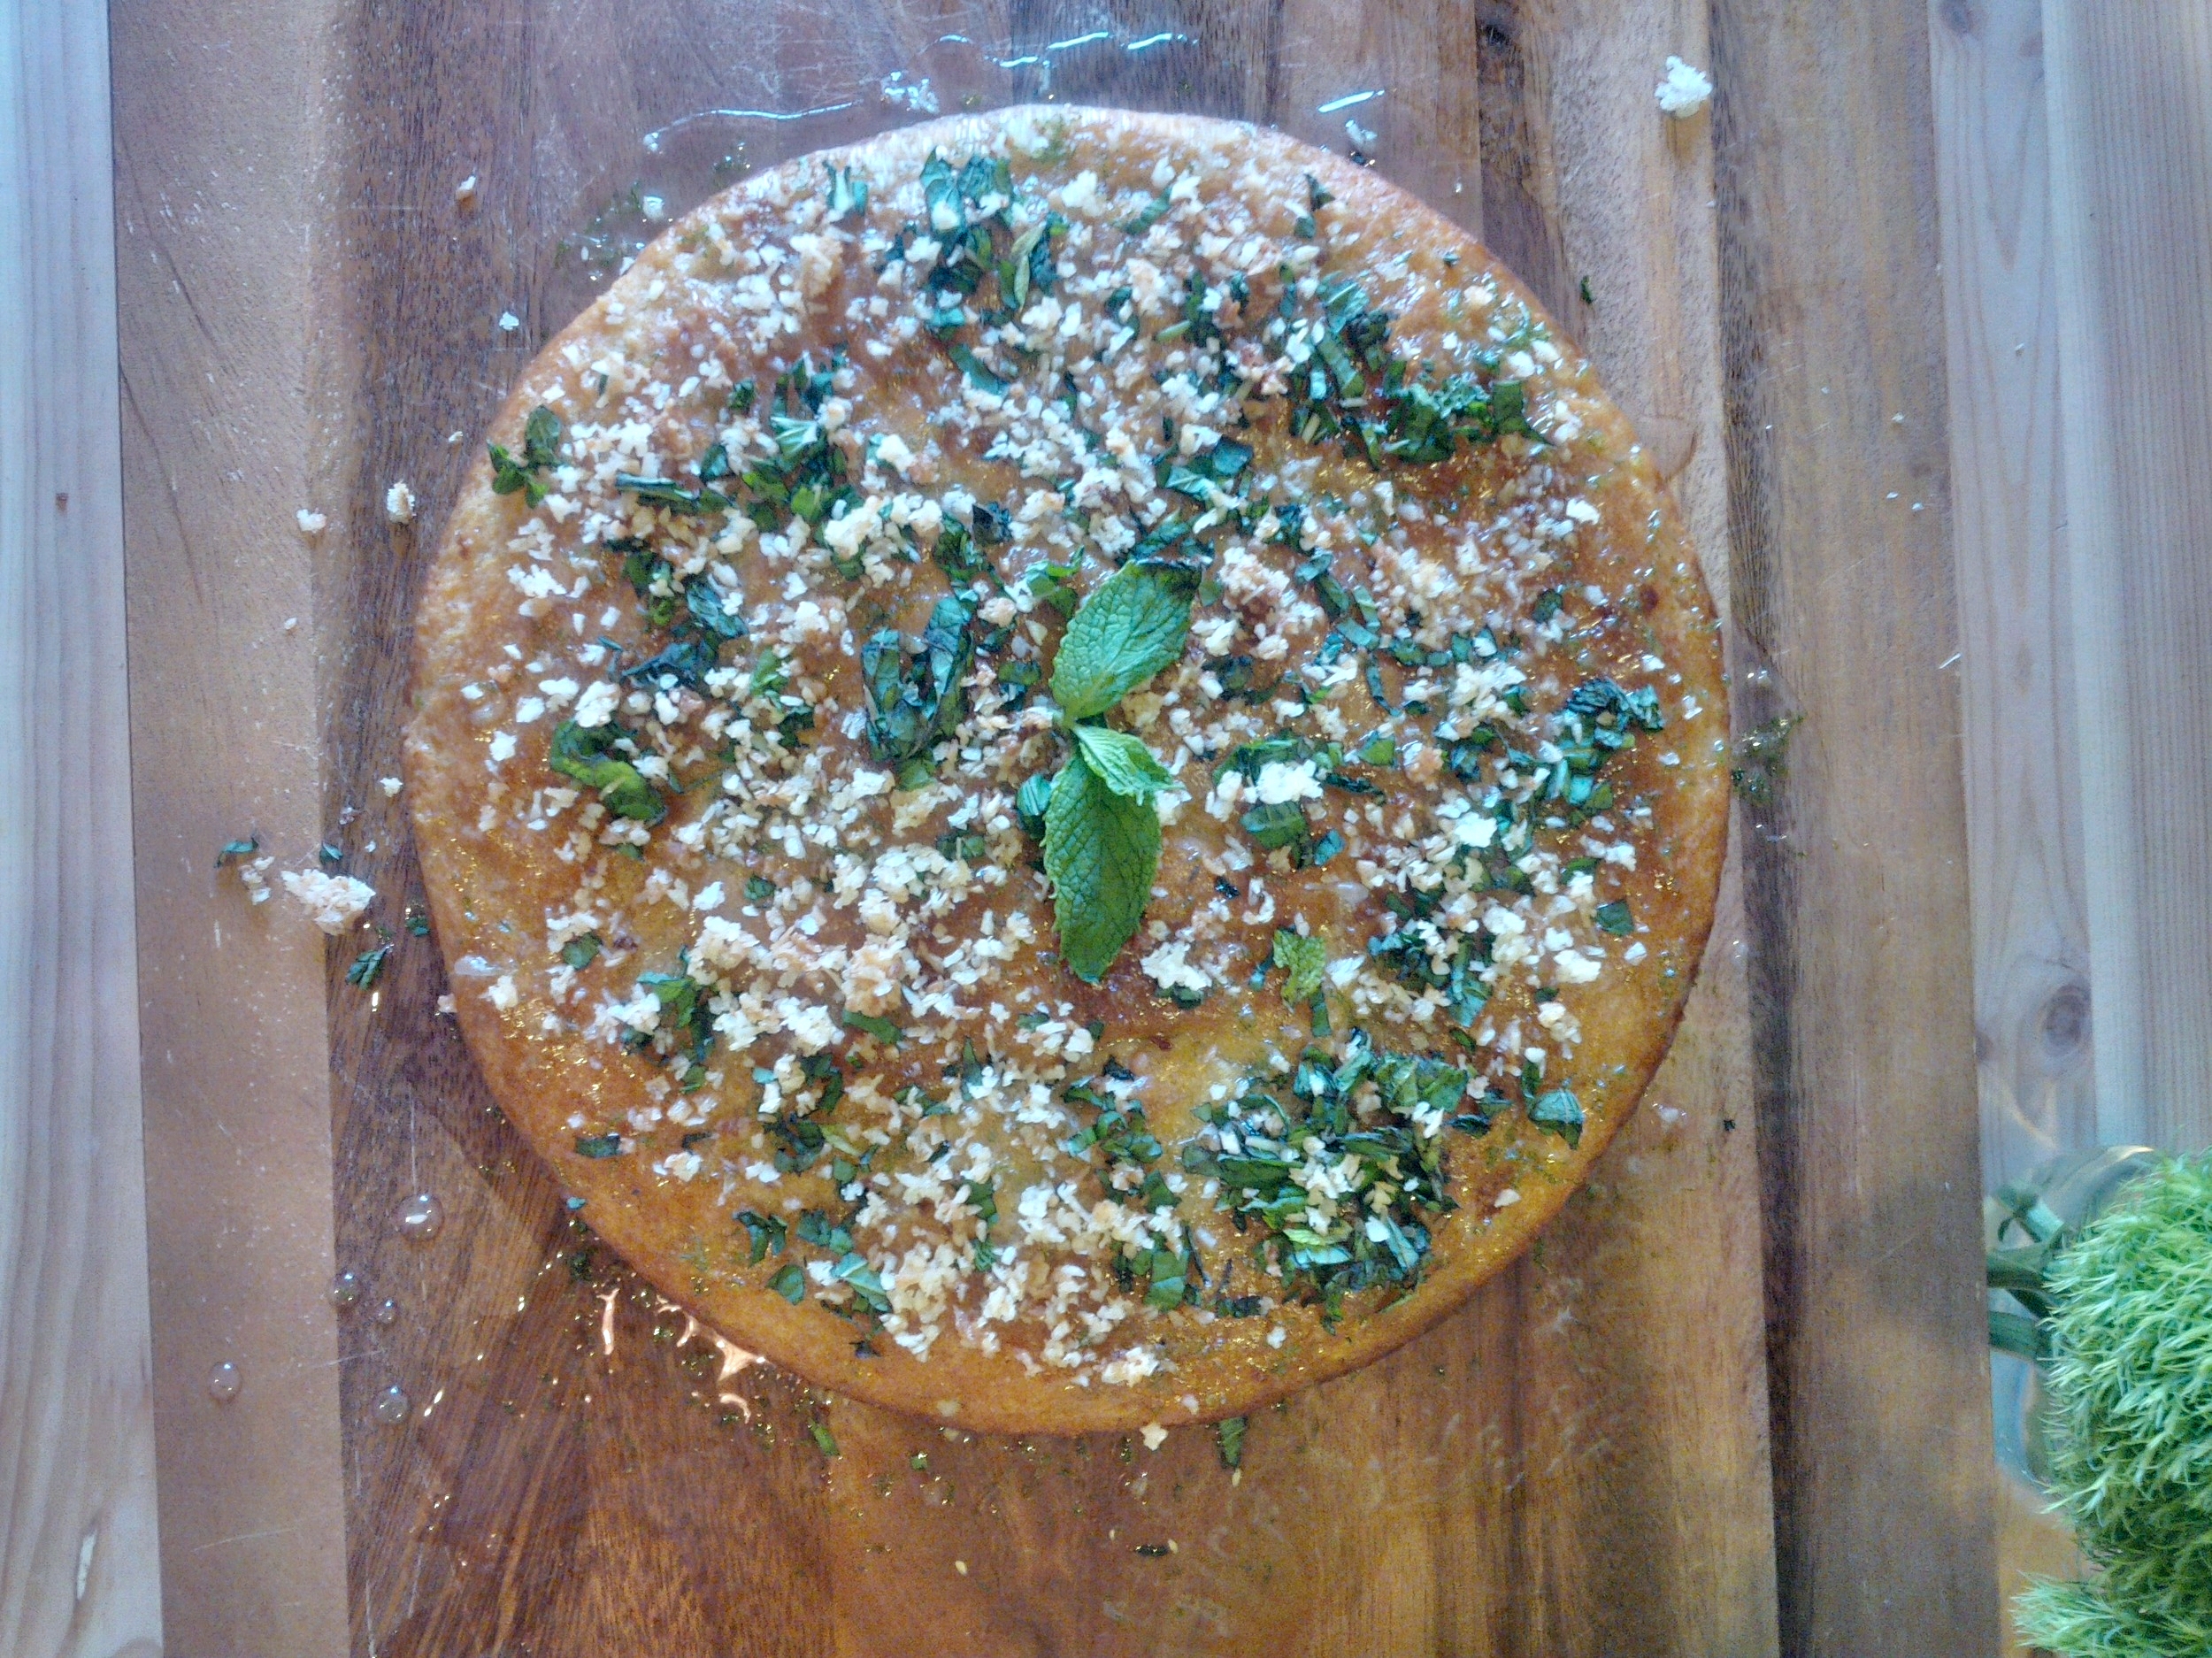
- Starting in the center of the cake and using a spatula, start to spread the ganache until you get a nice even layer. Don't worry if things get messy, just drink more rum. Take the toasted coconut and sprinkle it over the ganache. Drink more rum.
- You might be a little tipsy now, so be careful as you place the second sheet layer above your ganache masterpiece.
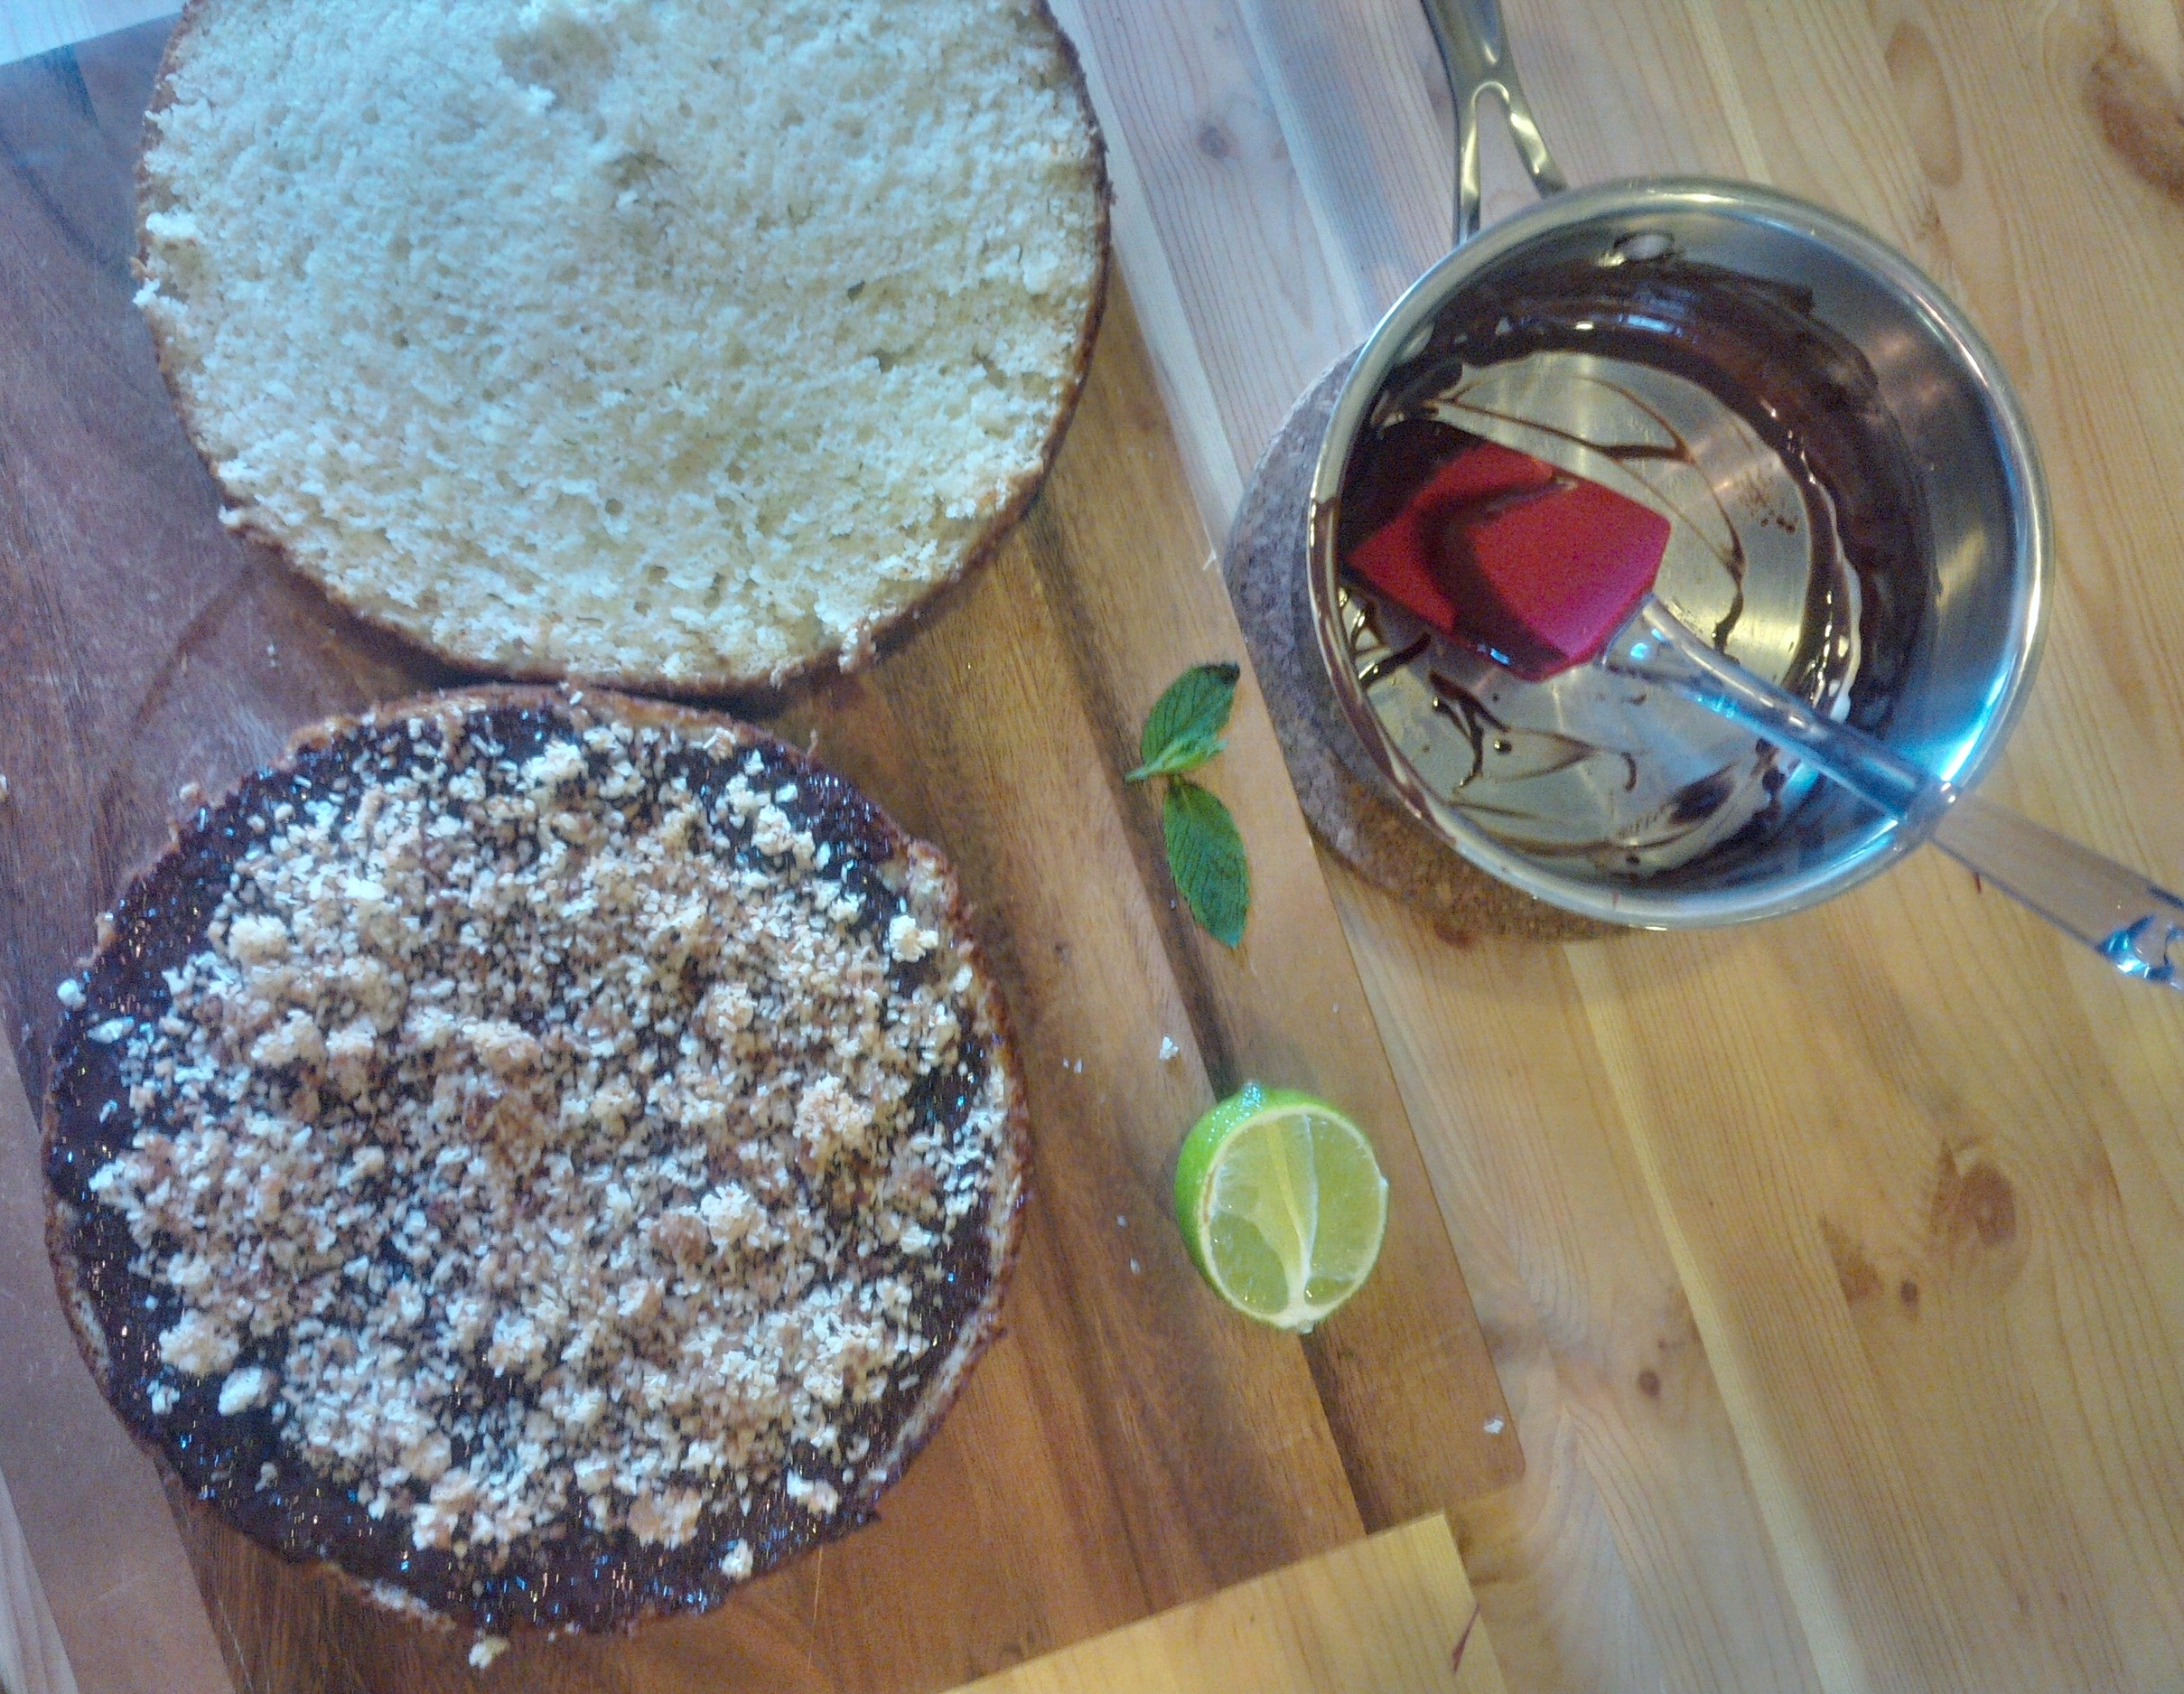

OOPS! somehow some chocolate got into the icing :)
- In the home stretch now! In a bowl, whisk together the powdered sugar and rum. Also, drink more rum. Add the zest and juice of 1 lime to your rum. and your icing. When happy with the consistency, using a whisk or fork, begin to drizzle over the assembled cake to make it look a little fancy. OR you can do what I did and just start recklessly pouring it over the cake as you desperately grab paper towels to stop it from spilling on the floor
- In the fanciest way possible, start tossing/sprinkling and extra toasted coconut or mint you may have. Also, I am a huge supporter of gold and silver edible glitter so if you got it then flaunt it!
- Congrats! You may be a little drunk BUT you also made a cake! Try to let it sit in the fridge for an hour or so before you go on a full on munchie rage. Those snacks should come in handy now! I hope you enjoy!
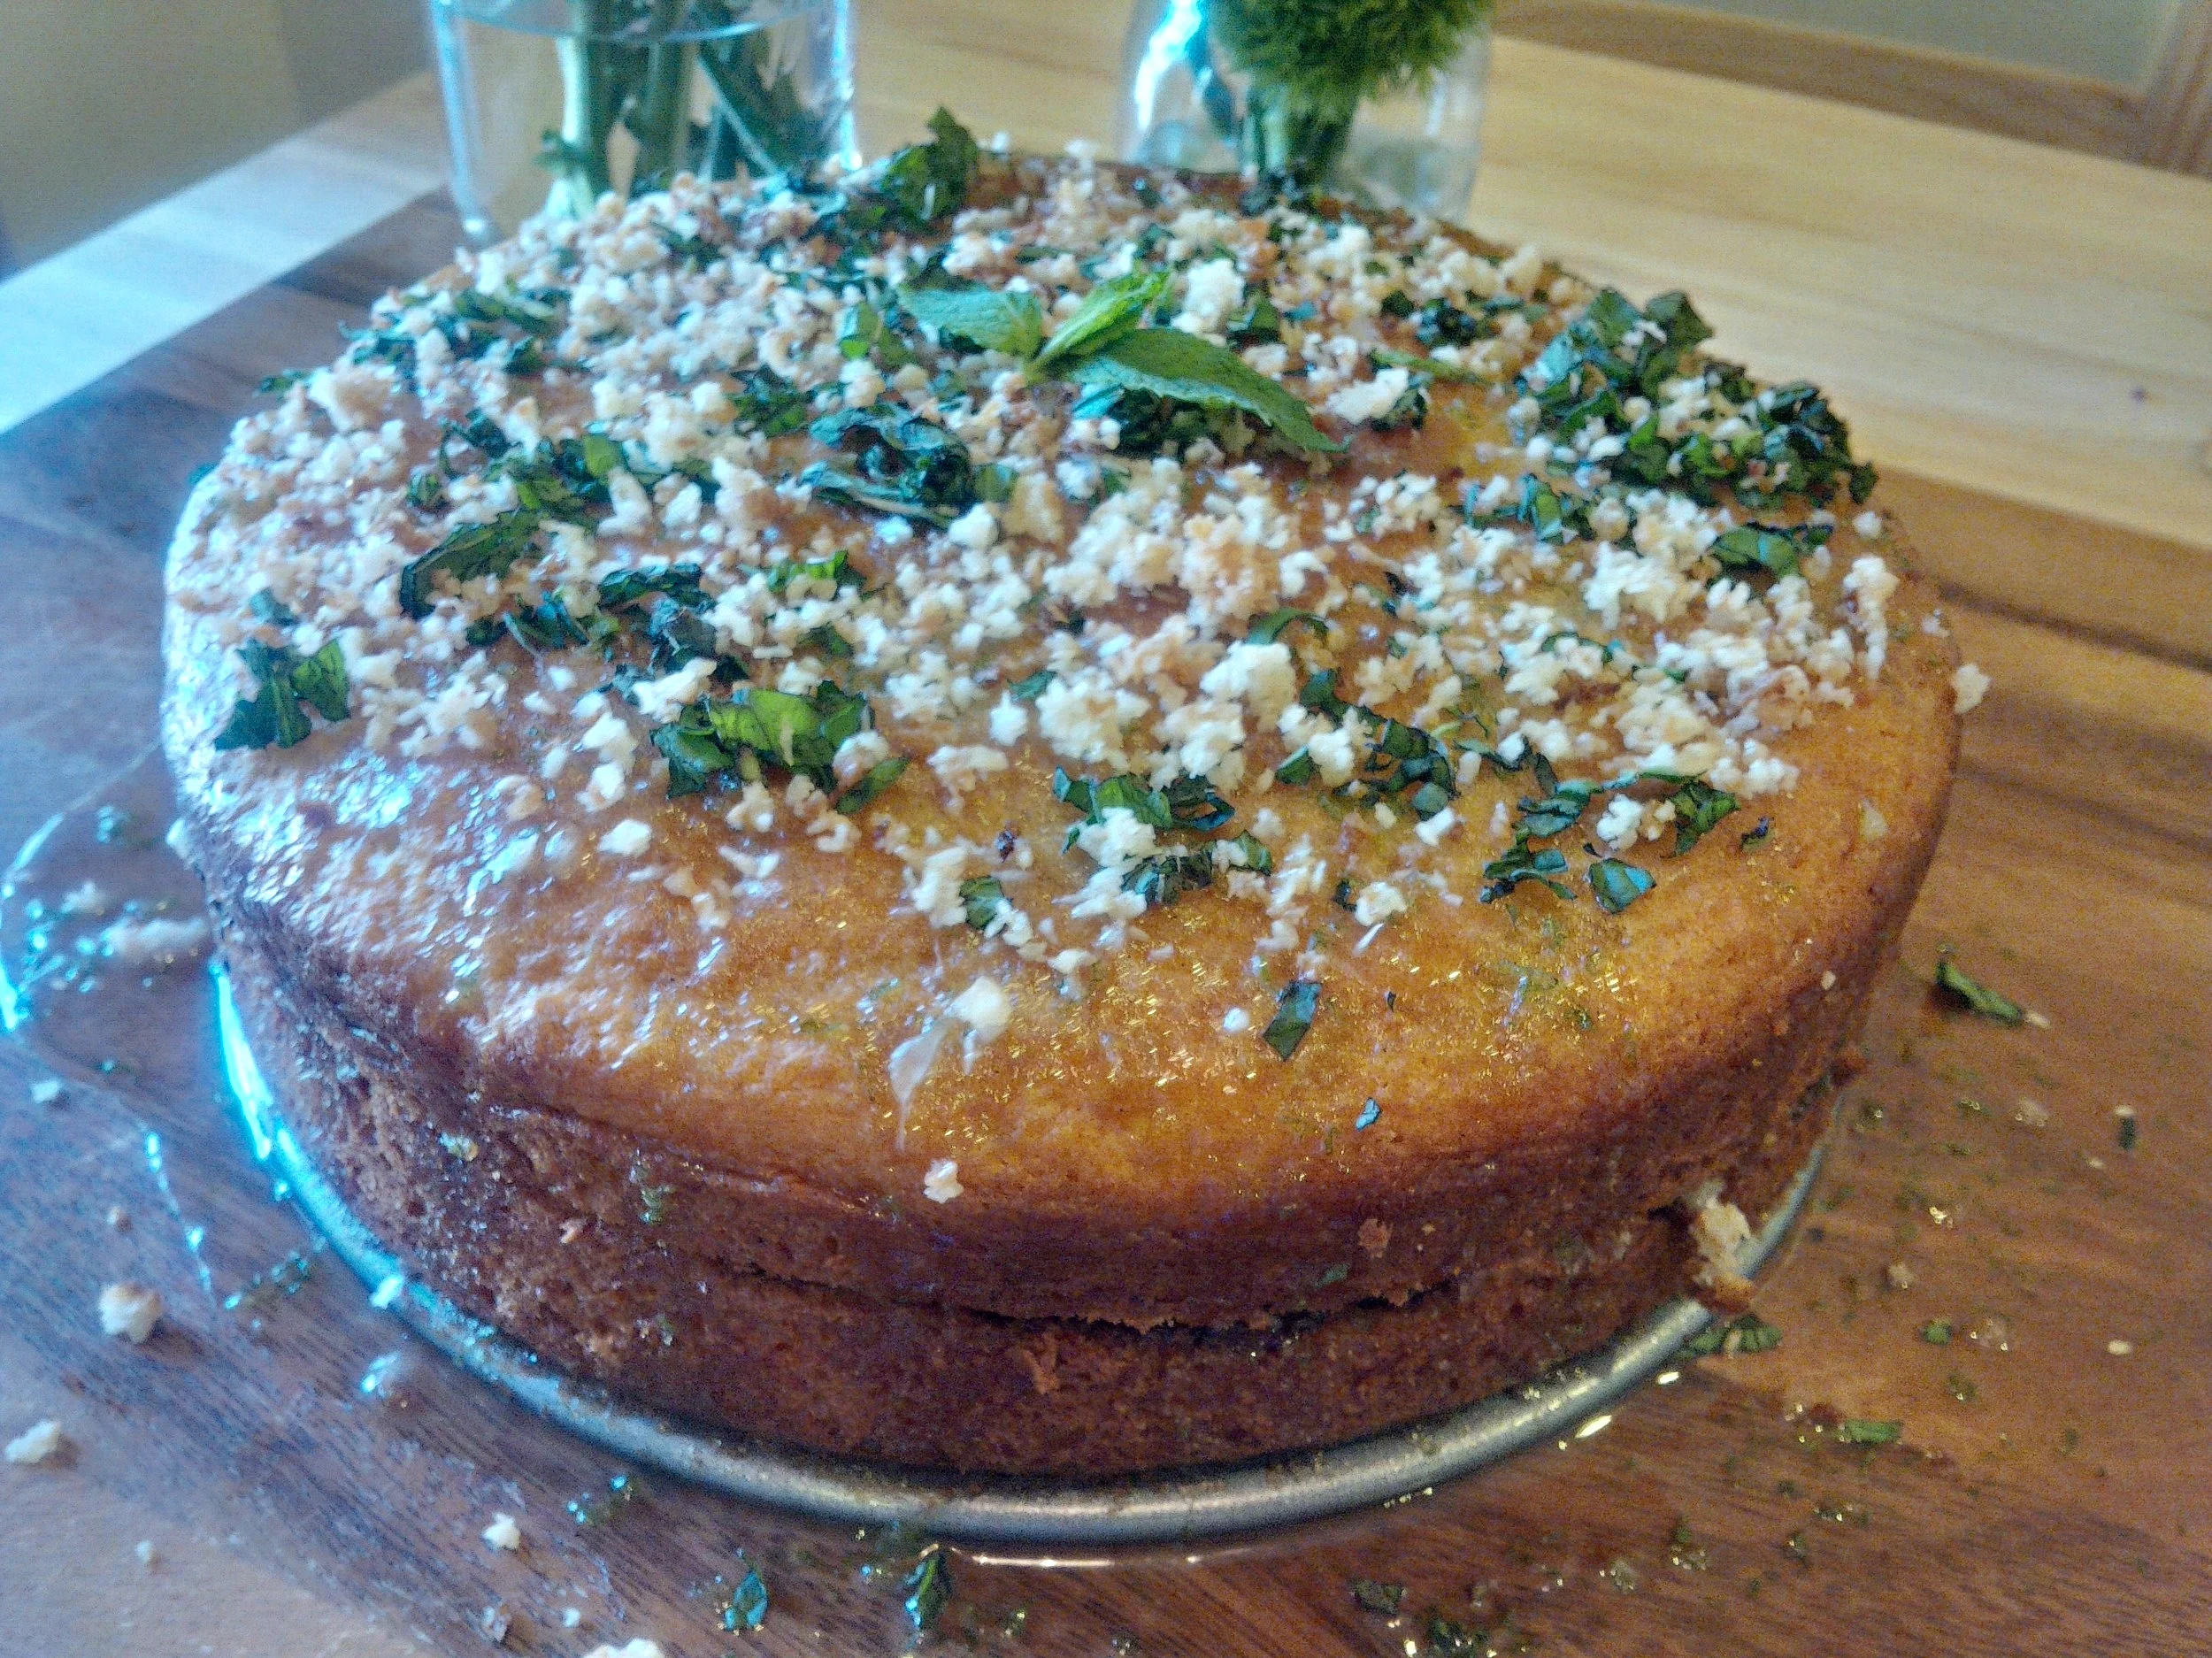
Ta-Da!