
As I sit here trying to figure out what to write, Greg is deep diving on his laptop. For as long as I have known him, Greg has always had a deep connection to this machine. It is always with him, whether he is in the bathroom or on the go. Yet, despite this addiction, to protect his laptop he uses the foam packaging it came with. The idea to make him a laptop sleeve came quickly and easily. The execution, however, was not as successful. Read below to make one yourself!

slightly messy workspace
Supplies
- cutting board
- rotary blade
- fabric squares - (11) 8" x 8" squares
About the fabric:
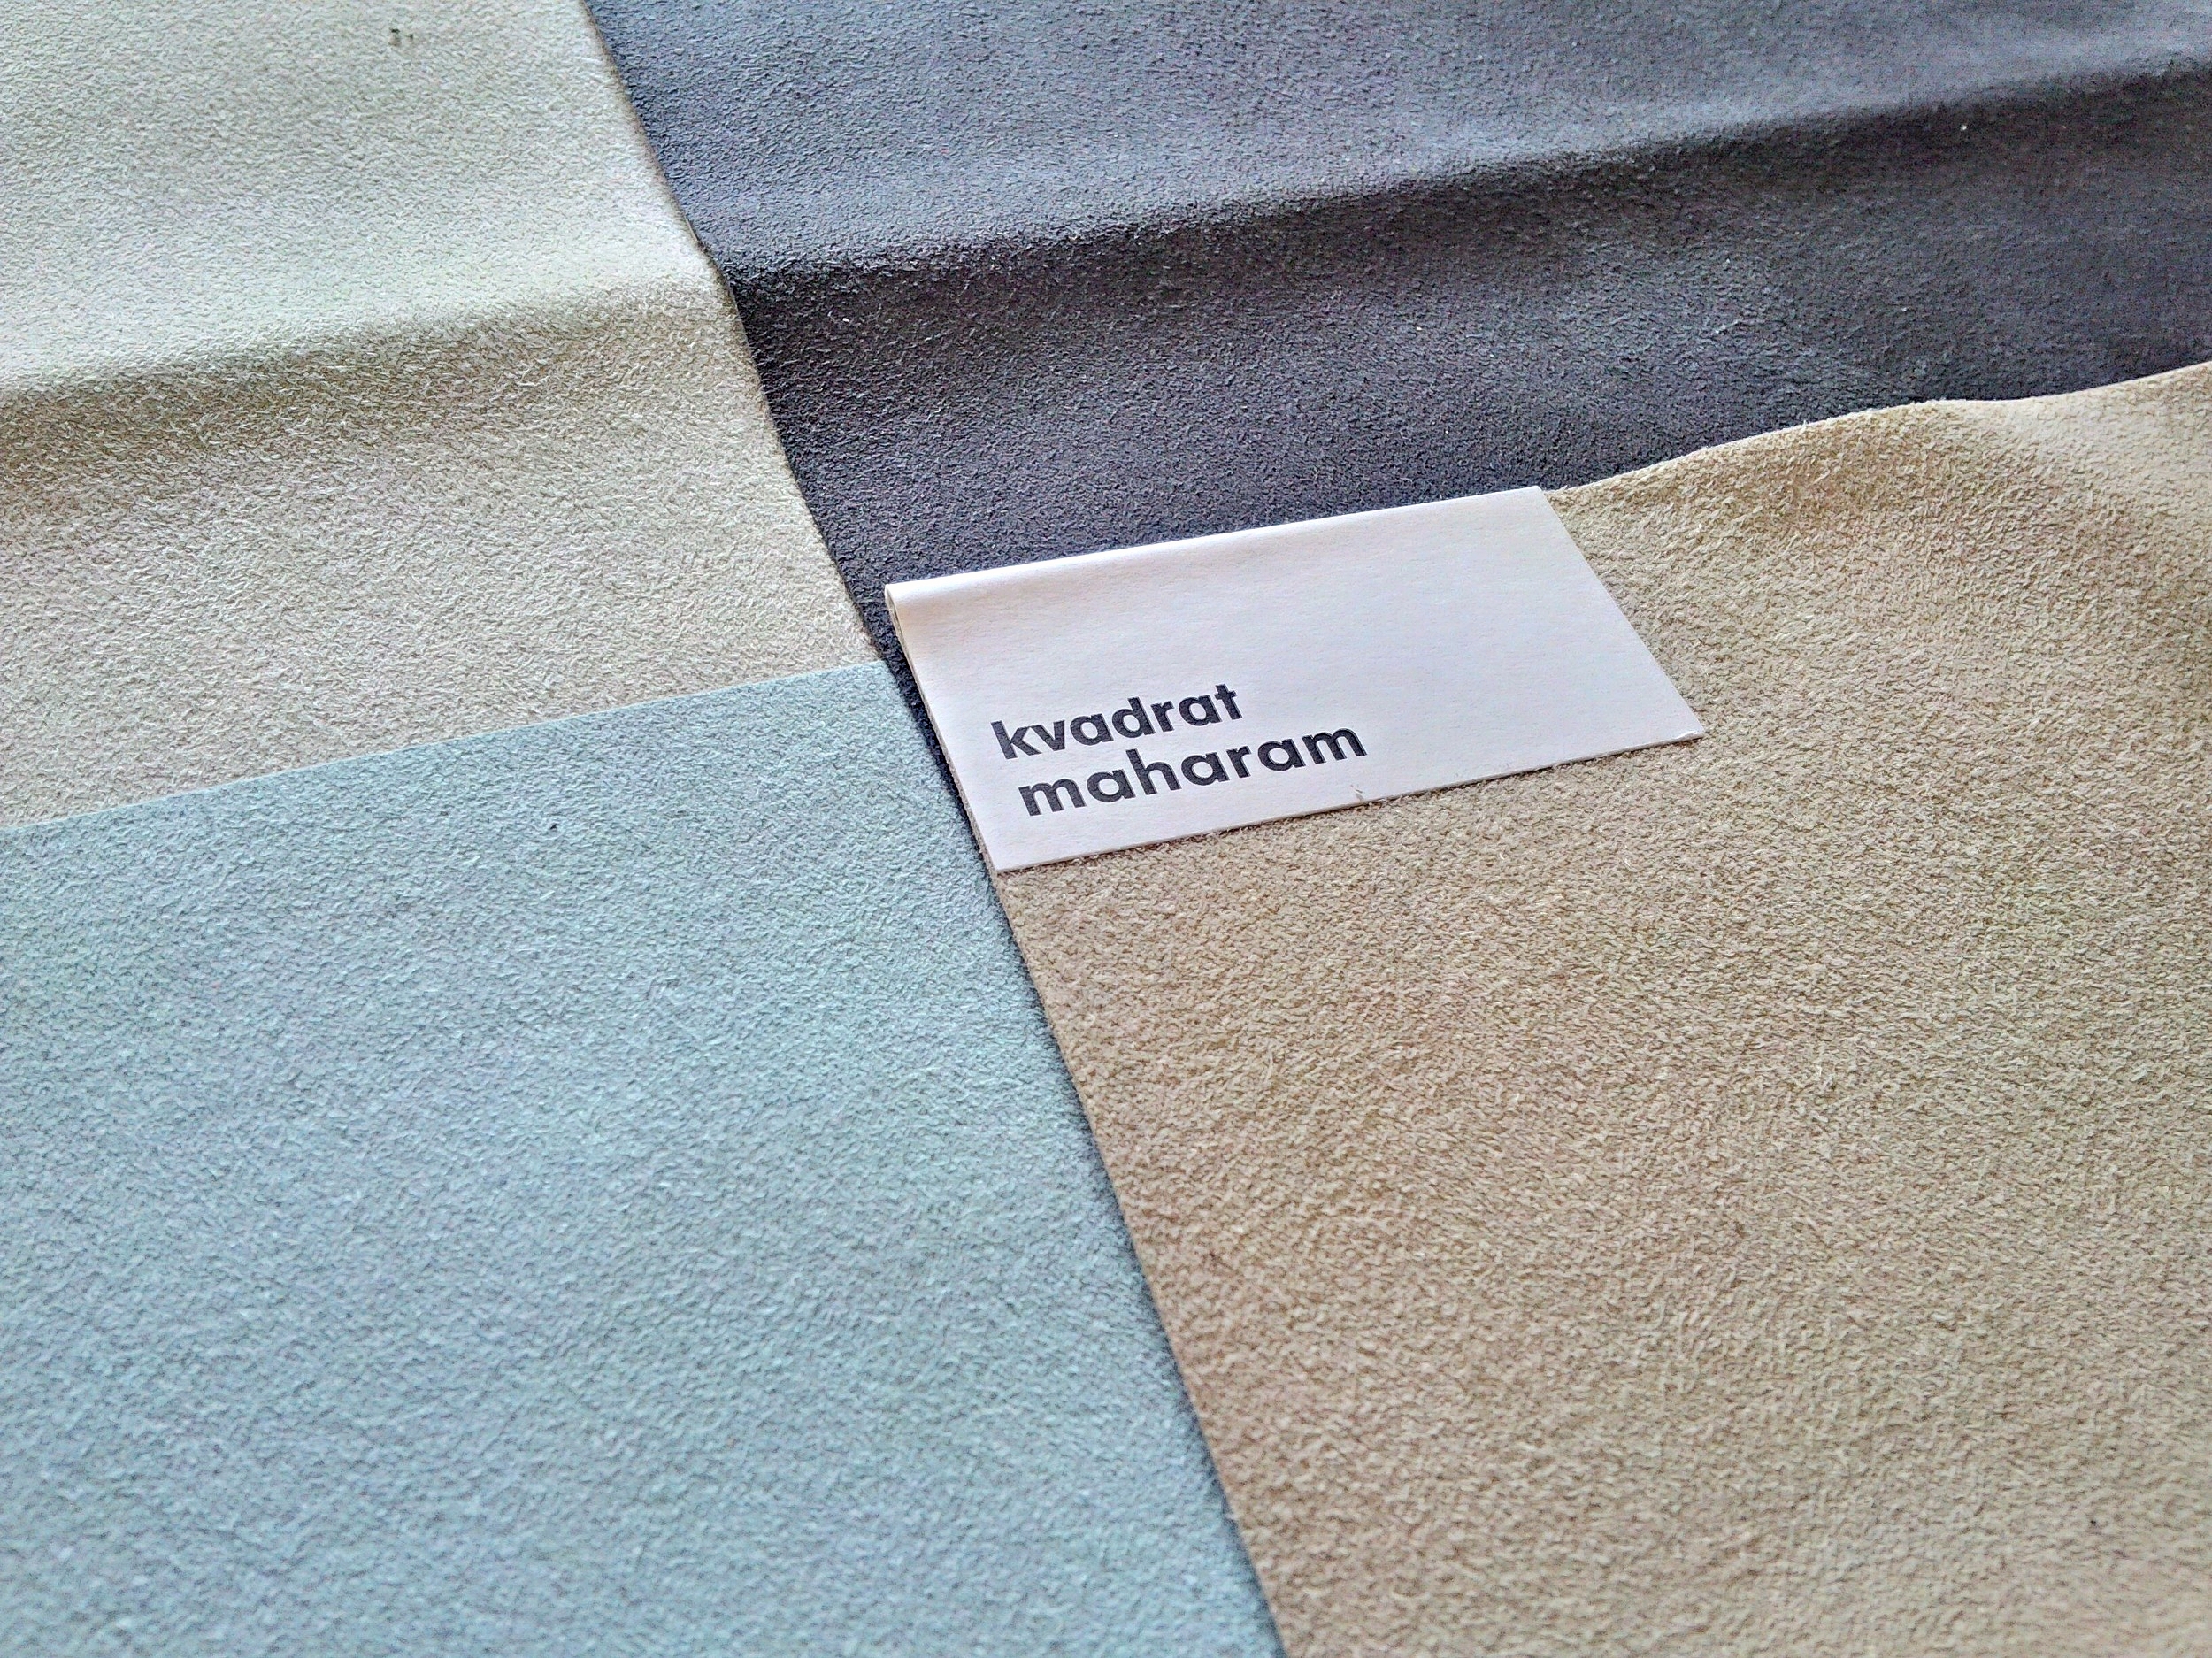
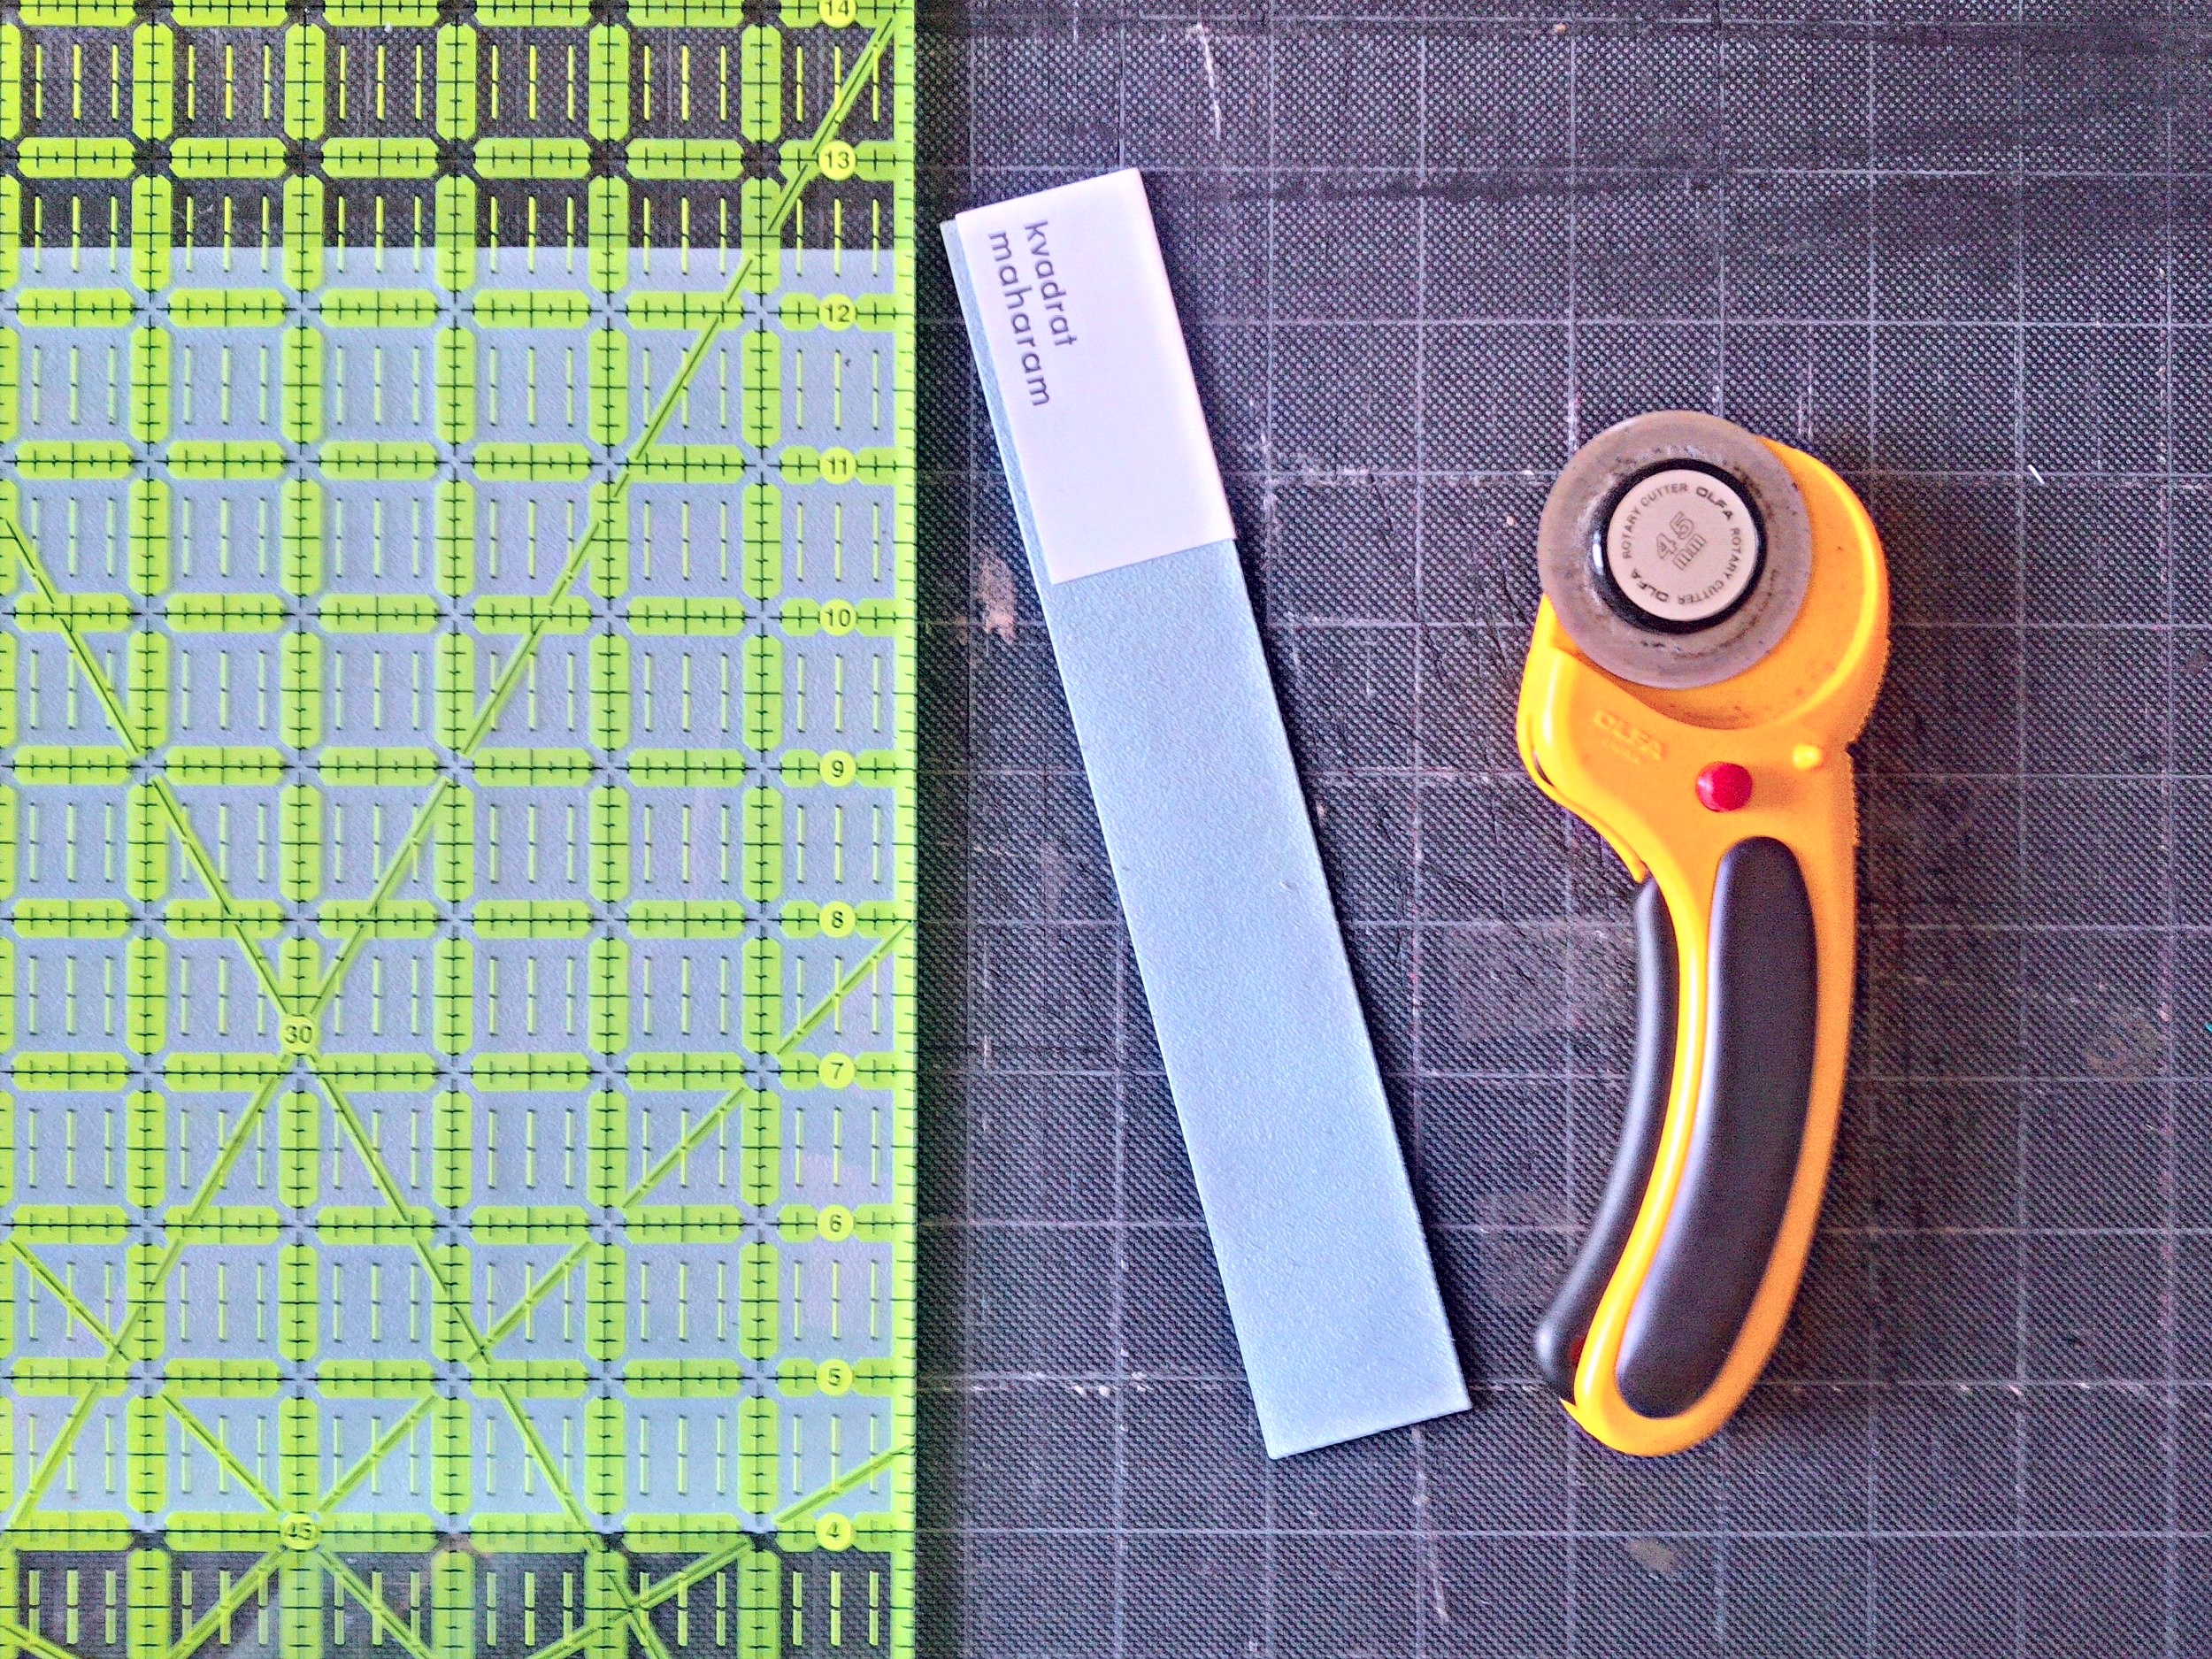
As an interior designer I have access to fantastic samples and raw materials which I regularly craft with. I was able to snag some of these awesome samples from the Maharam Kvadrat Waterborn collection. Because I can be a lazy crafter, I decided to take advantage of the suede look and feel of this upholstery fabric by keeping the edges raw and unfinished. To recreate this for yourself look for a felt of suede.
Instructions
1. Color Blocking
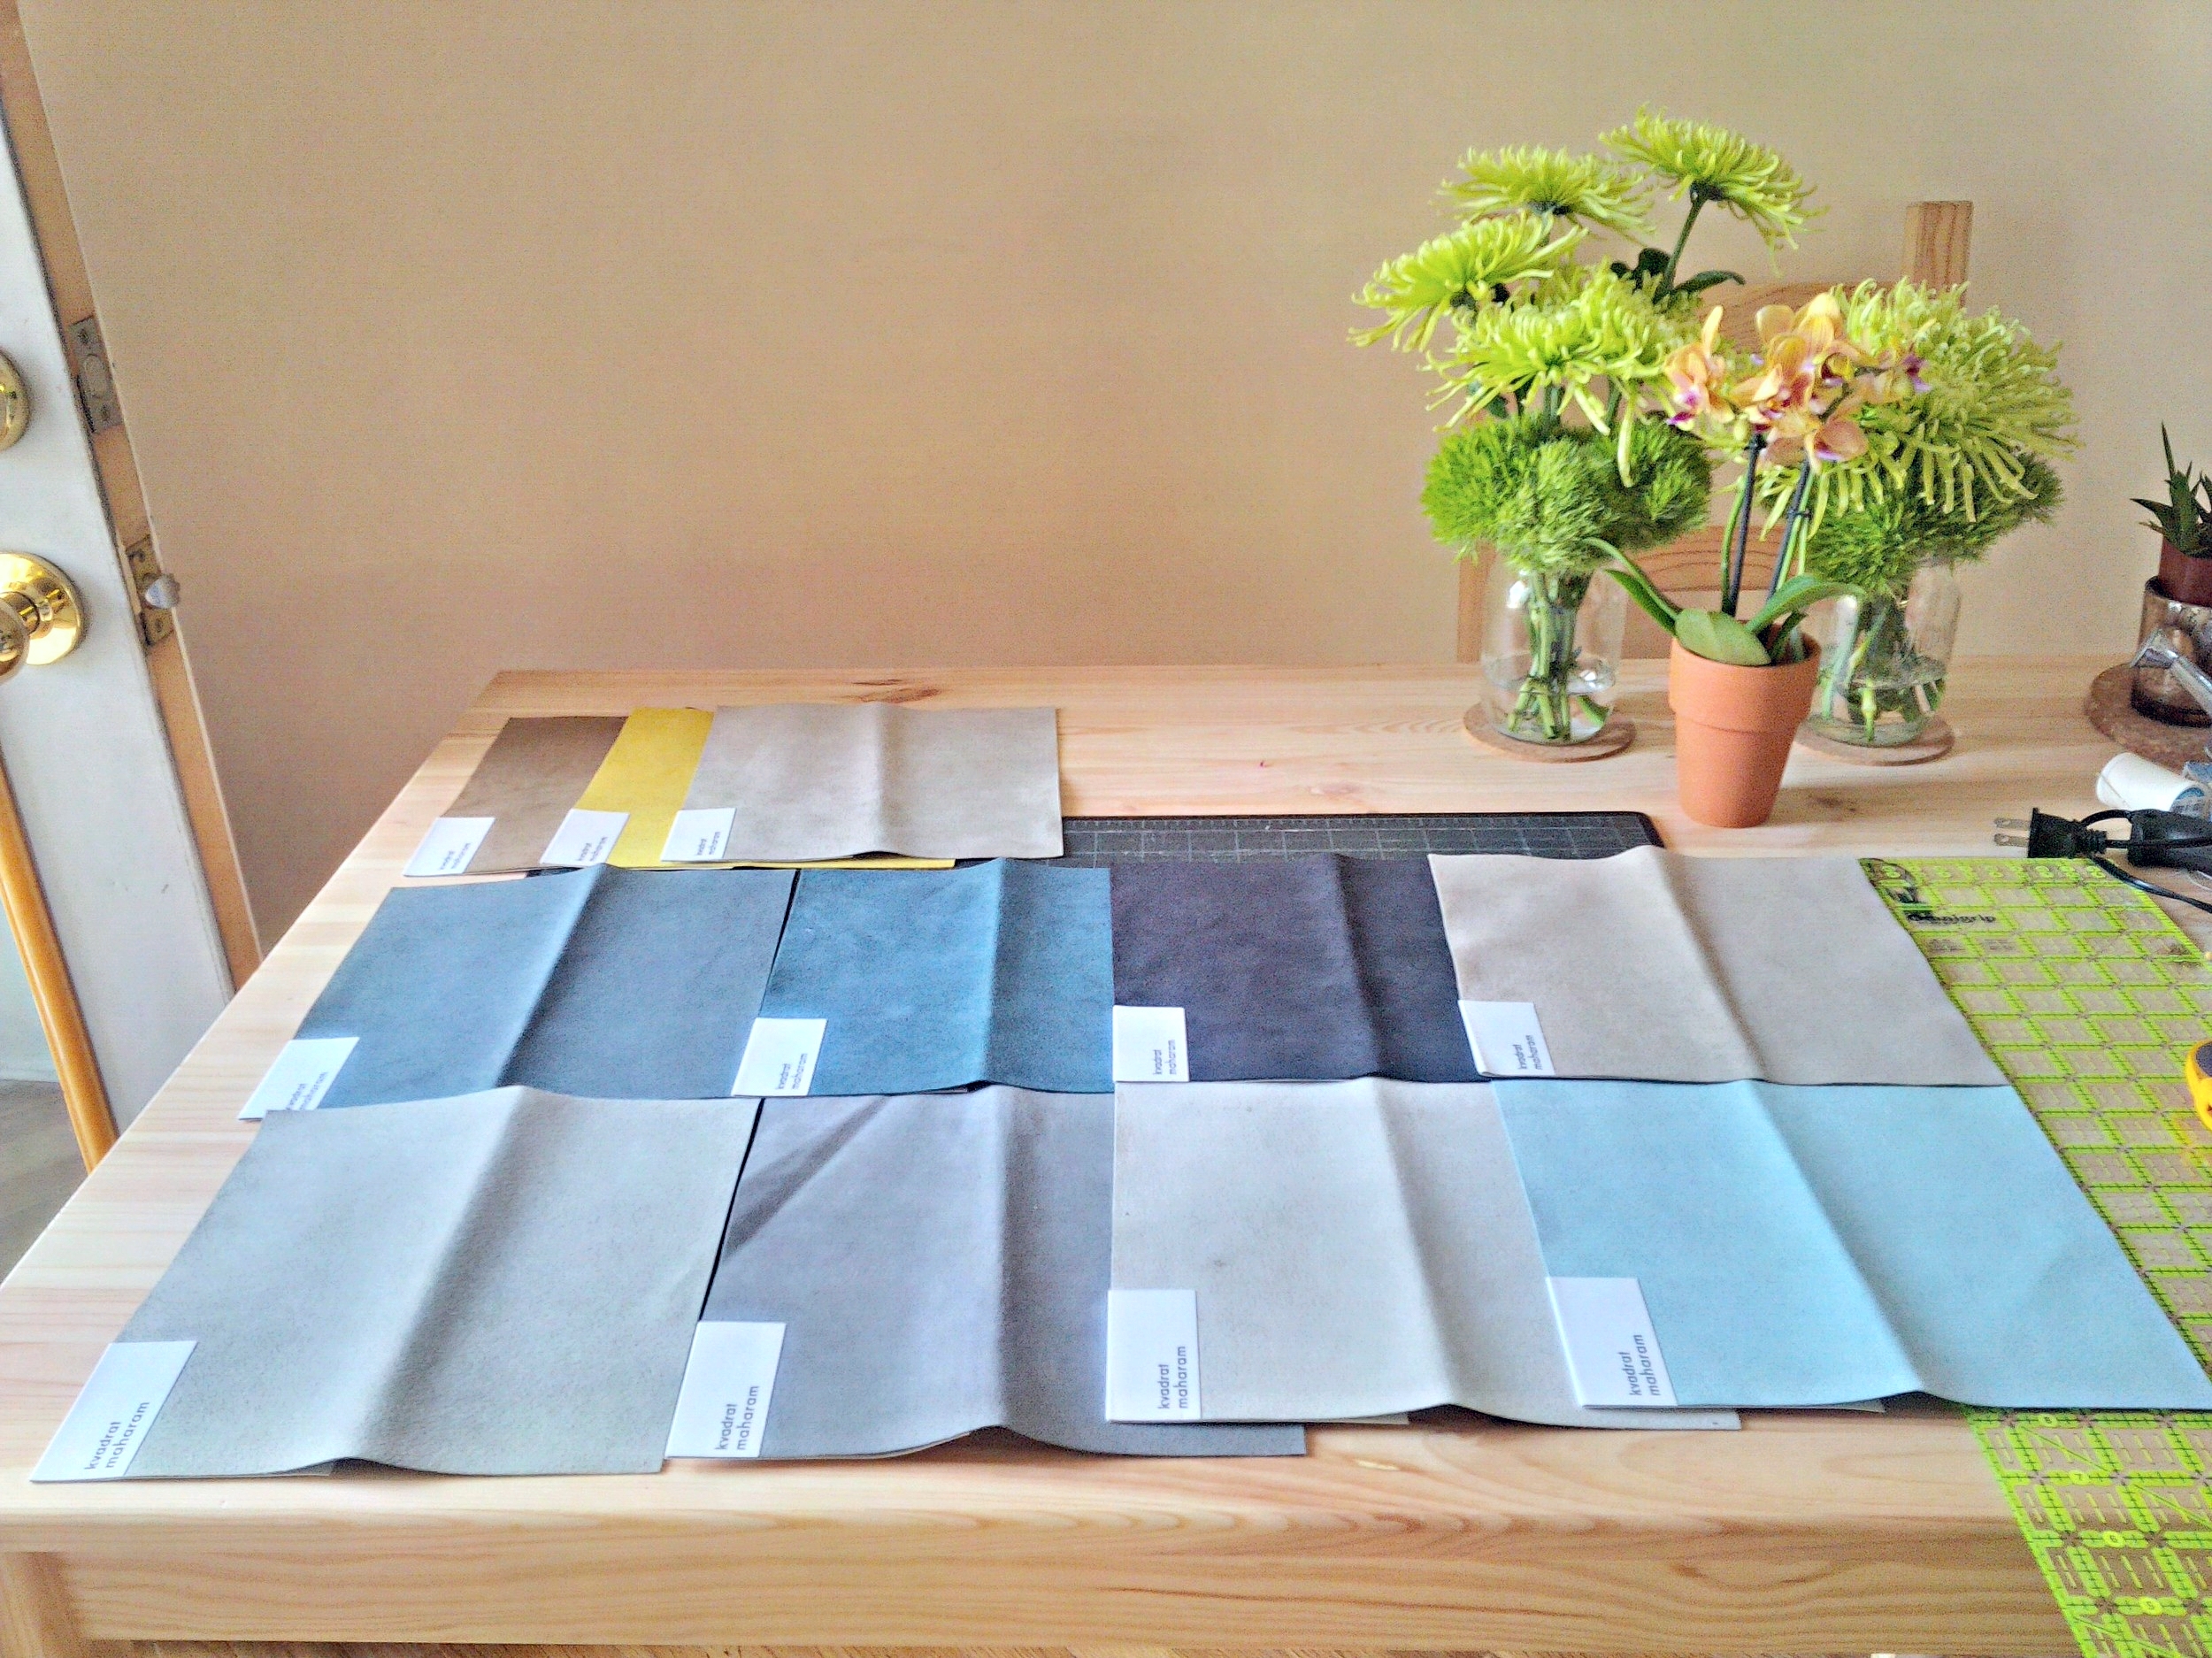
TBH, when I collected these samples I really didn't have a plan as to what this thing would actually look like. What I did know is that I wanted it to be easy . . but you know, still nice.
Finally, the seemingly simple idea came to me! "Maximize the usable fabric of the sample and use the scraps to make a stripe", I said to myself as I went to the fridge to grab a beer that wasn't there because we drank them all the night before (already off to a good start). You see, the white tag on the sample is actually glued to it; which makes it unusable. To see pictures of what I am talking about, go to 2. Cut, Cut, Cut Away!
So pretty!
2. Cut, Cut, Cut Away!
Oh, hello! Thanks for joining me here in 2. Cut, Cut, Cut Away! In this section we will be talking about cutting fabric. but before I get to that, some housekeeping!
I may or may not have forgotten to tell you to measure the laptop which will live in this sleeve. OOPS! Greg's measures roughly 15" x 11" with the thickness of no more than .5". In theory I designed a sleeve to have a finished dimension of 16' x 12" to allow for a little wiggle room. In reality I did no such thing
ALSO, see the diagram (or photo as it is often referred to) below for code and dimensions of the pieces which will need to be cut to make this project. Keep in mind that not only do these dimensions already include 1/4" seam allowance, but also reflect what I actually crafted (which is over sized). Adjust as needed!

F is for front!

B is for Back!

L is for fLap . . . ?
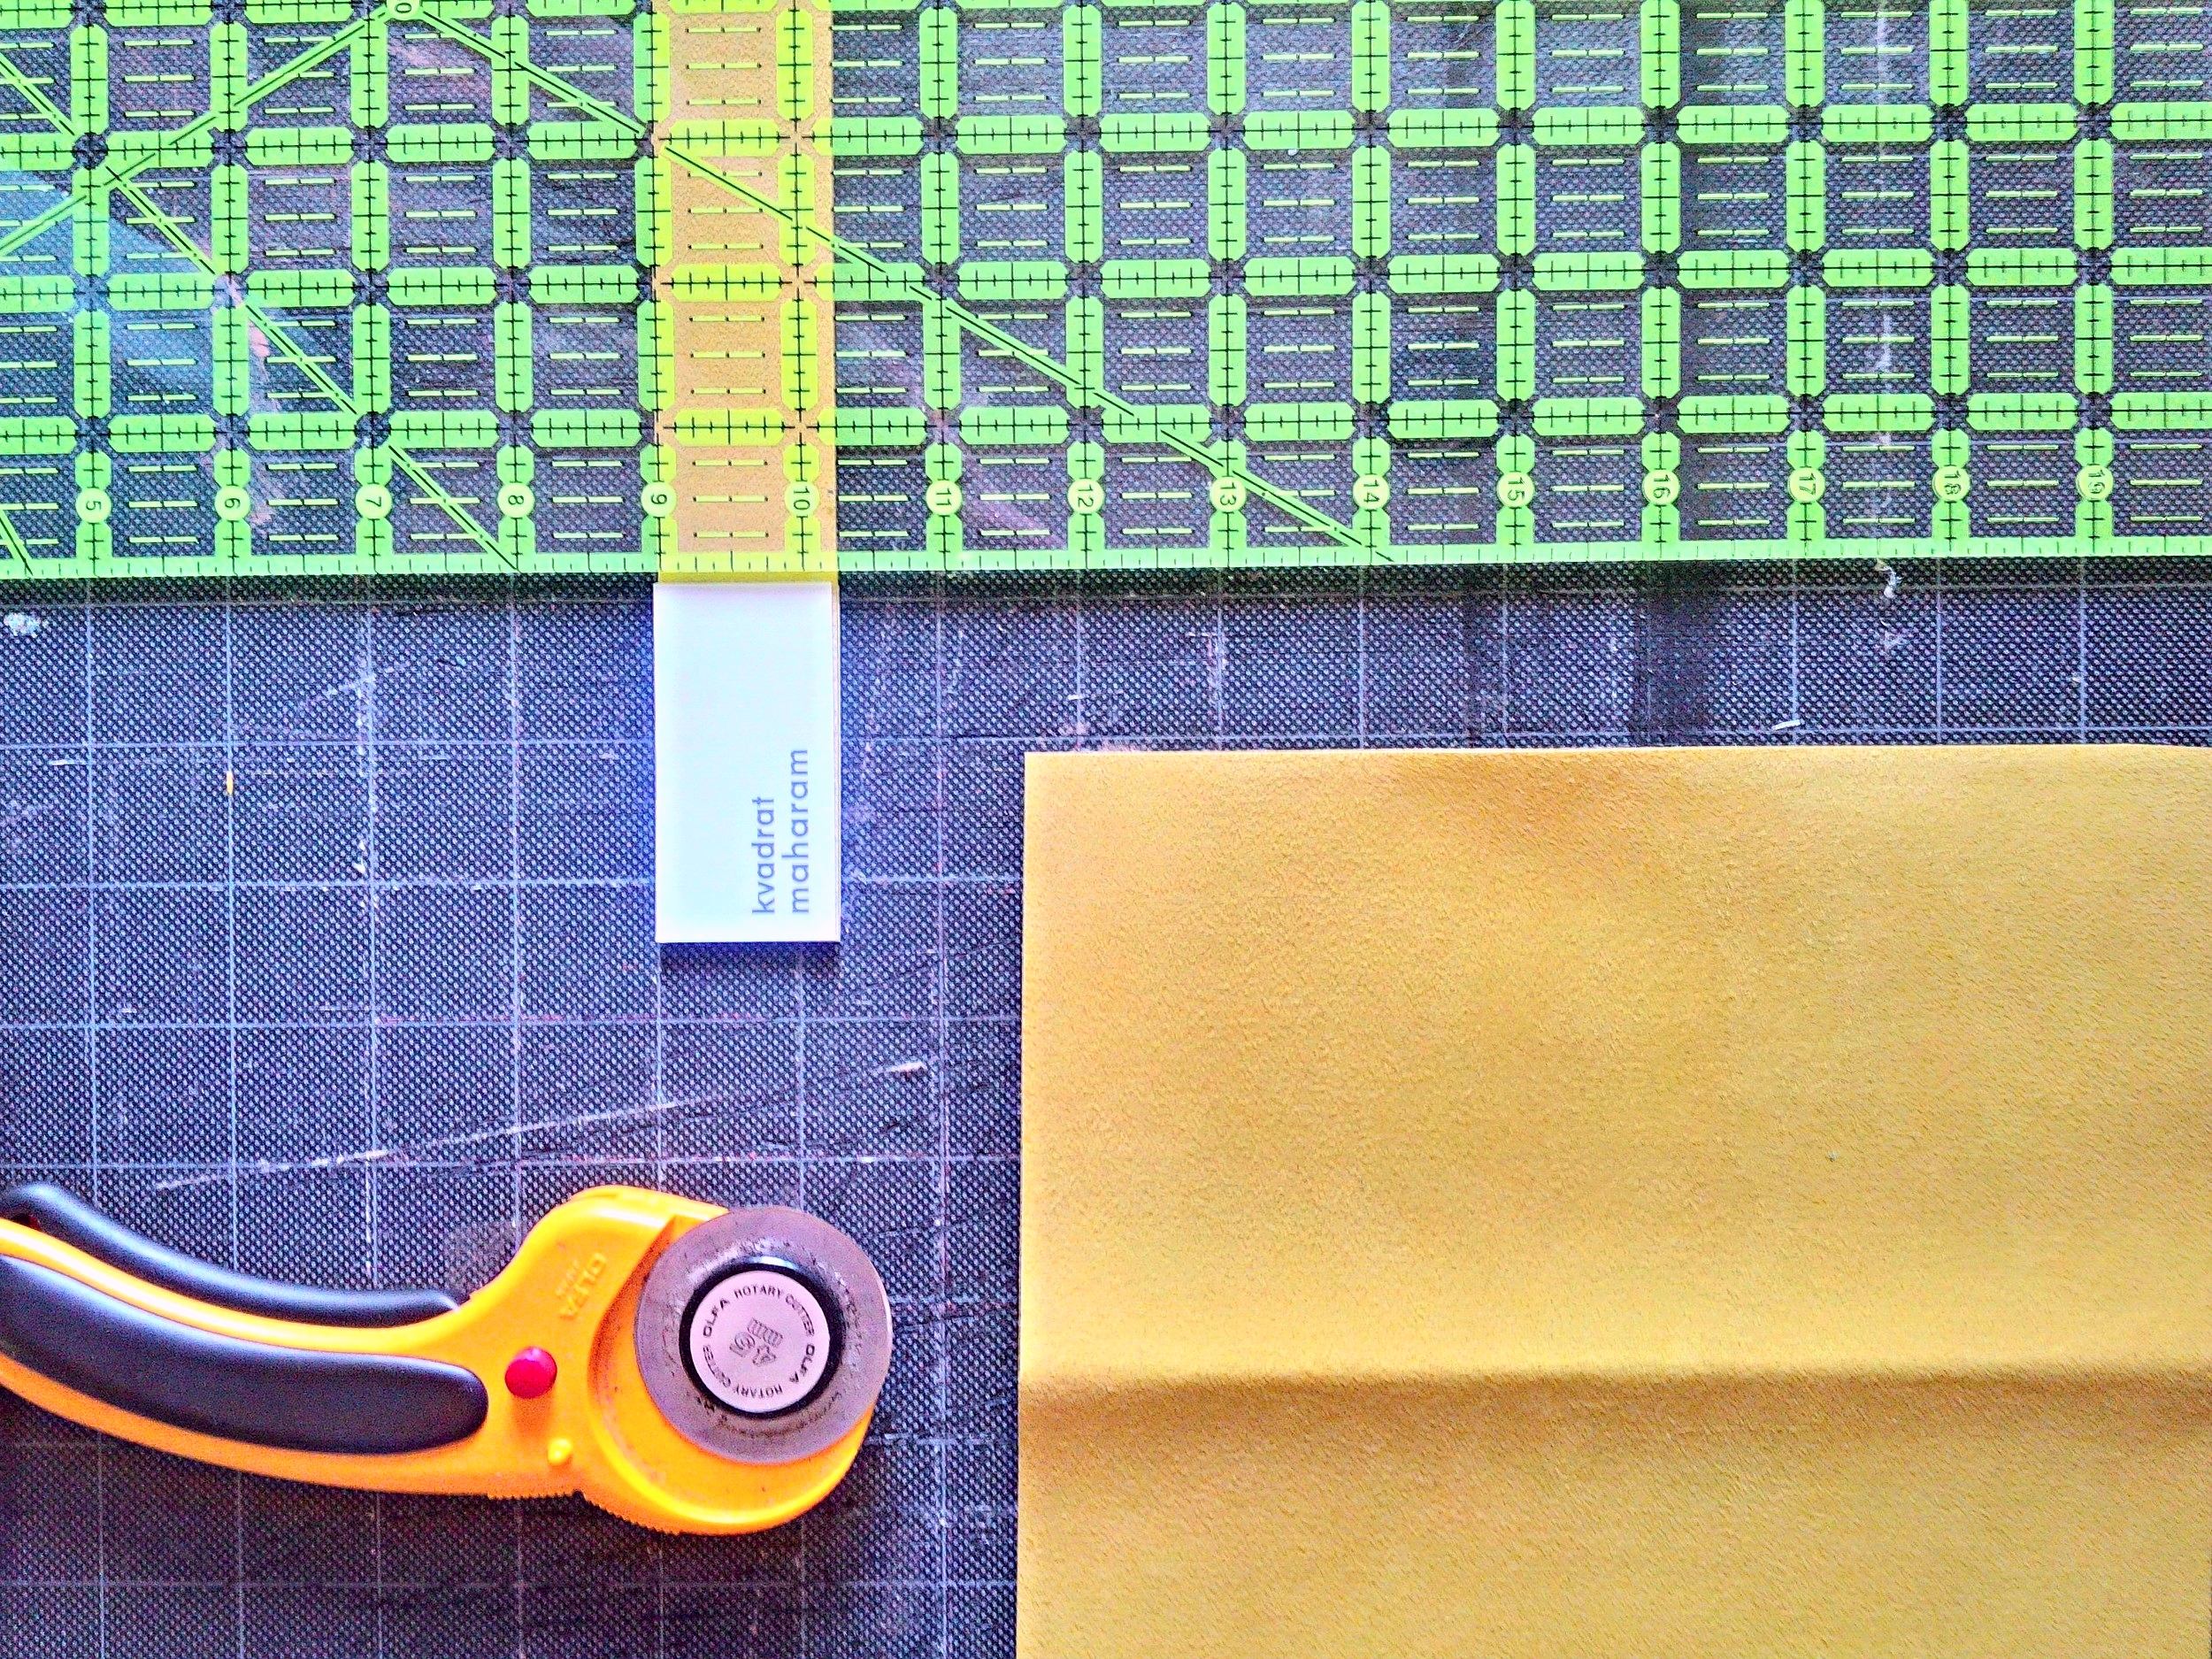
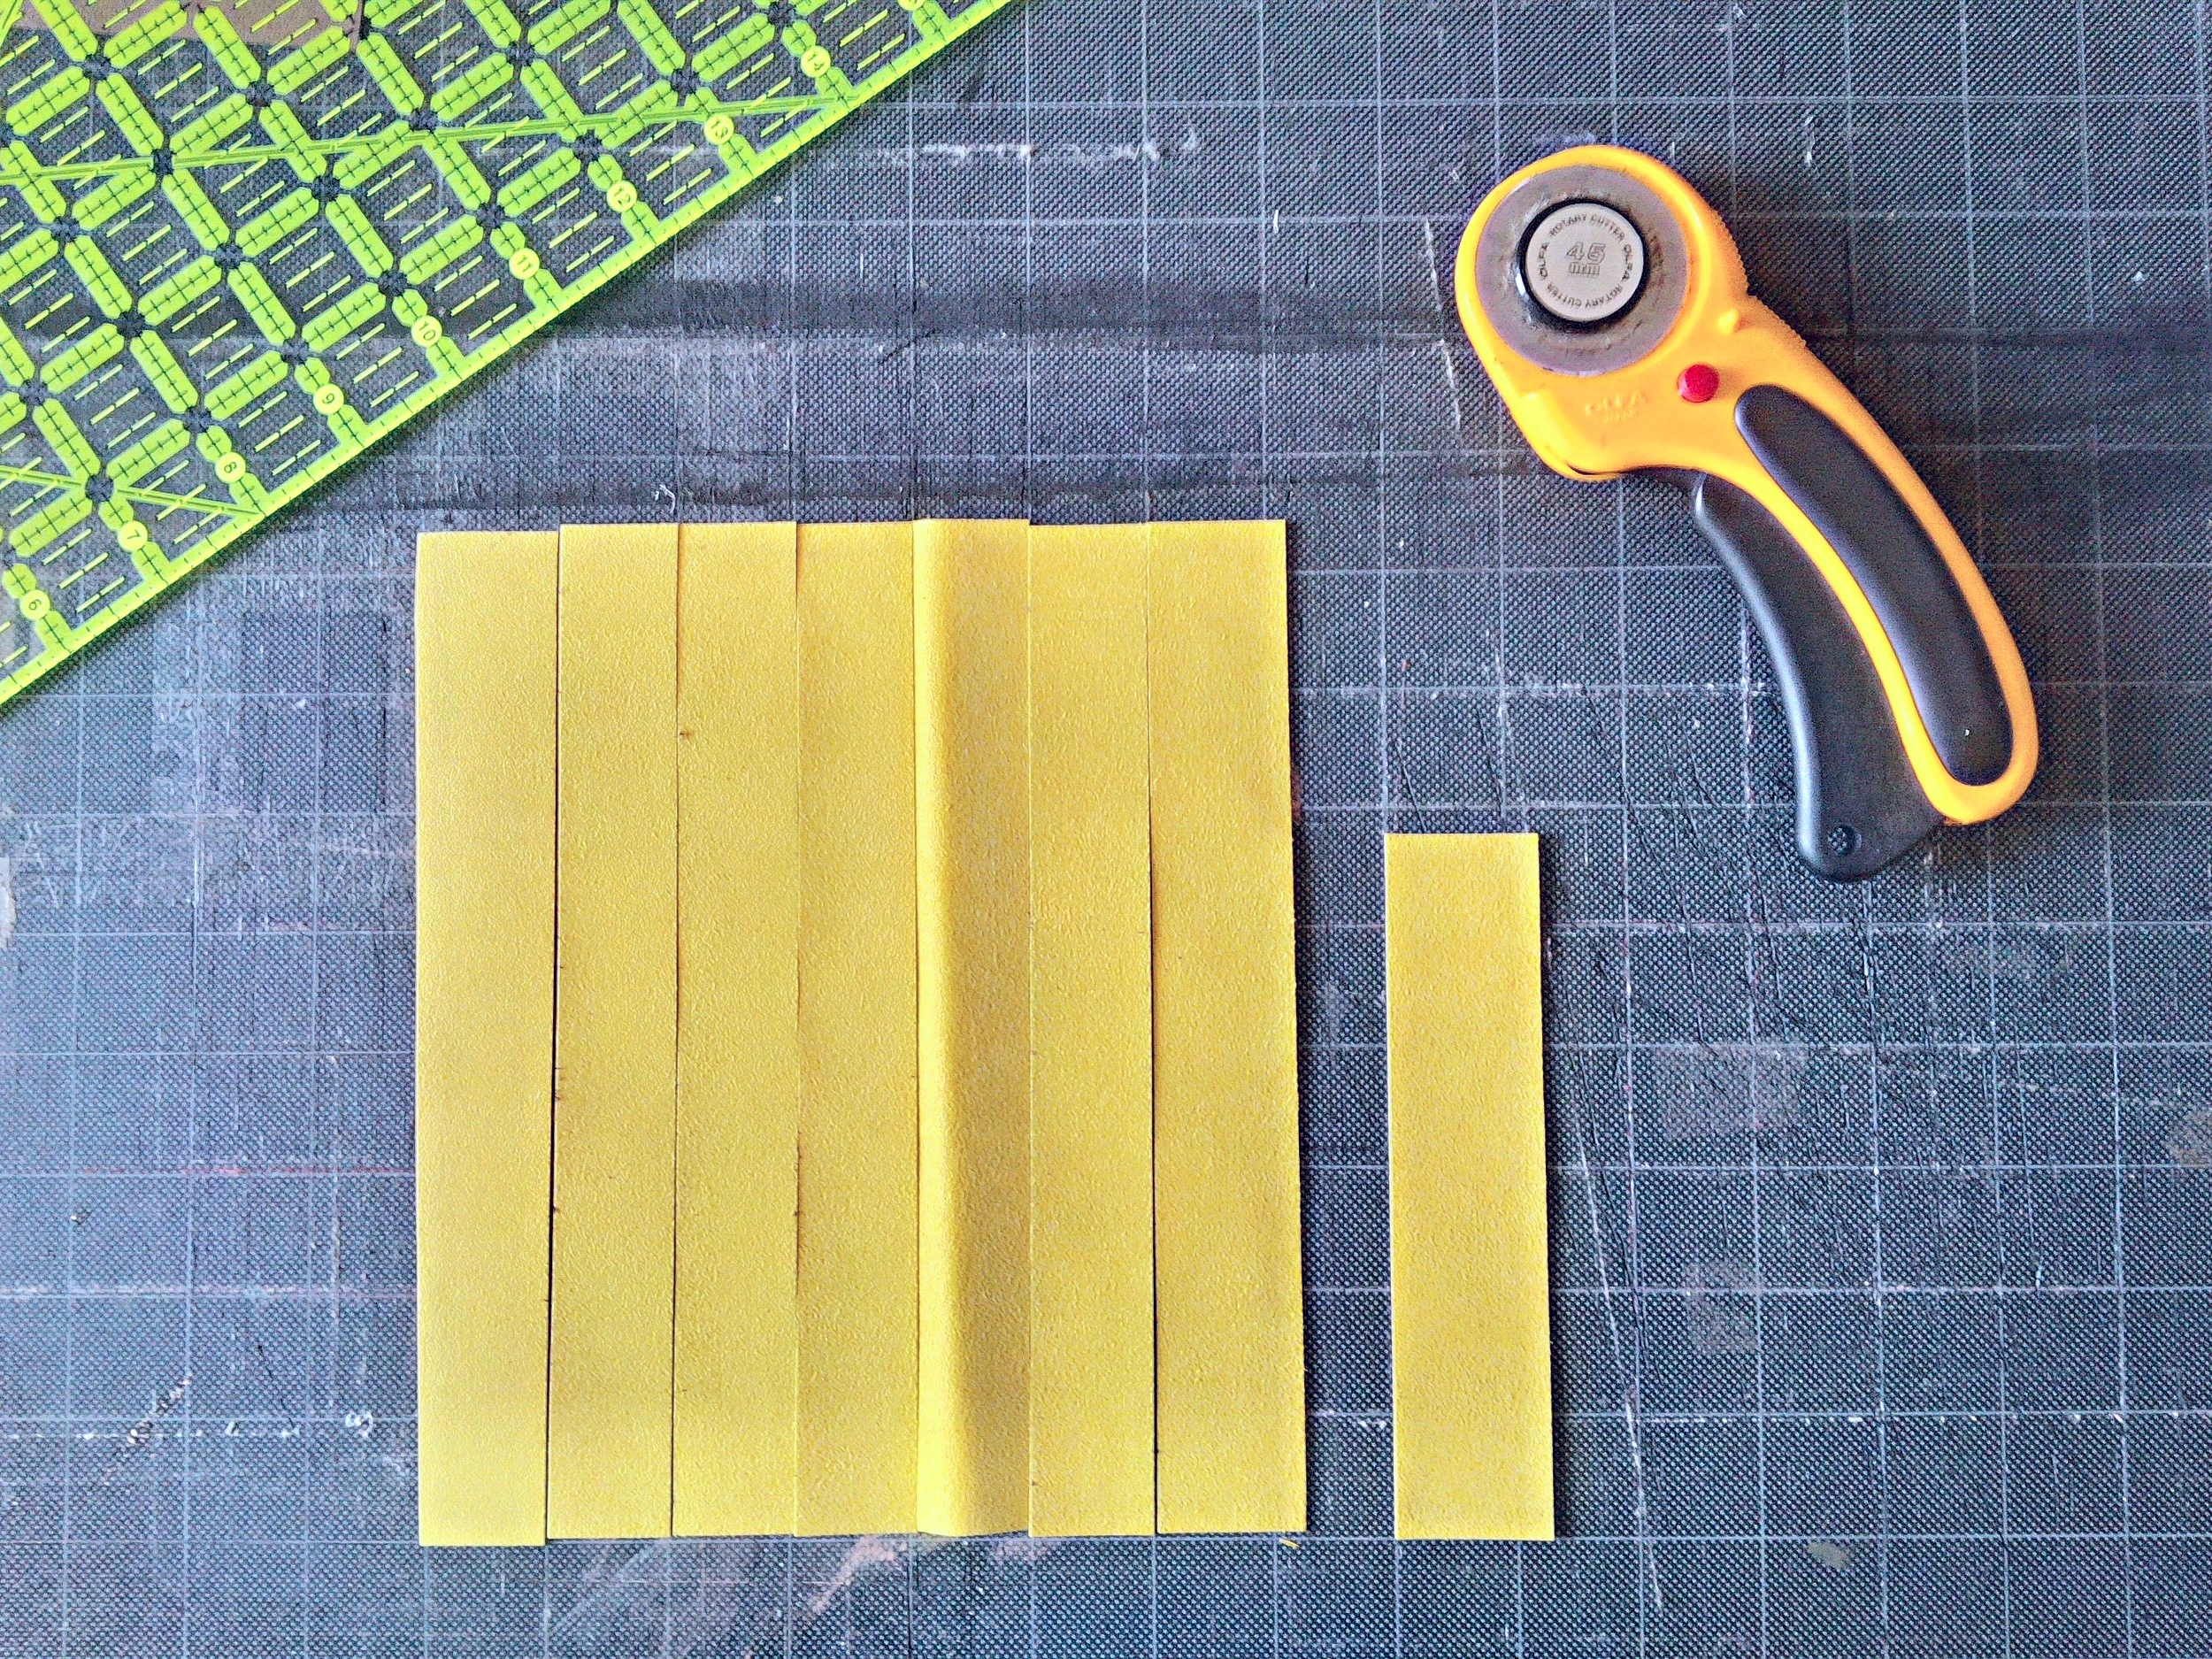
Ok, so where was I? Ahh, yes, cutting and maximizing the sample! So very very efficient, no? First, using a ruler and rotary blade, I cut off the strip which has the glued on tag. Continue by taking the scrap piece and cutting the tag off again. Congrats! You now have 1 large piece and a scrap piece! Now do the same thing 10 more times!
*Since the yellow is my accent piece, I continued to cut equal strips from the sample.

Are all my tools filthy?
scrappy scraps
3. Sewn Away
Before diving knee deep into the sewing portion, layout all of your pieces to get one last look at your creation. Oh, and if you plan on sewing this project at a later time it might be a good idea to take photos and tag the back of each piece.

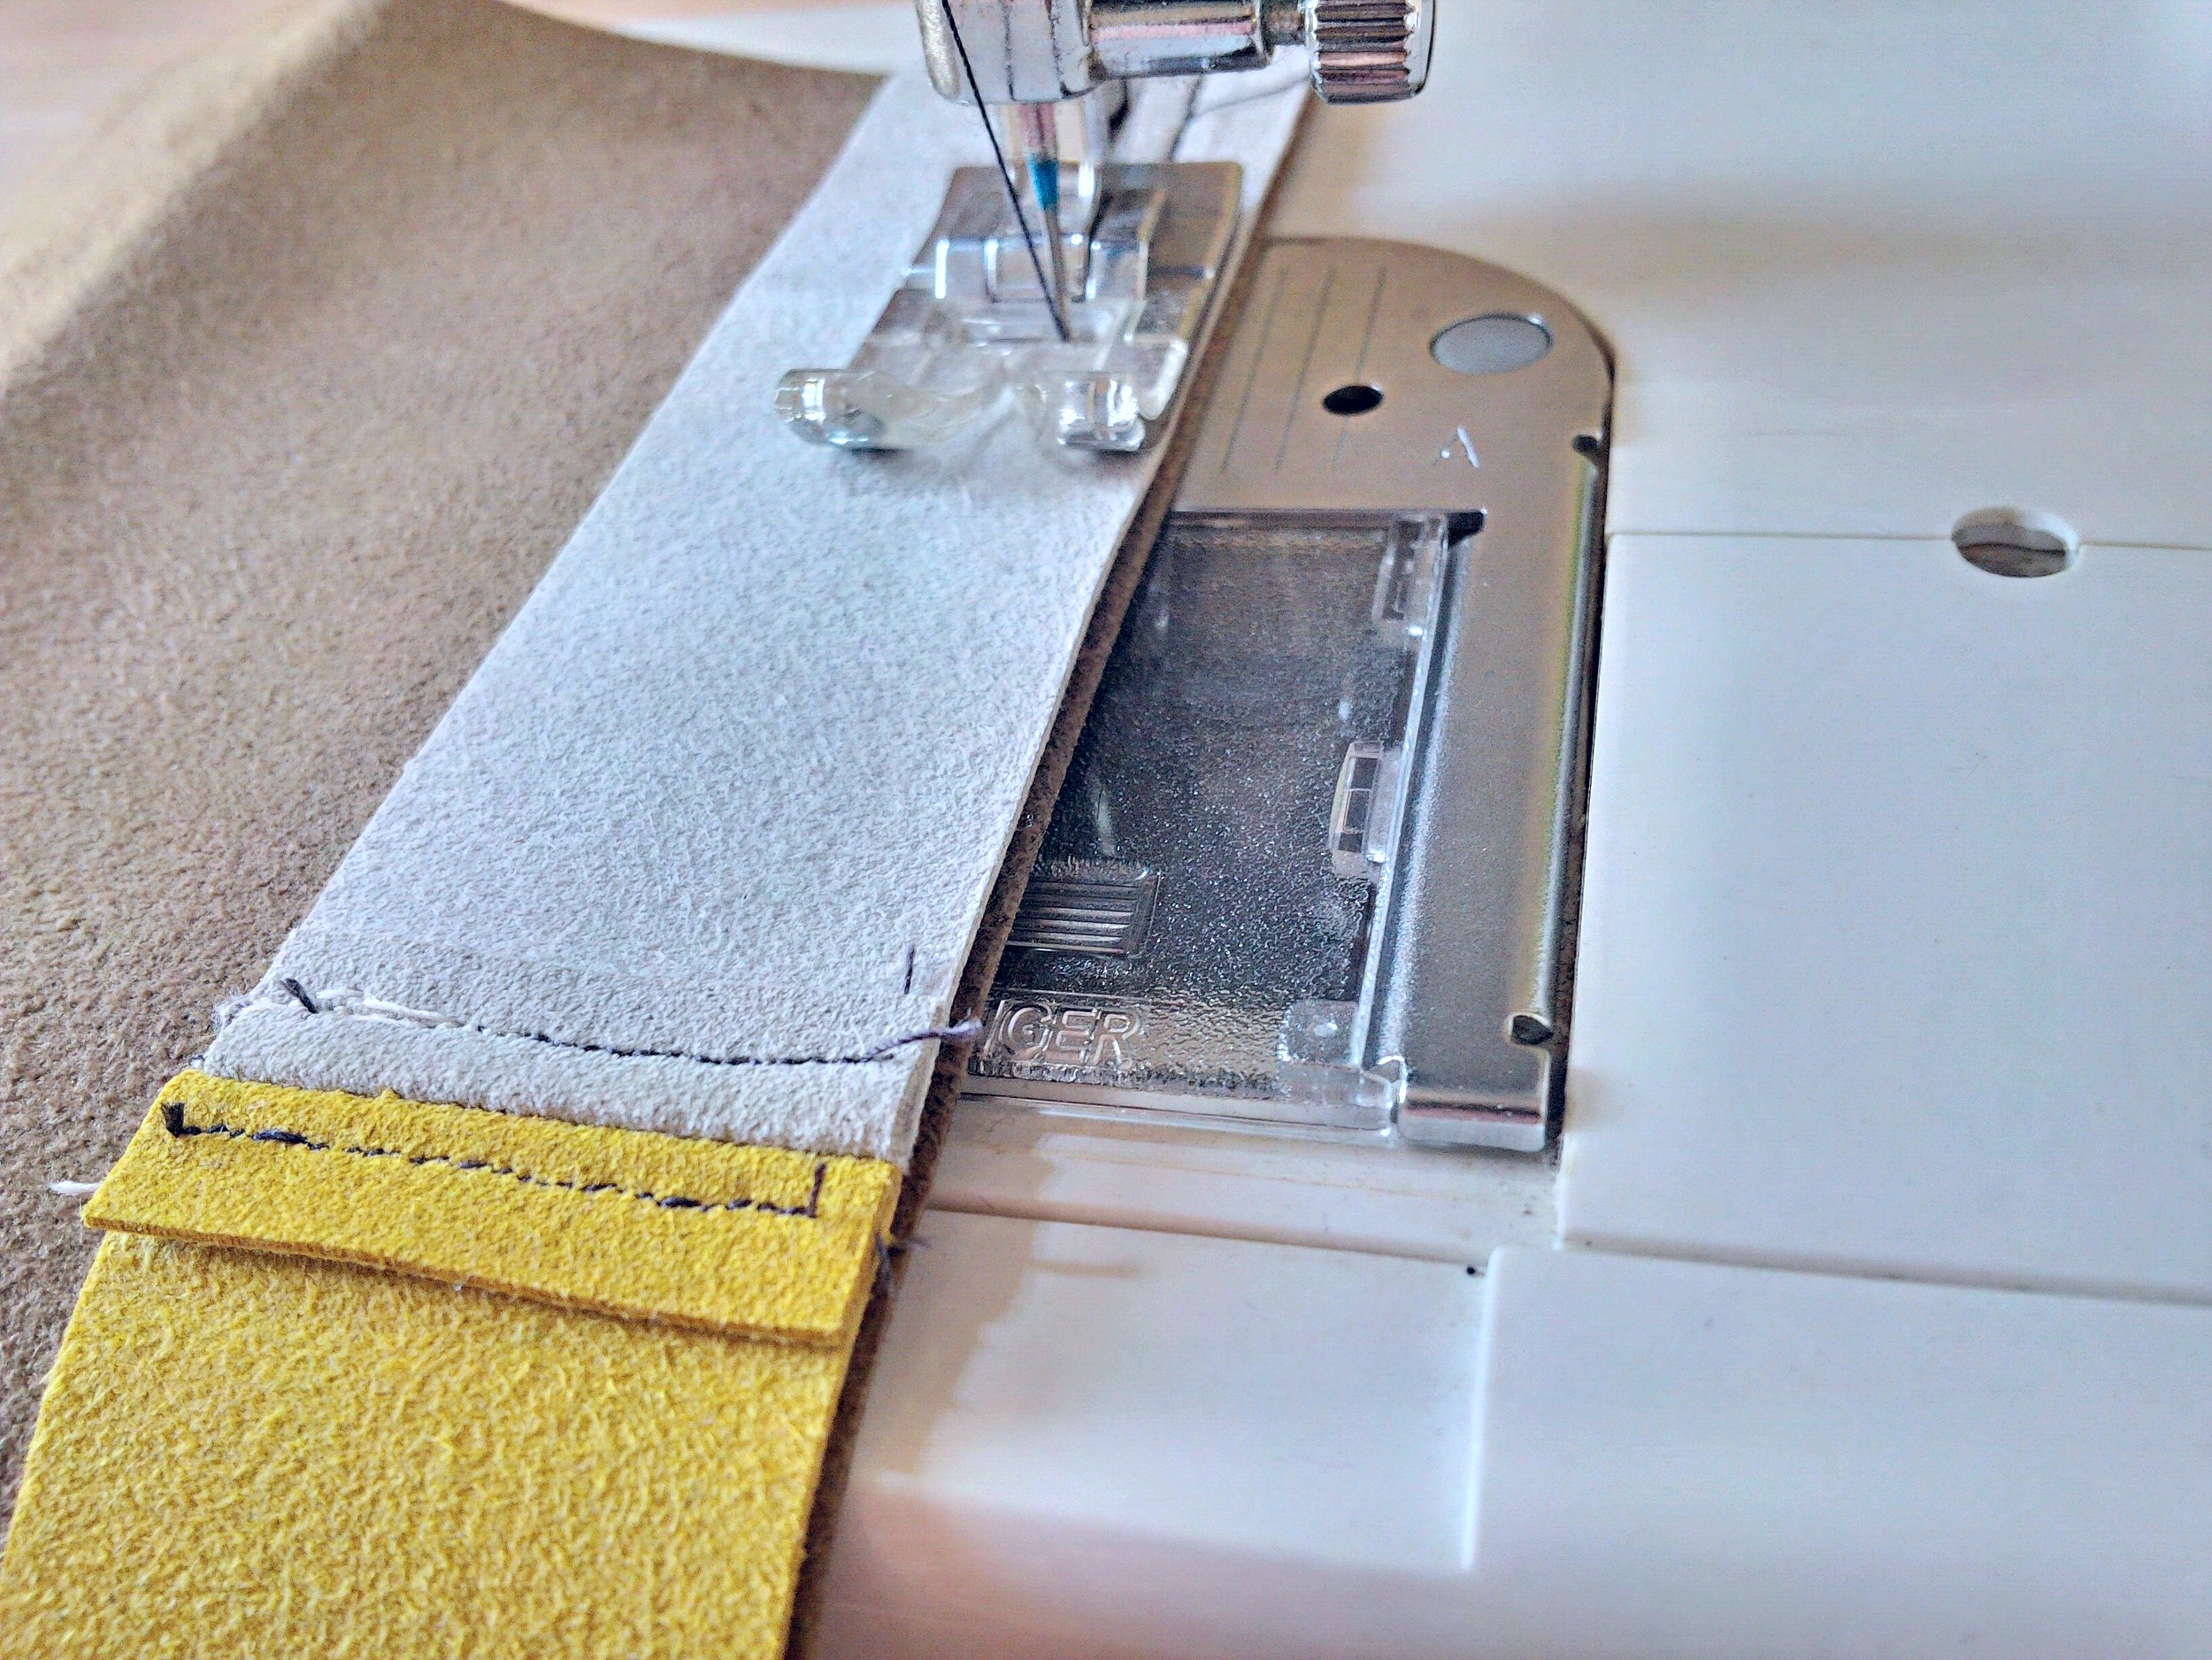
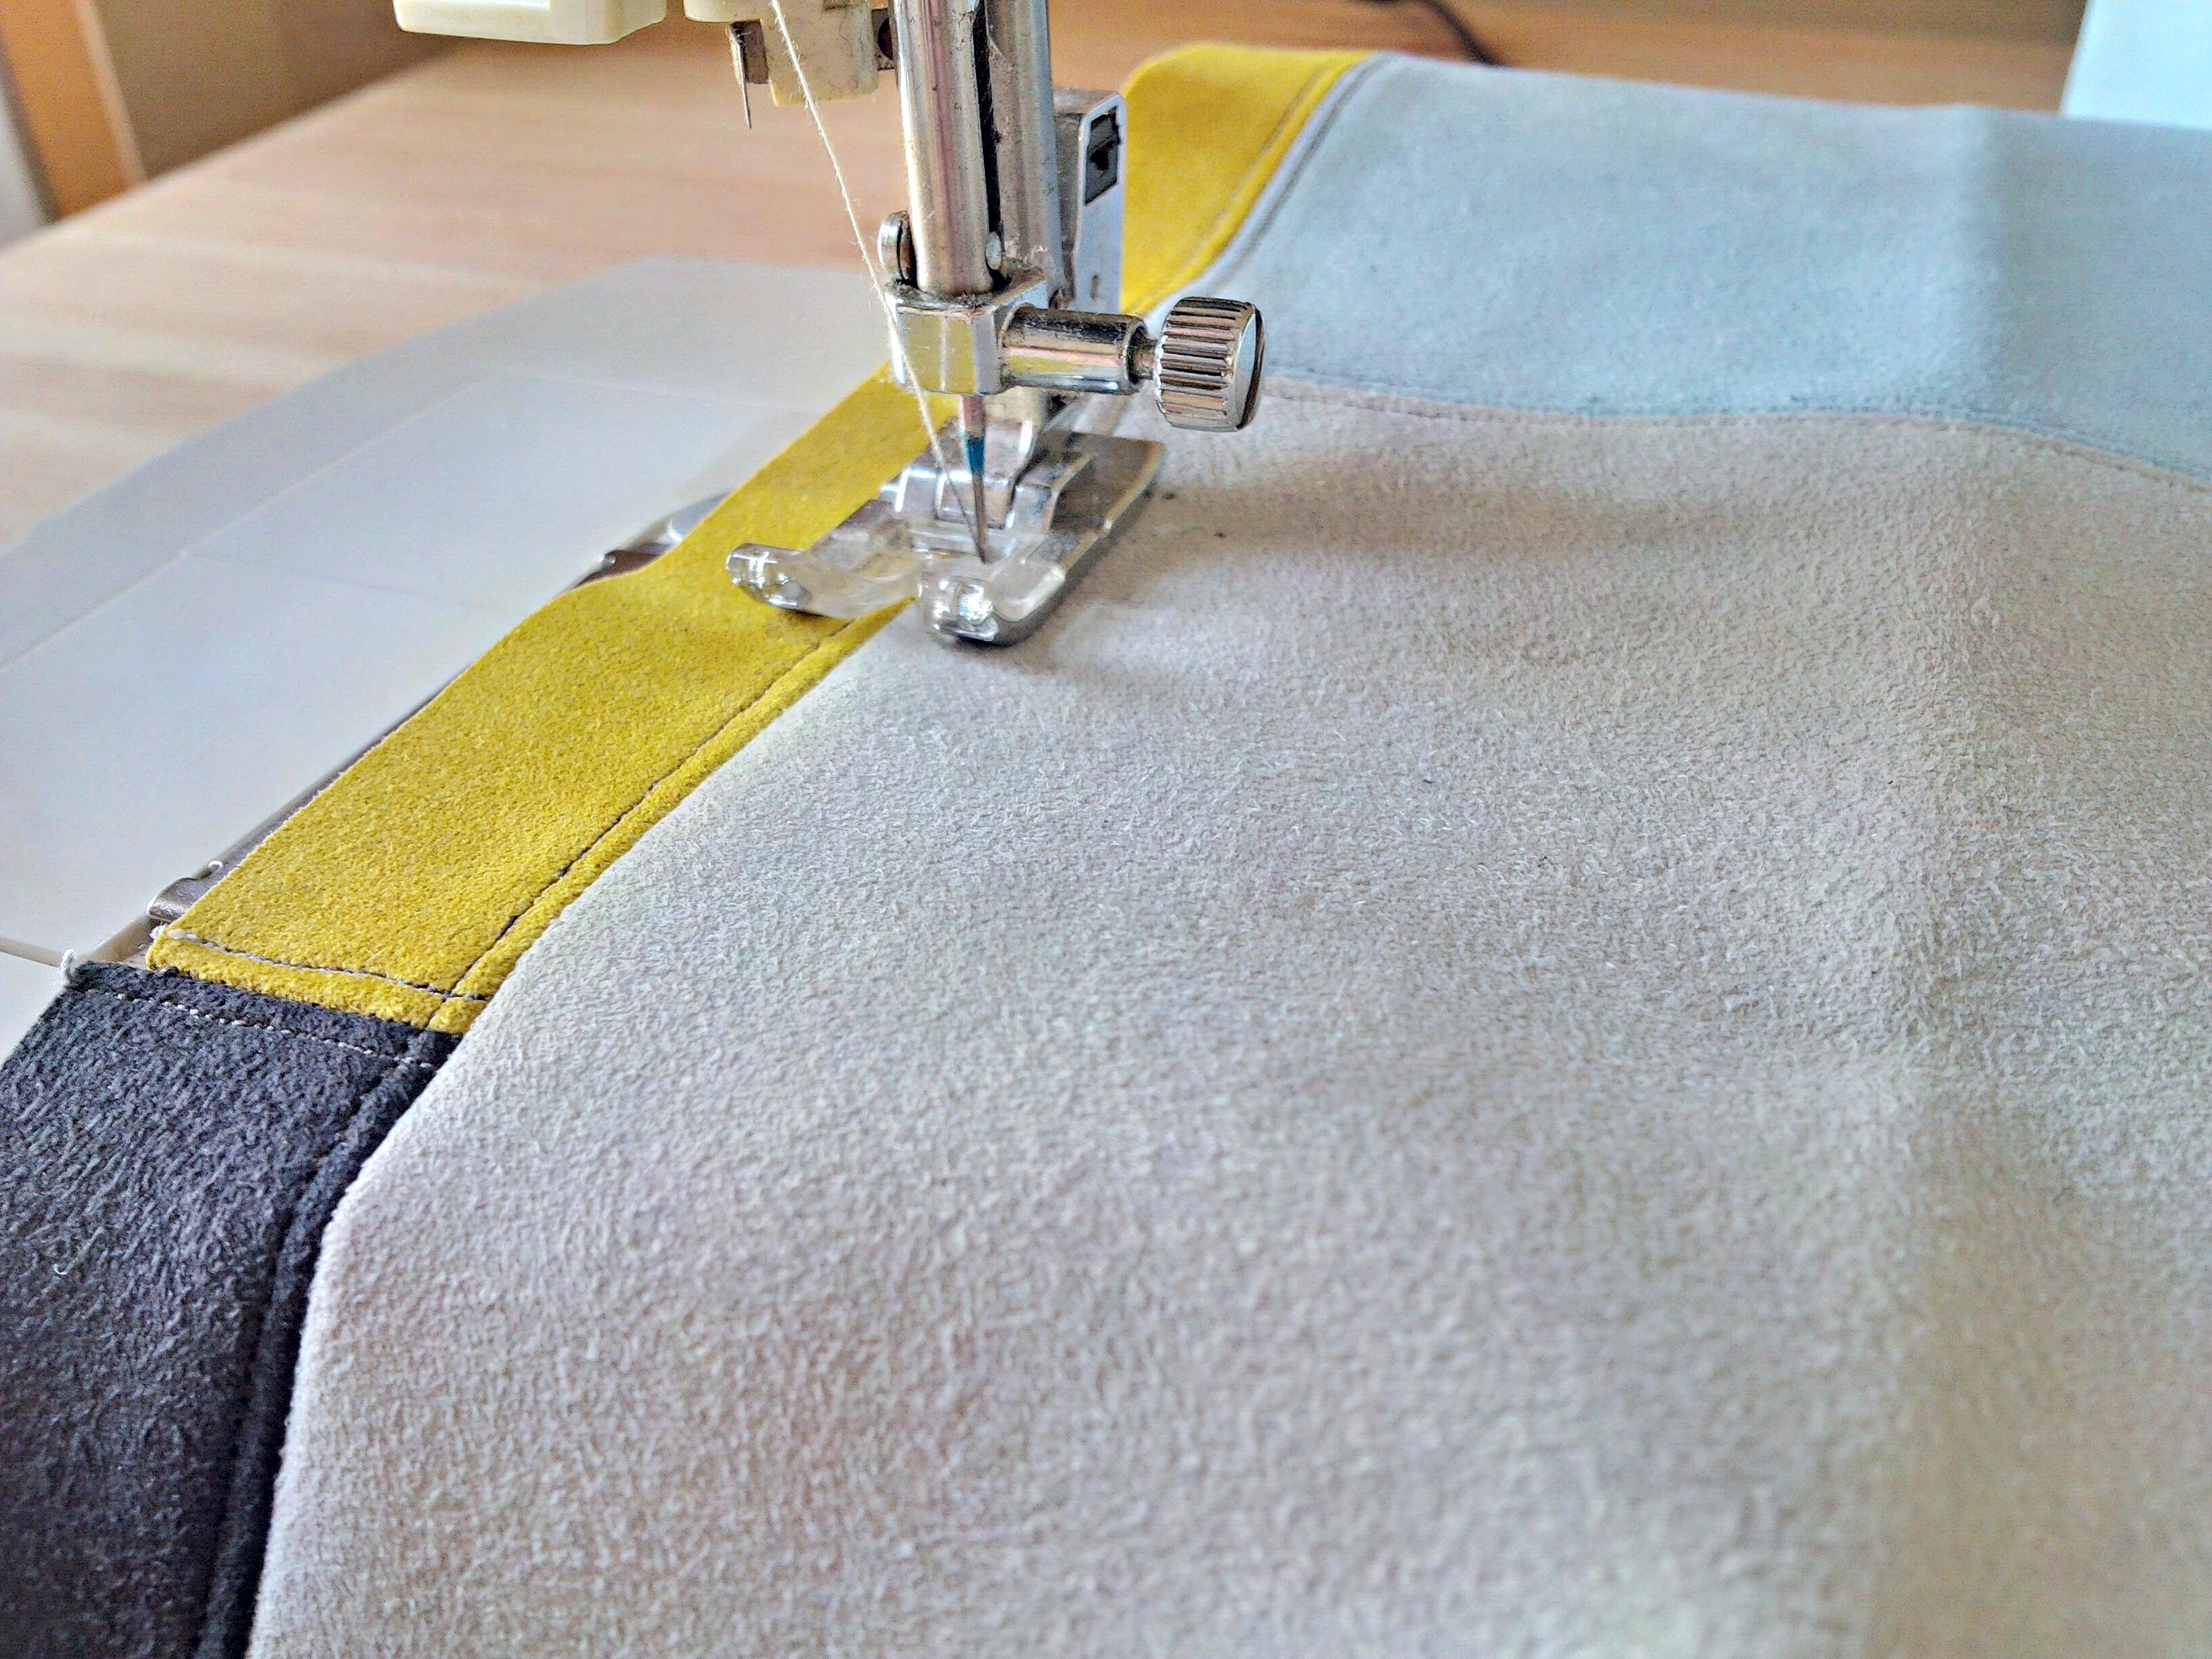
Ok, so I guess we should start? I'm going to ease us into it by starting with the flap (the L series). First, with finished sides facing each other, sew together the stripe (pieces L3 & L4). Finish off this seam by doing a french stitch by sewing a line which connects the seam to the face. We will be doing this for almost every seam, so get used to it. Or no dessert for you! Wait, what?
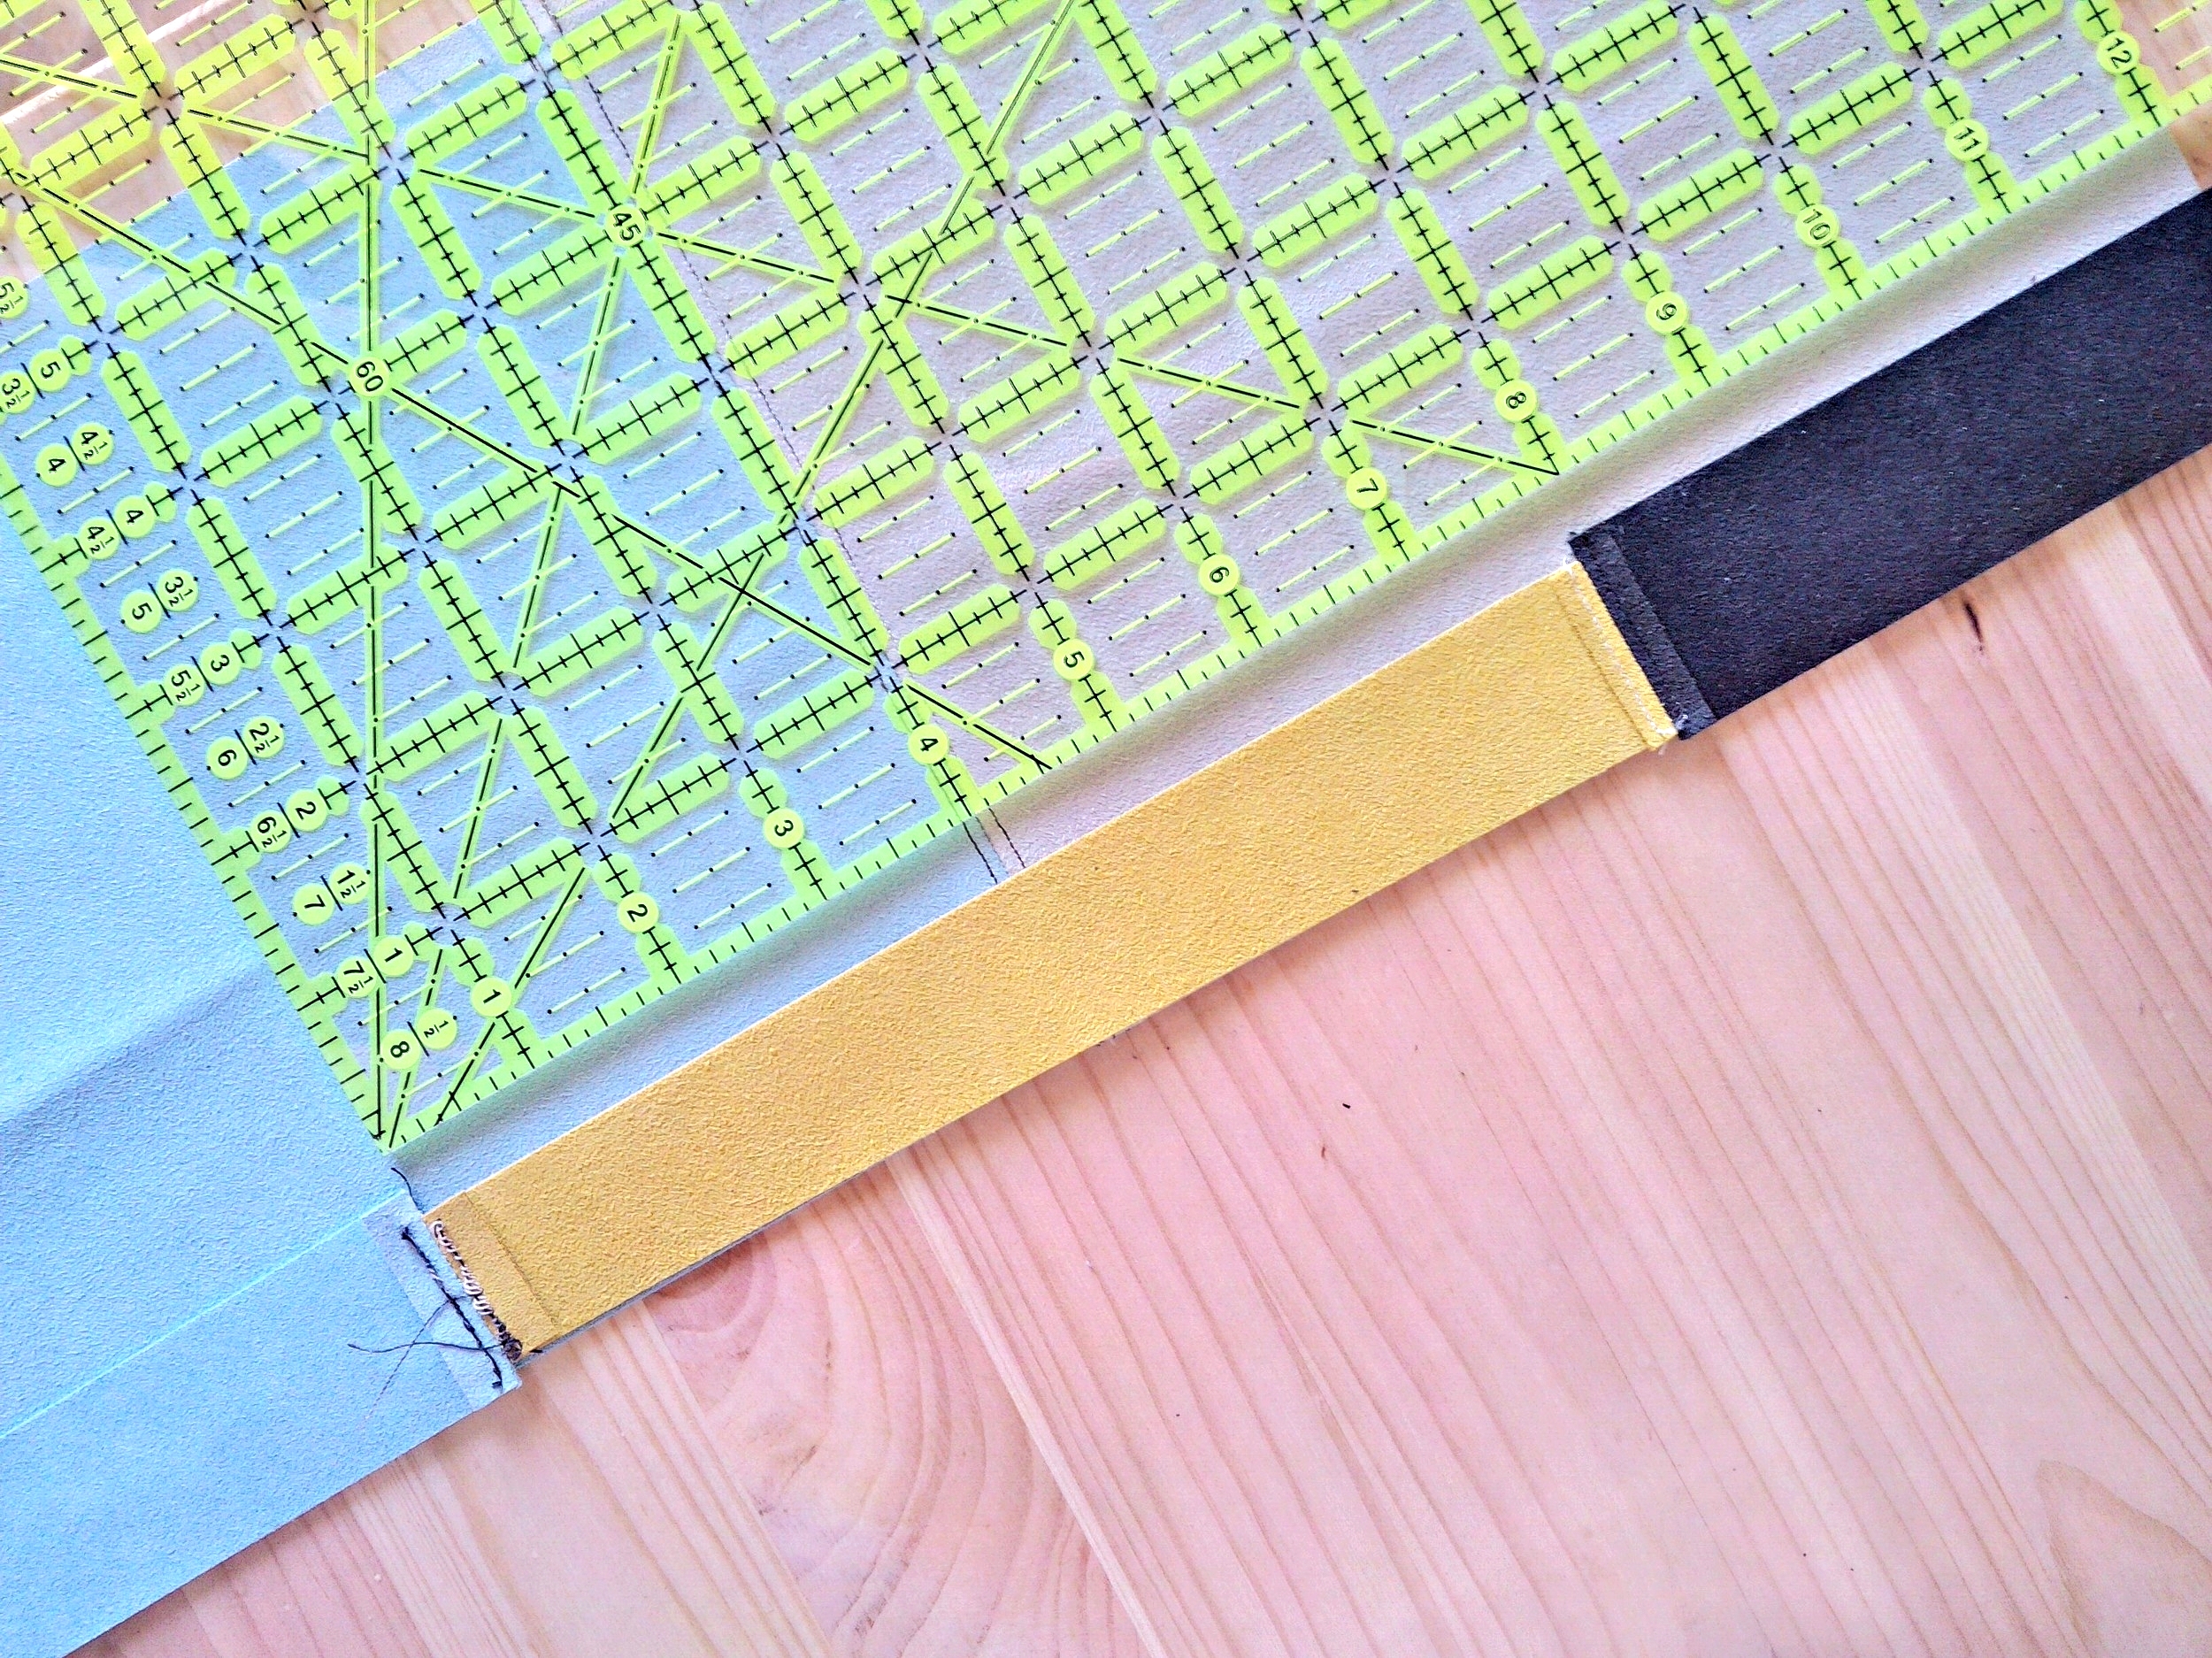
With your L3/L4 stripe finished, line up (finished sides facing each other) to L1 while trying to keep the stripe centered (see image). Sew together and finish with the french stitch. To finish the flap, repeat this step by adding L2. Cut off the excess scraps and voila, you have a flap!
*fyi, upholstery fabrics tend to be much thicker than fashion or quilting fabrics. It might be a good idea to switch out the needle in your sewing machine to something a bit more heavy duty.


attaching L3/L4 to L1
There is still no beer in the fridge and it is a little too early for rum, so let's continue by focusing on the back (B series). The directions are similar to the flap (1/4" seam, french stitch, line up pieces with finished sides facing each other etc) so this should be a breeze!
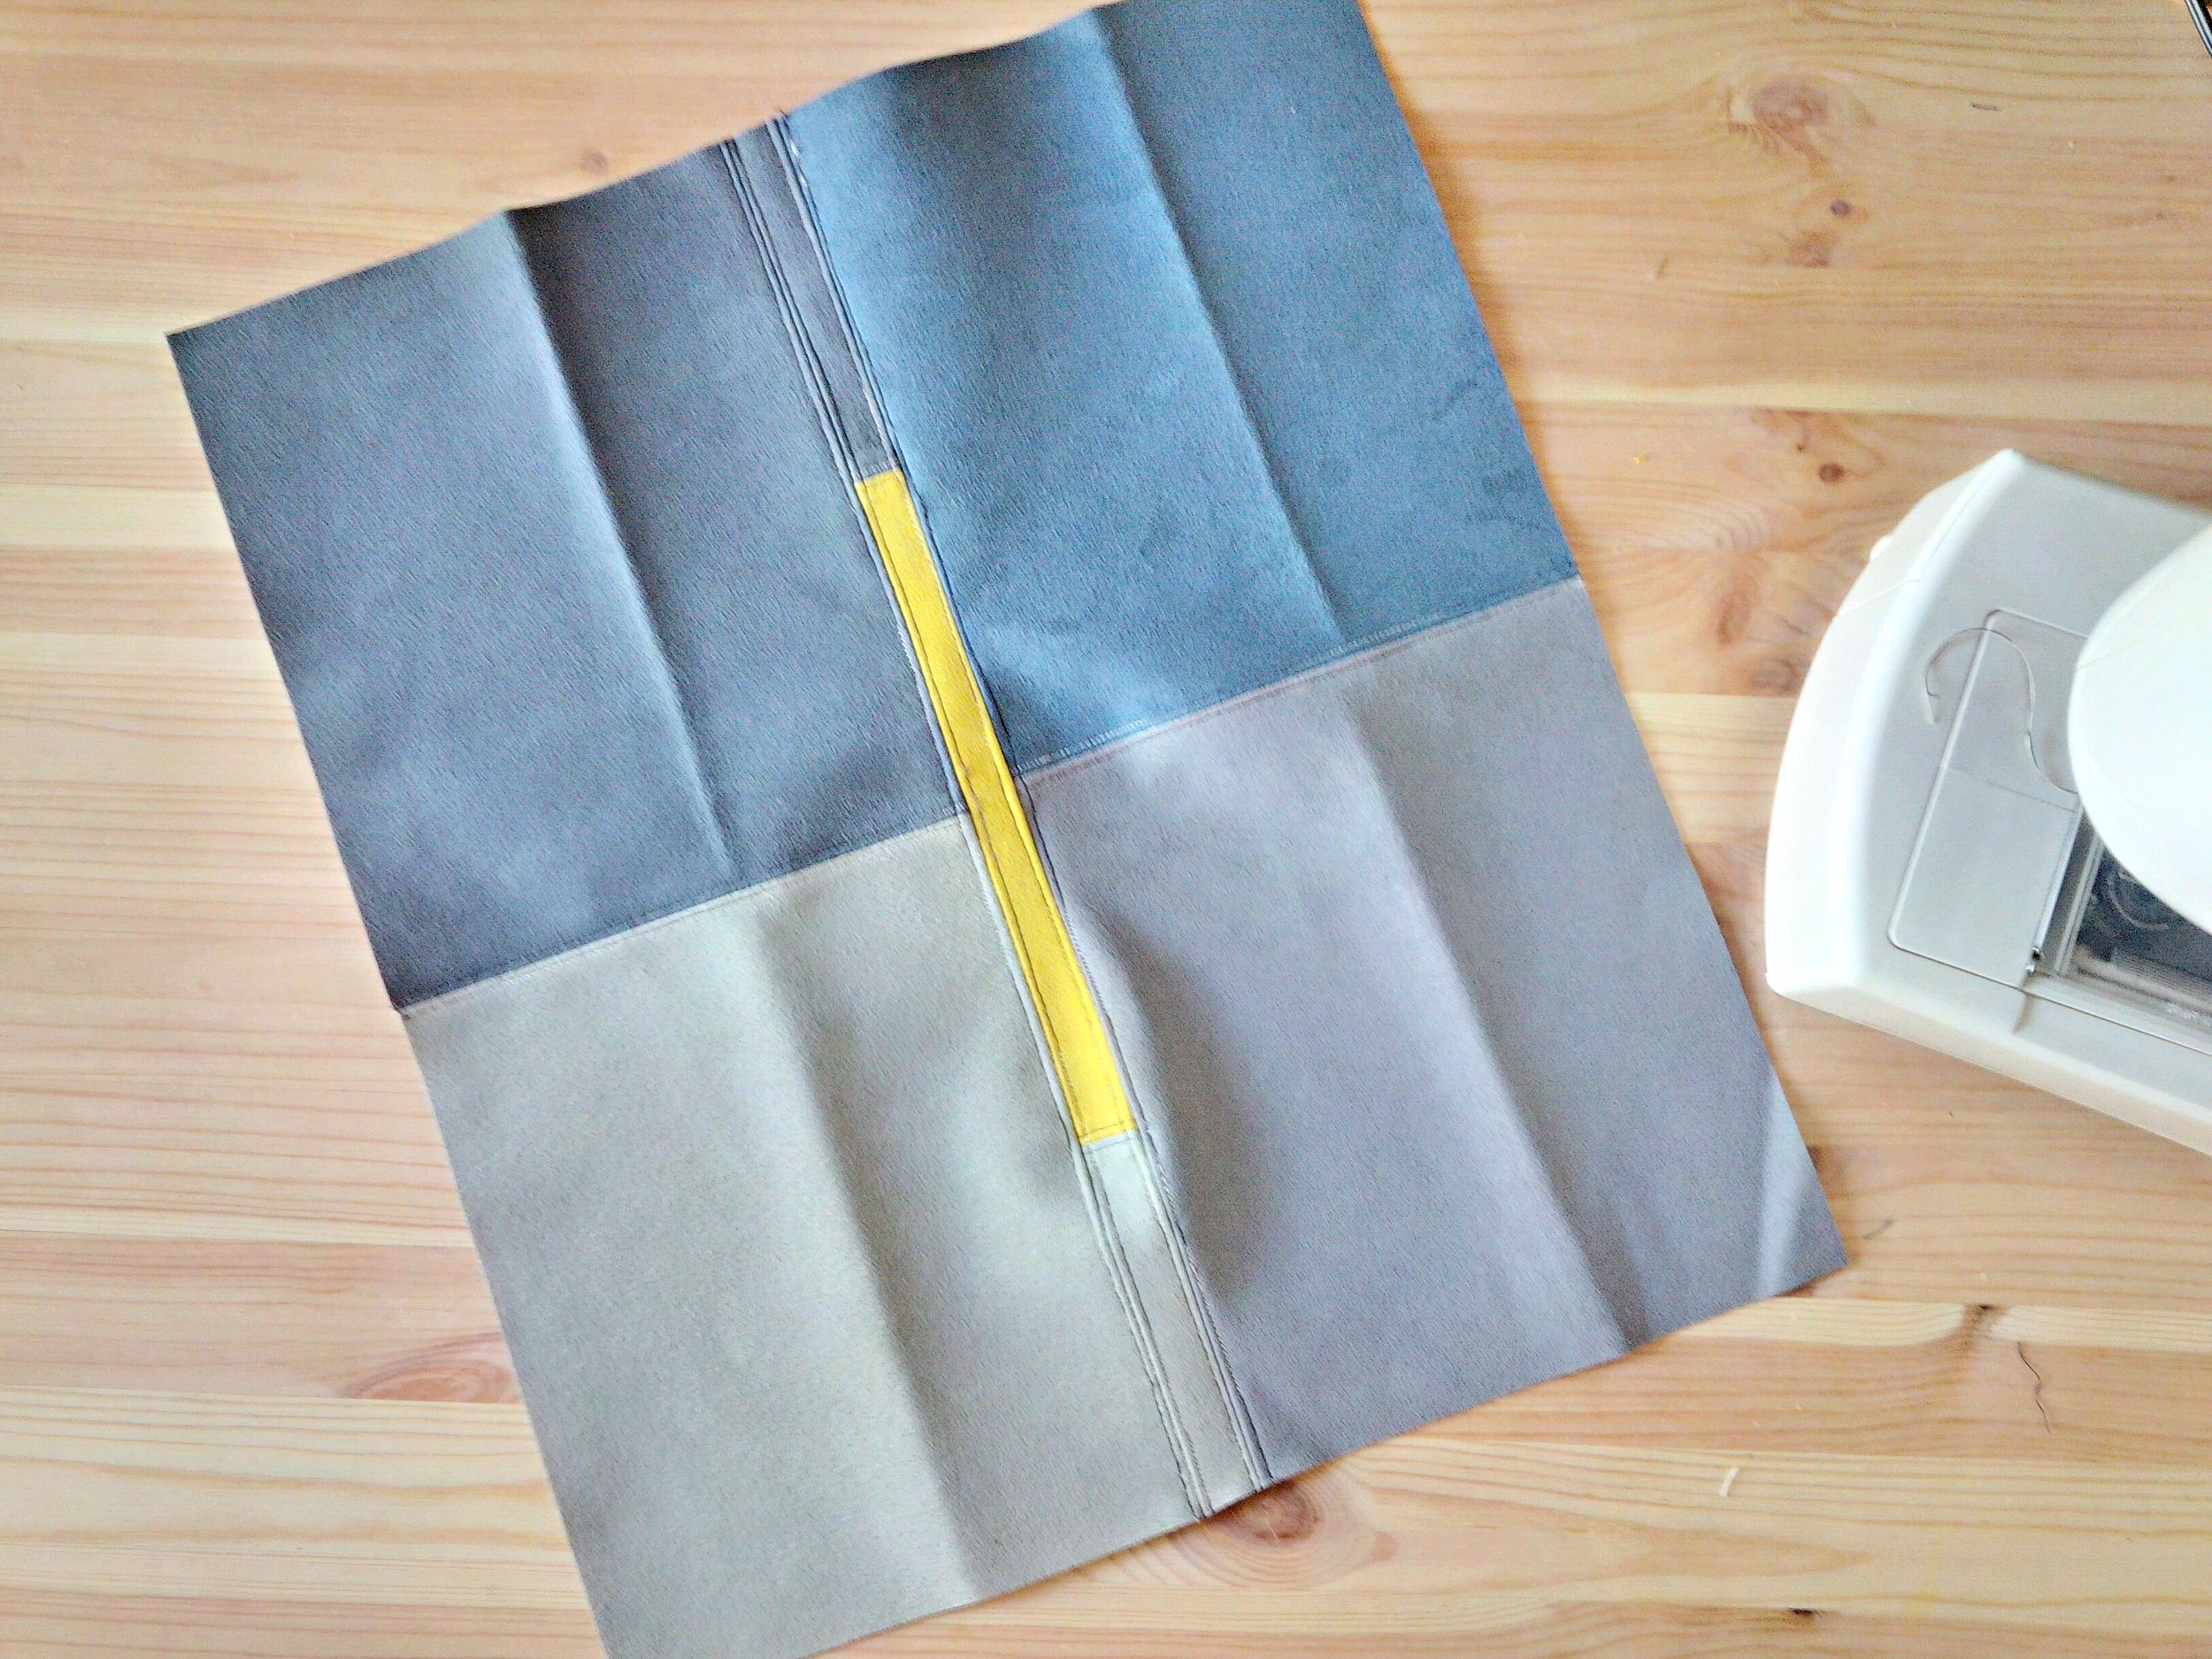
Assemble the stripe first by sewing together B5, B6, and B7. Then, sew together B1 and B2. Line up the B5/B6/B7 stripe to B1/B2, trying to keep the accent piece somewhat centered. Repeat this step with B3 and B4. Trim off the excess scraps and you have got yourself a back. Baby got back!
Repeat with front face 'cuz you a mother fucking boss!

B5/B6/B7 stripe assembled

french stitch
lining up B5/B6/B7 stripe to B1/2
french stitch in progress

lining up B3/B4

finished back piece!
finished front piece!
collection of thread and my tears
I think that we got a lot done here, so go ahead and pour yourself that rum drink. Tastes good, doesn't it?
Now let's finish this thing. With finished side facing each other, line up the flap to the back face. Sew together and finish with a french stitch

lining up the flap to back face

flap attached and finished with french seam
Repeat by lining up finished side of front piece to back piece and sew together. No need to finish with a french seam here but go ahead if you are ambitious and not tipsy.
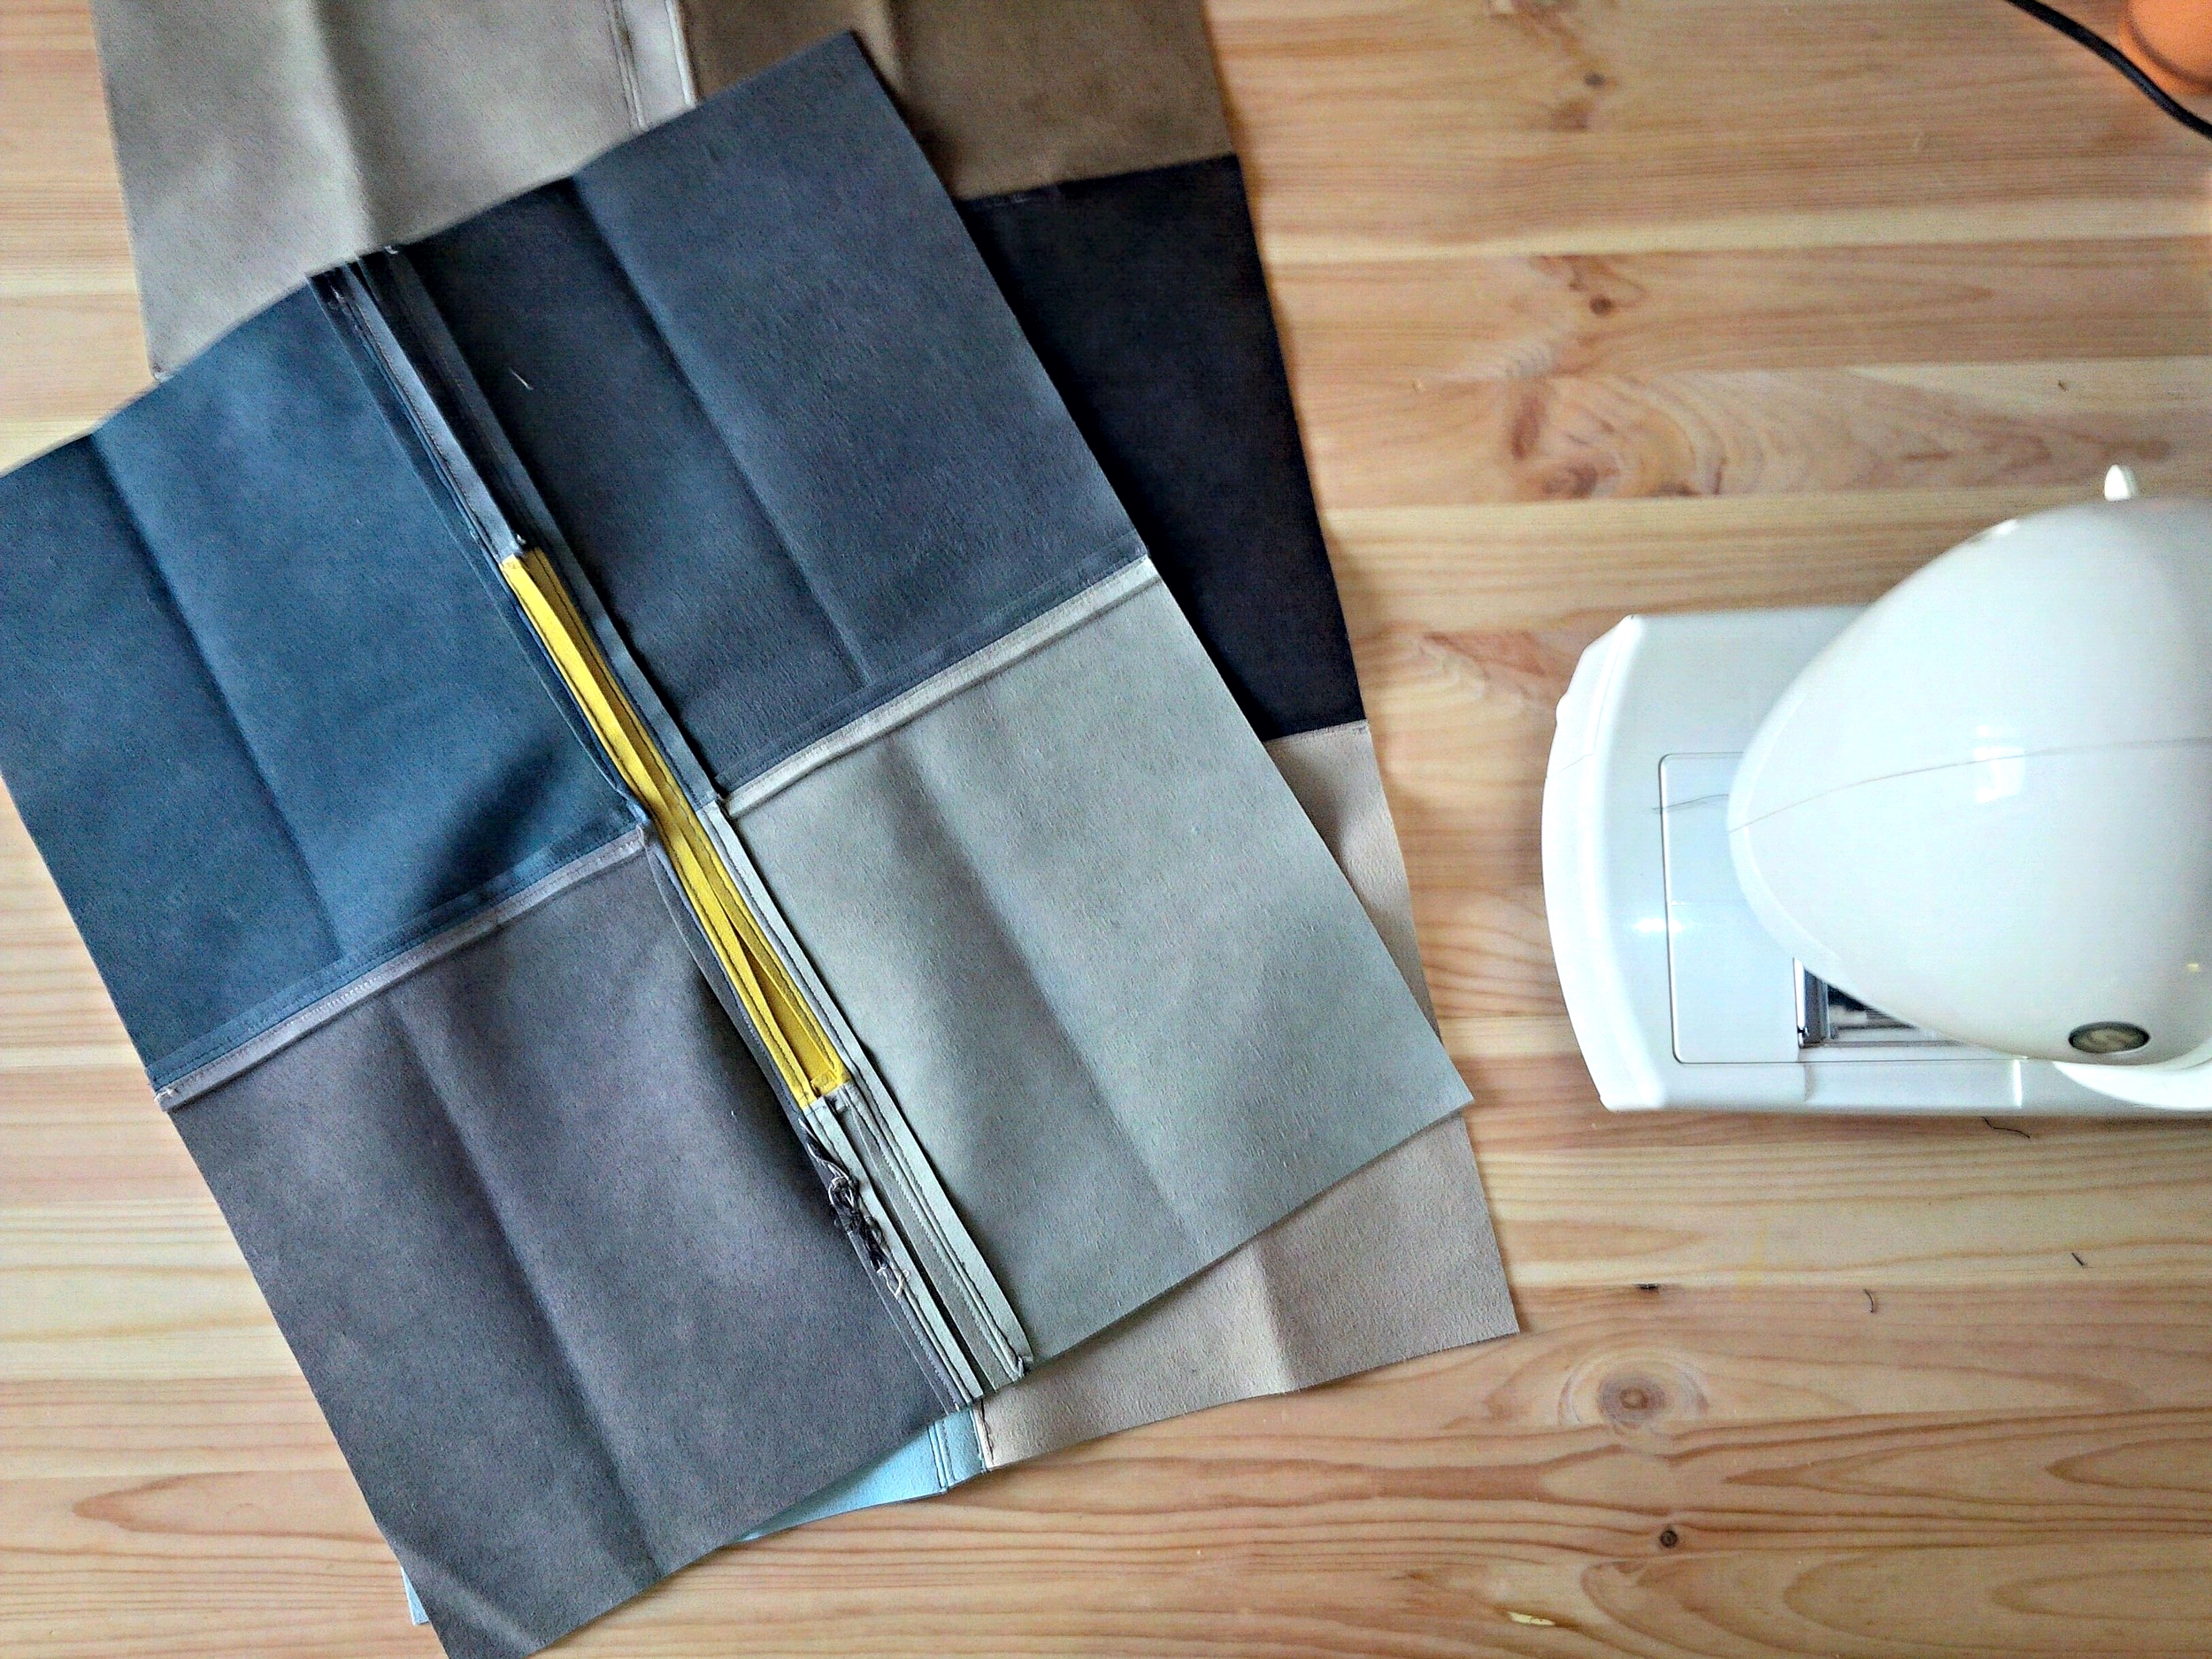
lining up front and back pieces
Now, with unfinished sides facing each other (or how the finishes product will look/work) line up and begin sewing together, preferably with one long stitch. Start in the bottom corner where the front and back pieces meet and take it up towards the flap. The stitch should end at the opposite corner.

all sewn up
Since we left the edges raw and unfinished, go ahead and trim if things don't line up quite right. No one will know!

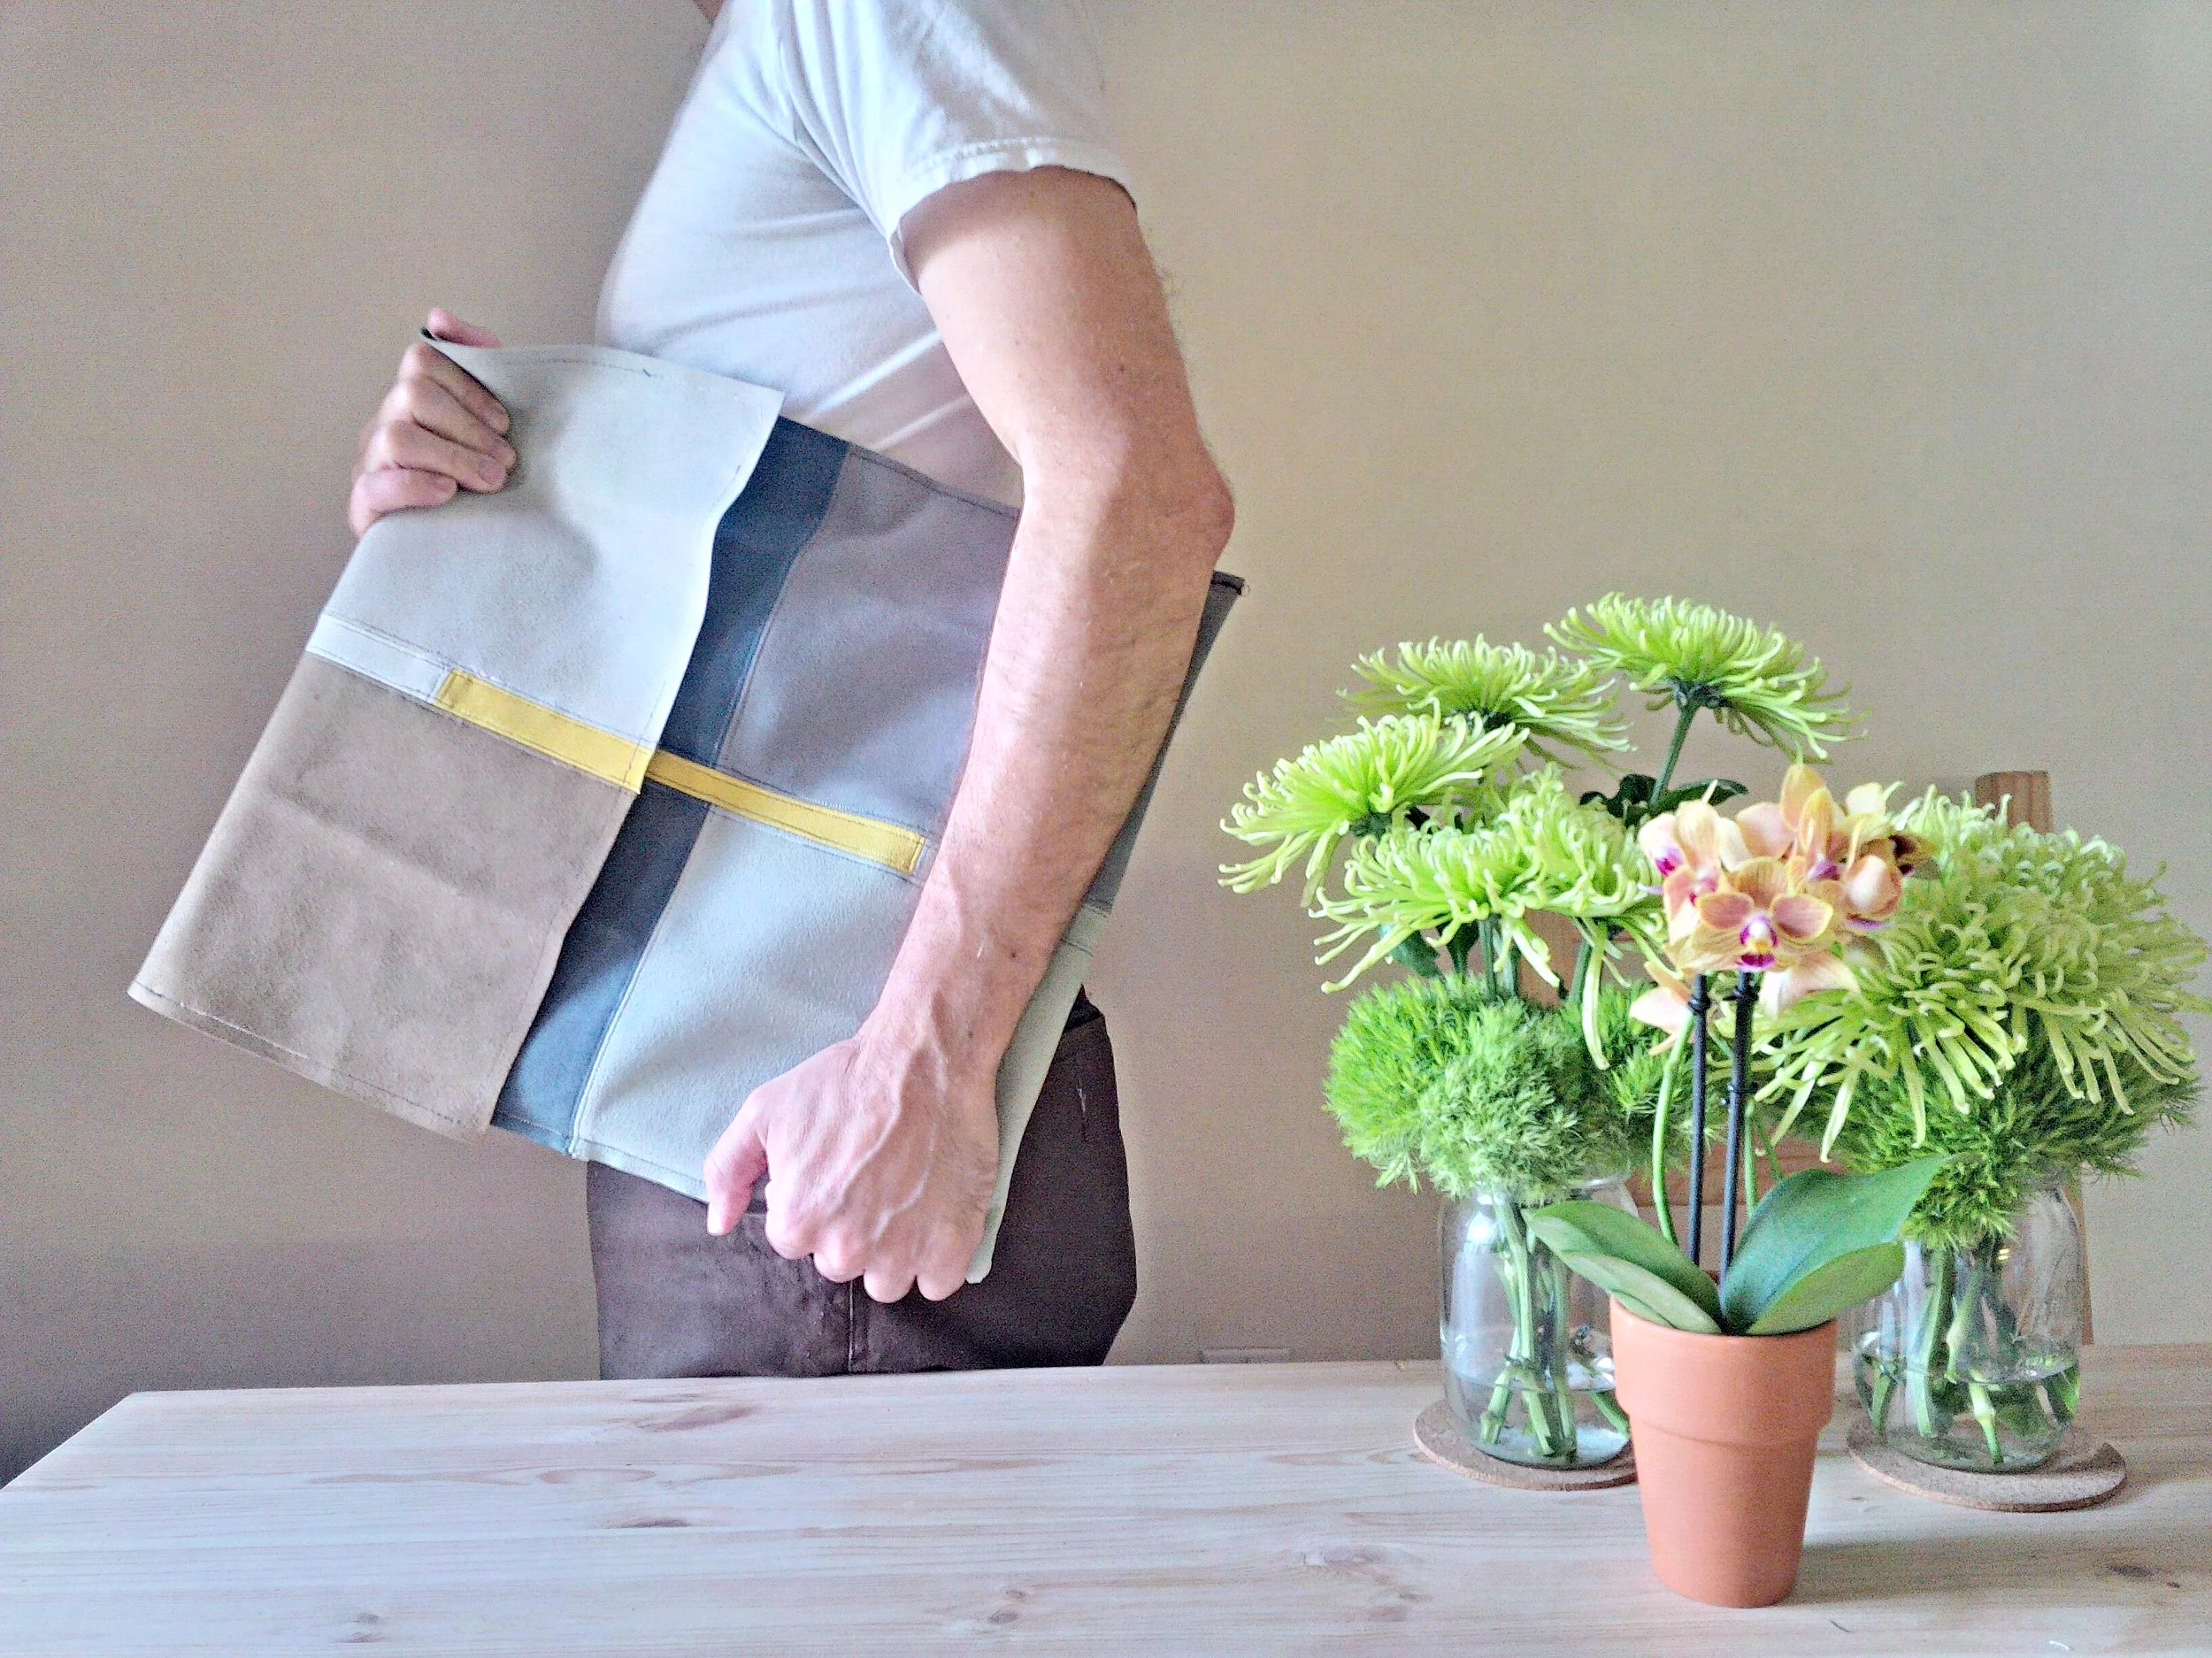
And there you have it! Slightly tipsy (per all my crafts) and a little tired, but super happy and proud to have hand made this gift. Sure, it might be too big for his laptop and the seams are kind of wonky. But look how good Greg looks holding the laptop sleeve! I sure am a lucky gal.
Anyway, thanks and I hope you enjoy!


